
Microsoft Azure is one of the most popular cloud service providers in recent times. Let's try to install Jenkins on Azure.
Installing Jenkins 2 on Azure
Getting ready
You need to have a Microsoft Azure subscription for Jenkins installation on Azure. A free trial for one month is also available:
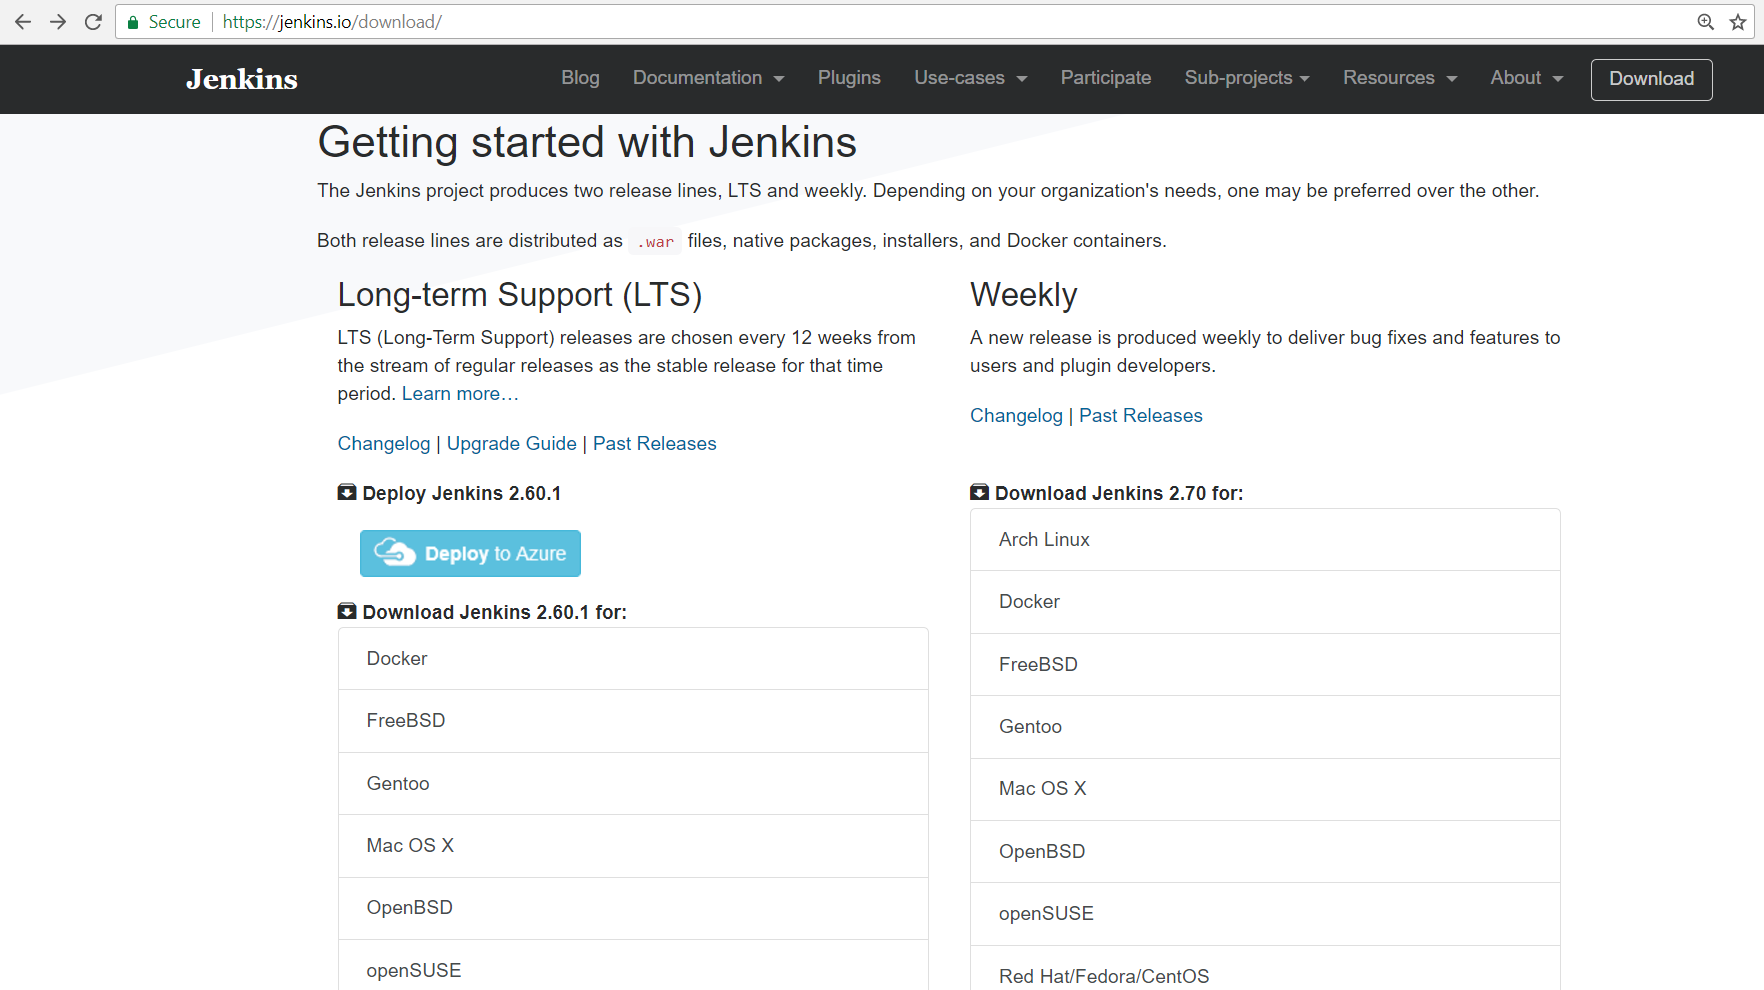
- Go to https://jenkins.io.</span>
- Click on Download.
How to do it...
Let's see how to install Jenkins on Azure:
- Click on the Deploy to Azure link on the Jenkins download page:
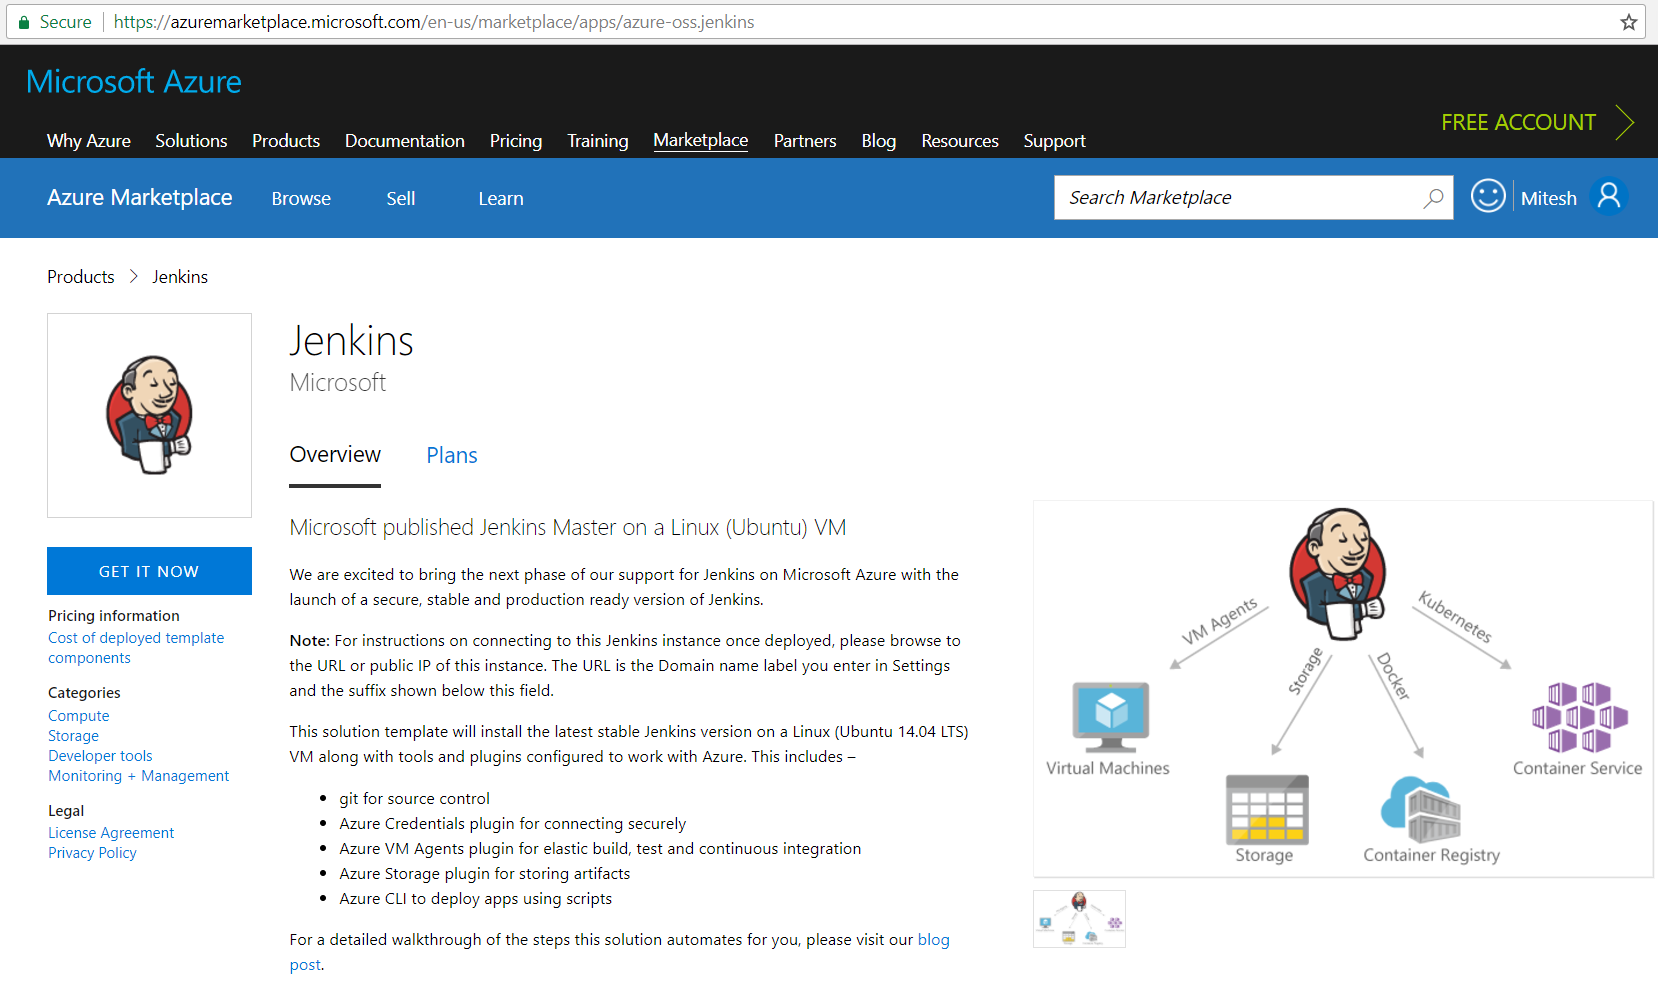
- It will redirect you to Azure Marketplace.
- Verify the Pricing plans and categories involved in it on the same page.
- Click on GET IT NOW. These steps are demonstrated in the following screenshot:
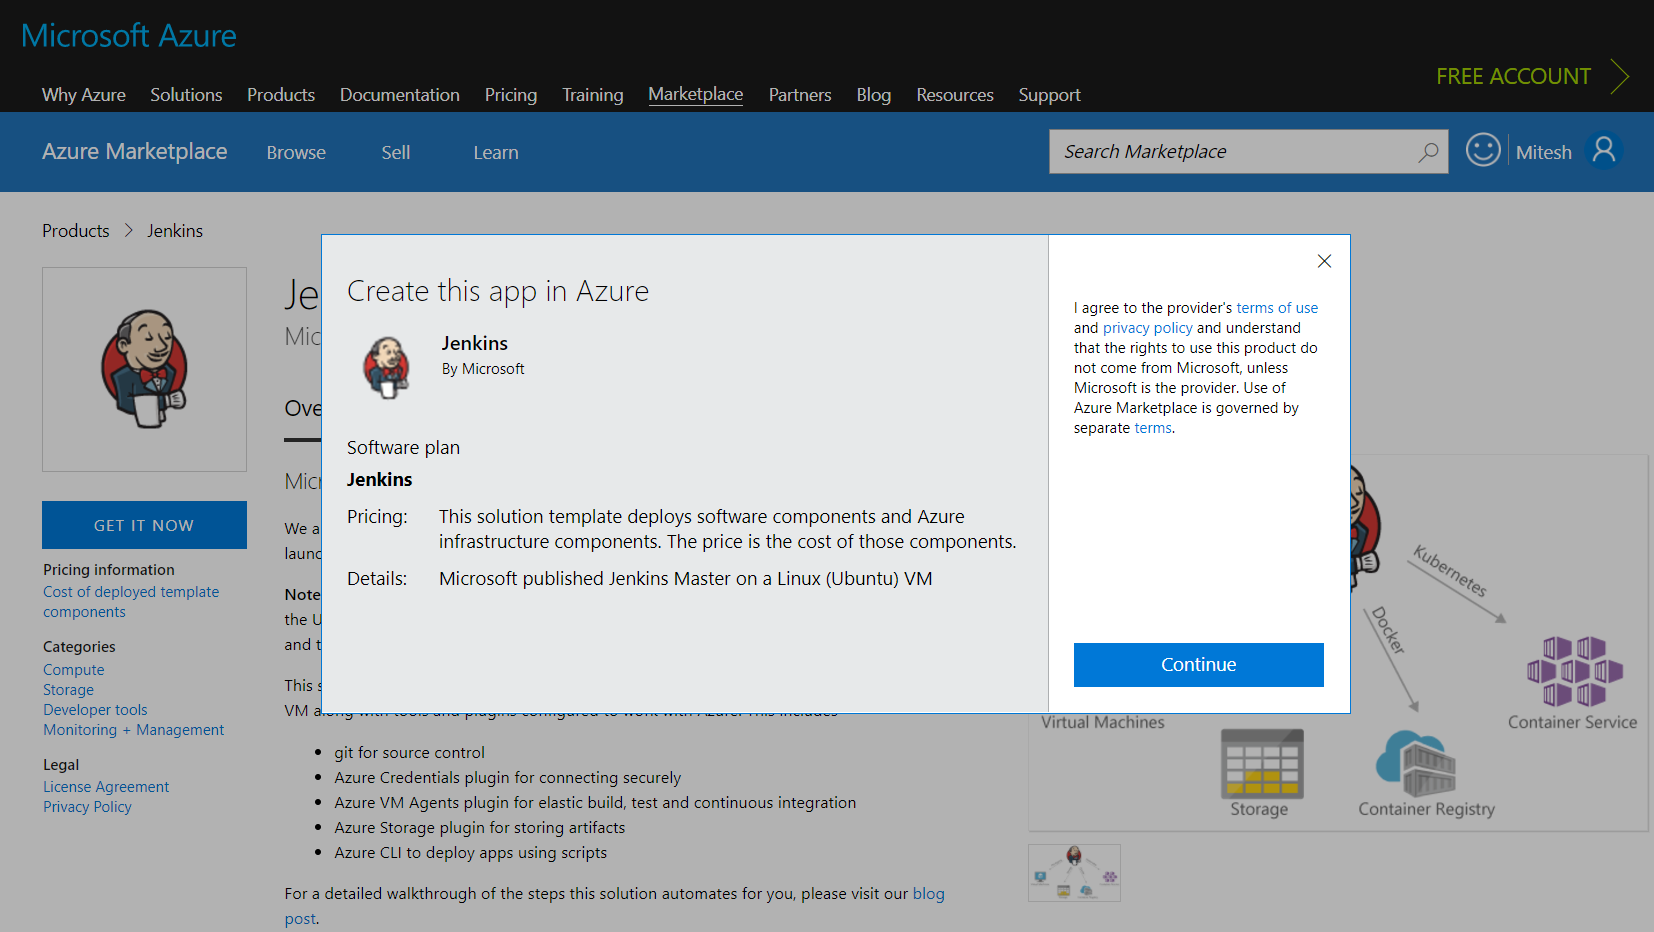
- In the Create this app in Azure tab, click on Continue:
- If you already have the Azure subscription, then login with the username and password.
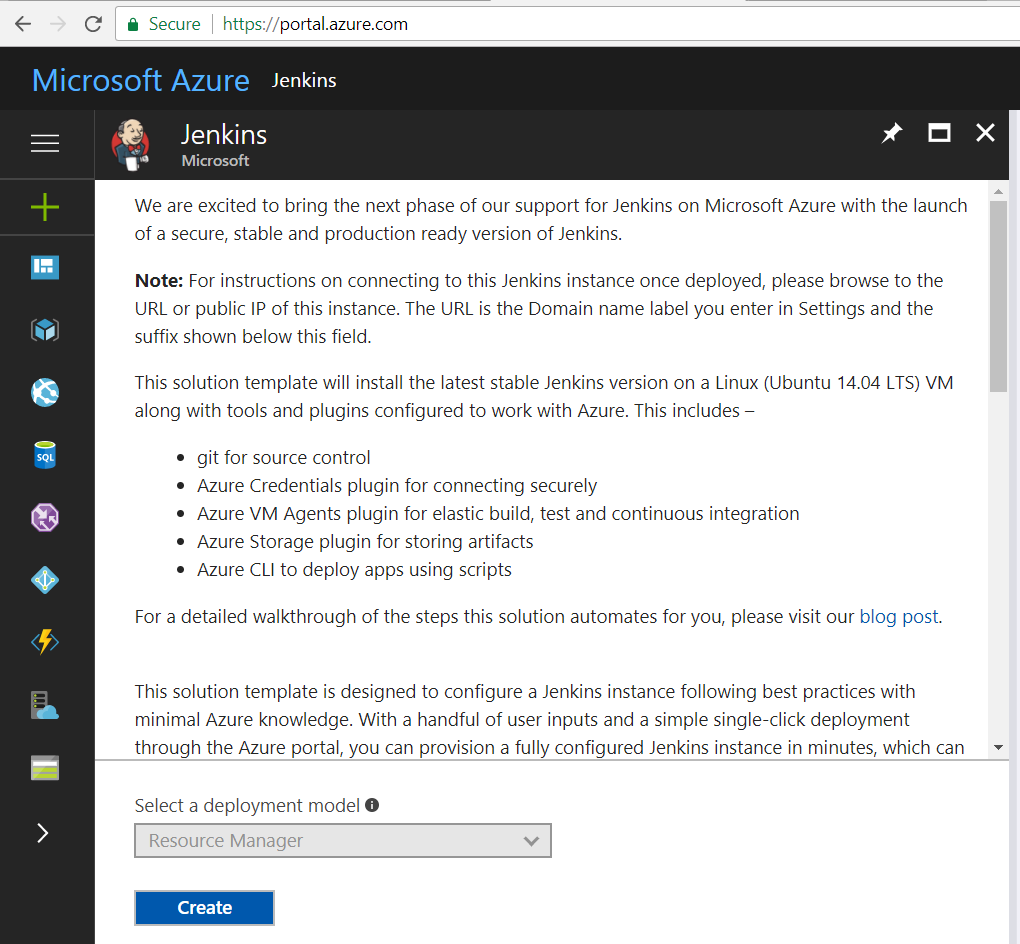
- Deployment model is already selected.
- Click on Create:
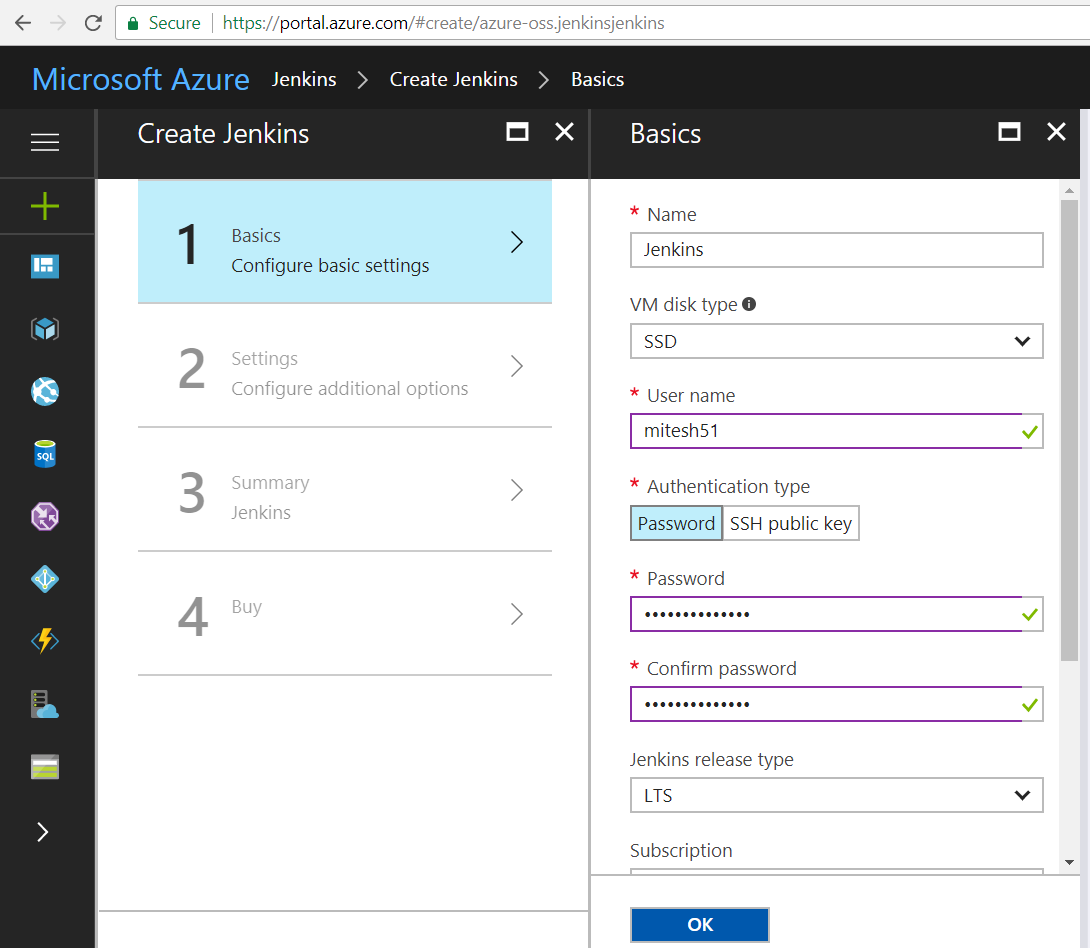
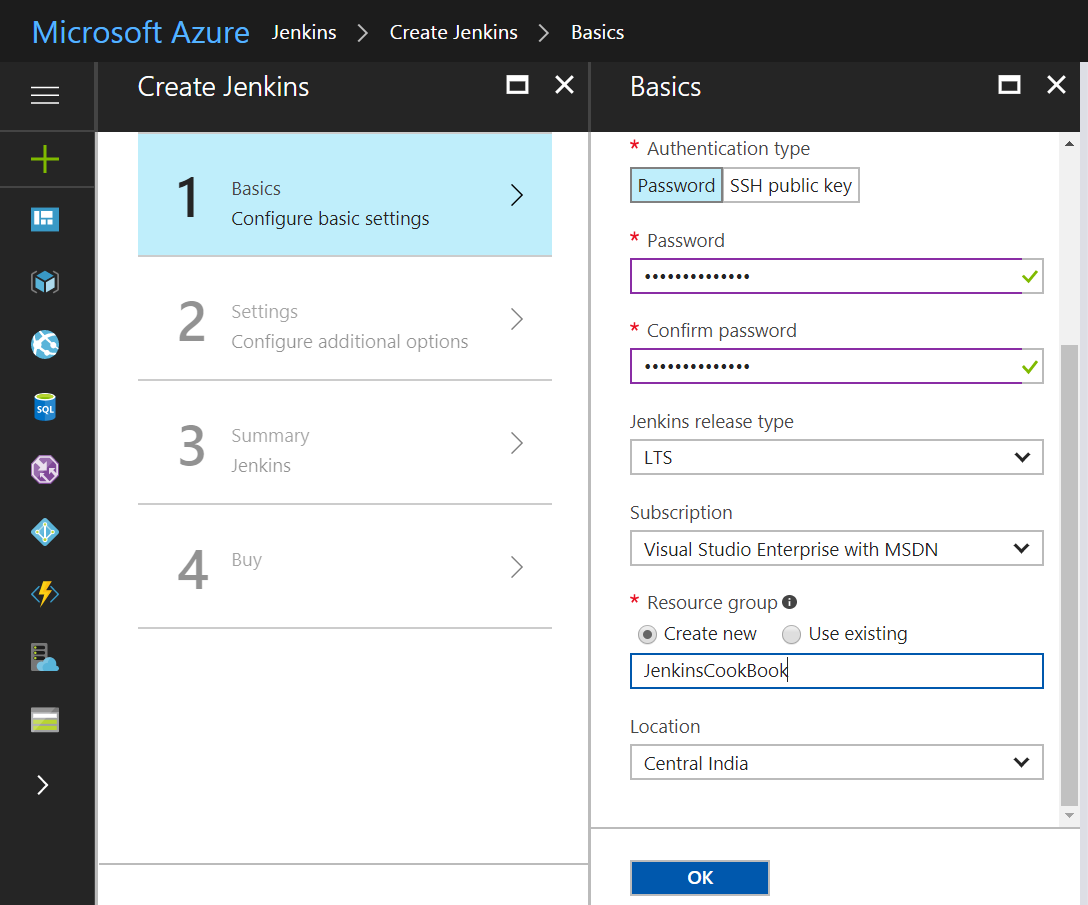
- Provide Password, Jenkins release type, and Subscription details, as demonstrated in this next screenshot:
- Select Create new and provide Resource group name.
- Select the Location as per your preference.
- Click on OK:
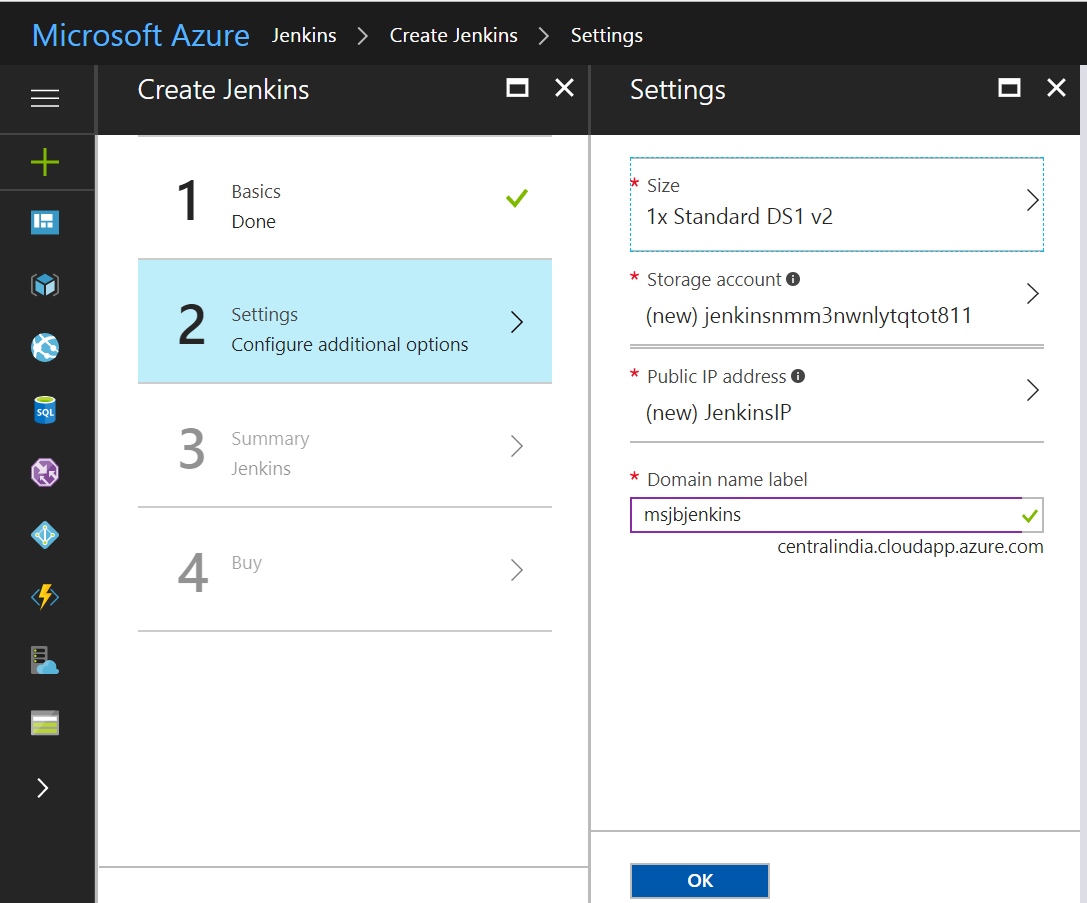
- Select the Size based on the requirement.
- Provide a unique Domain name label.
- Click OK:
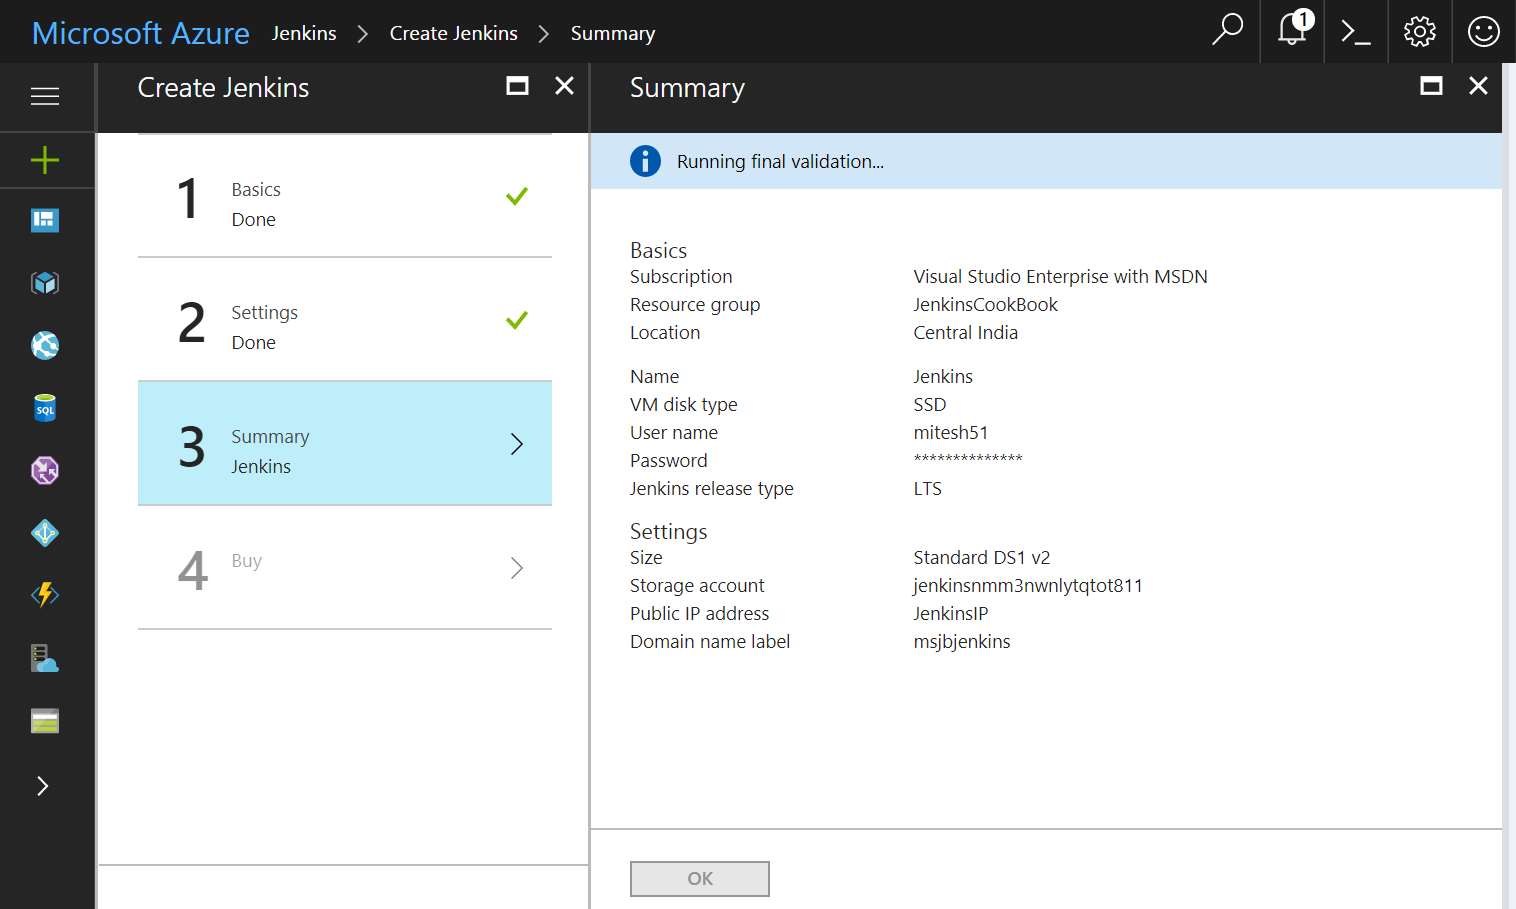
- Review the selection.
- Automated validation will be executed based on your selection.
- Click on OK:
- Review the Template link available before clicking on the Purchase button:
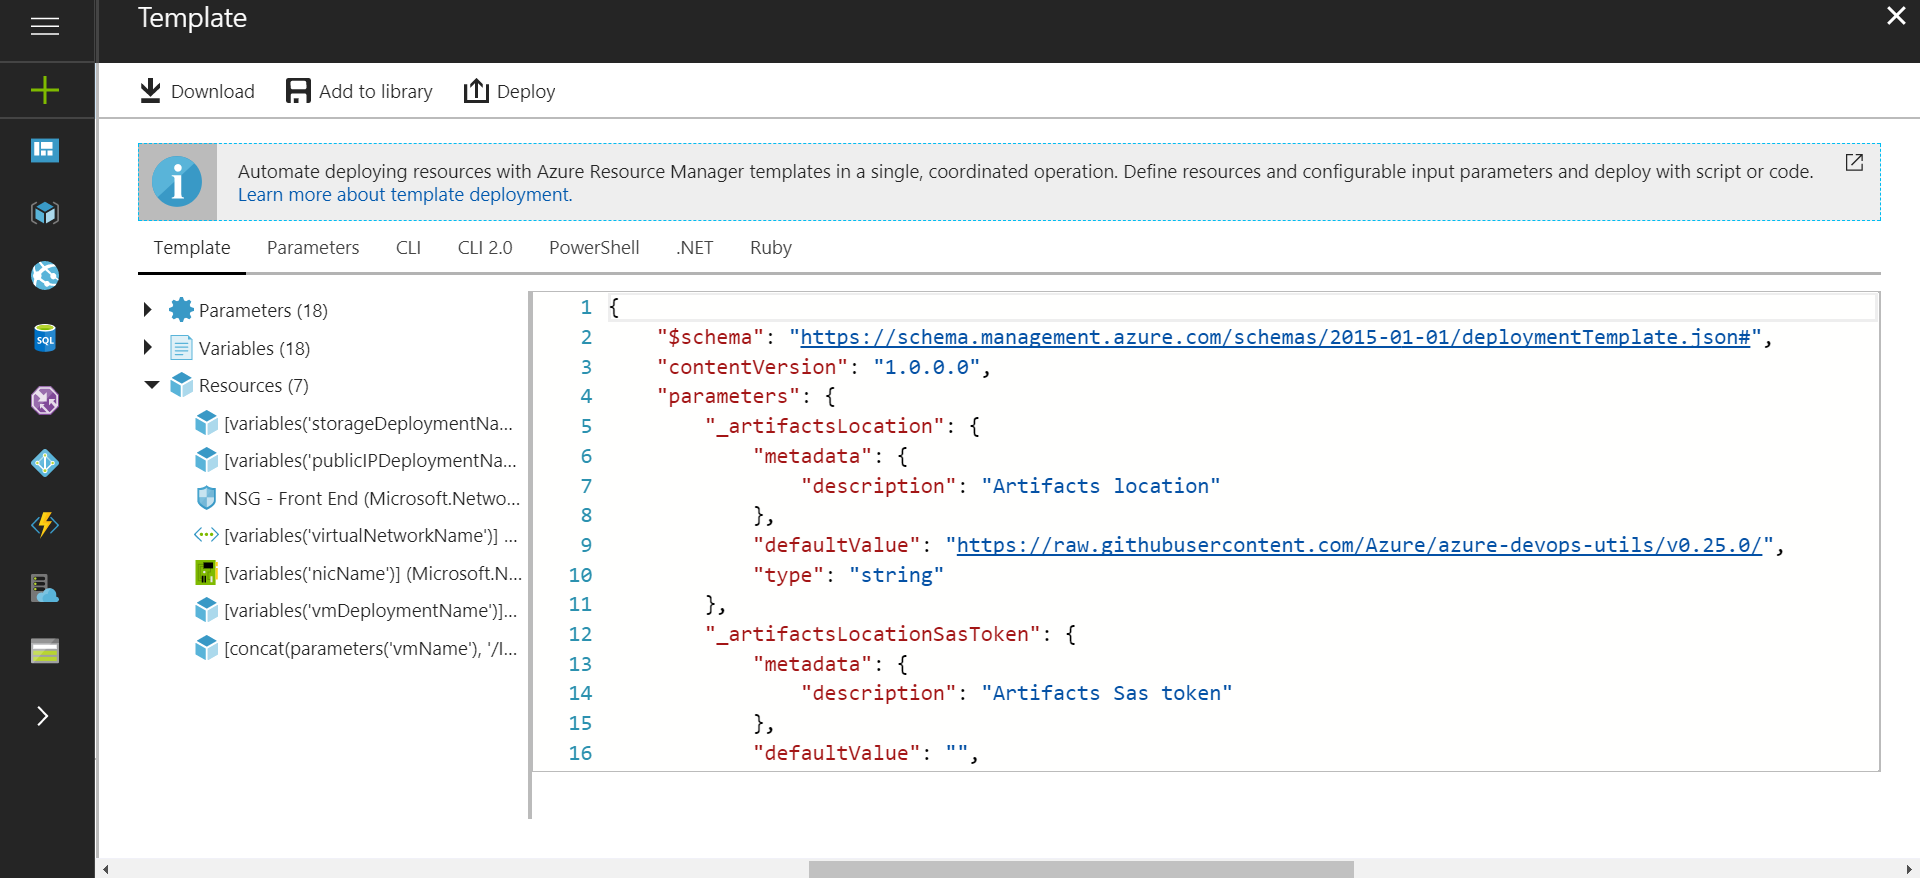
- Once ready, click on Purchase:

- In the Azure portal, click on the Resource groups you have created. Review the resources that are being created one by one. Review the deployments in the Overview section.
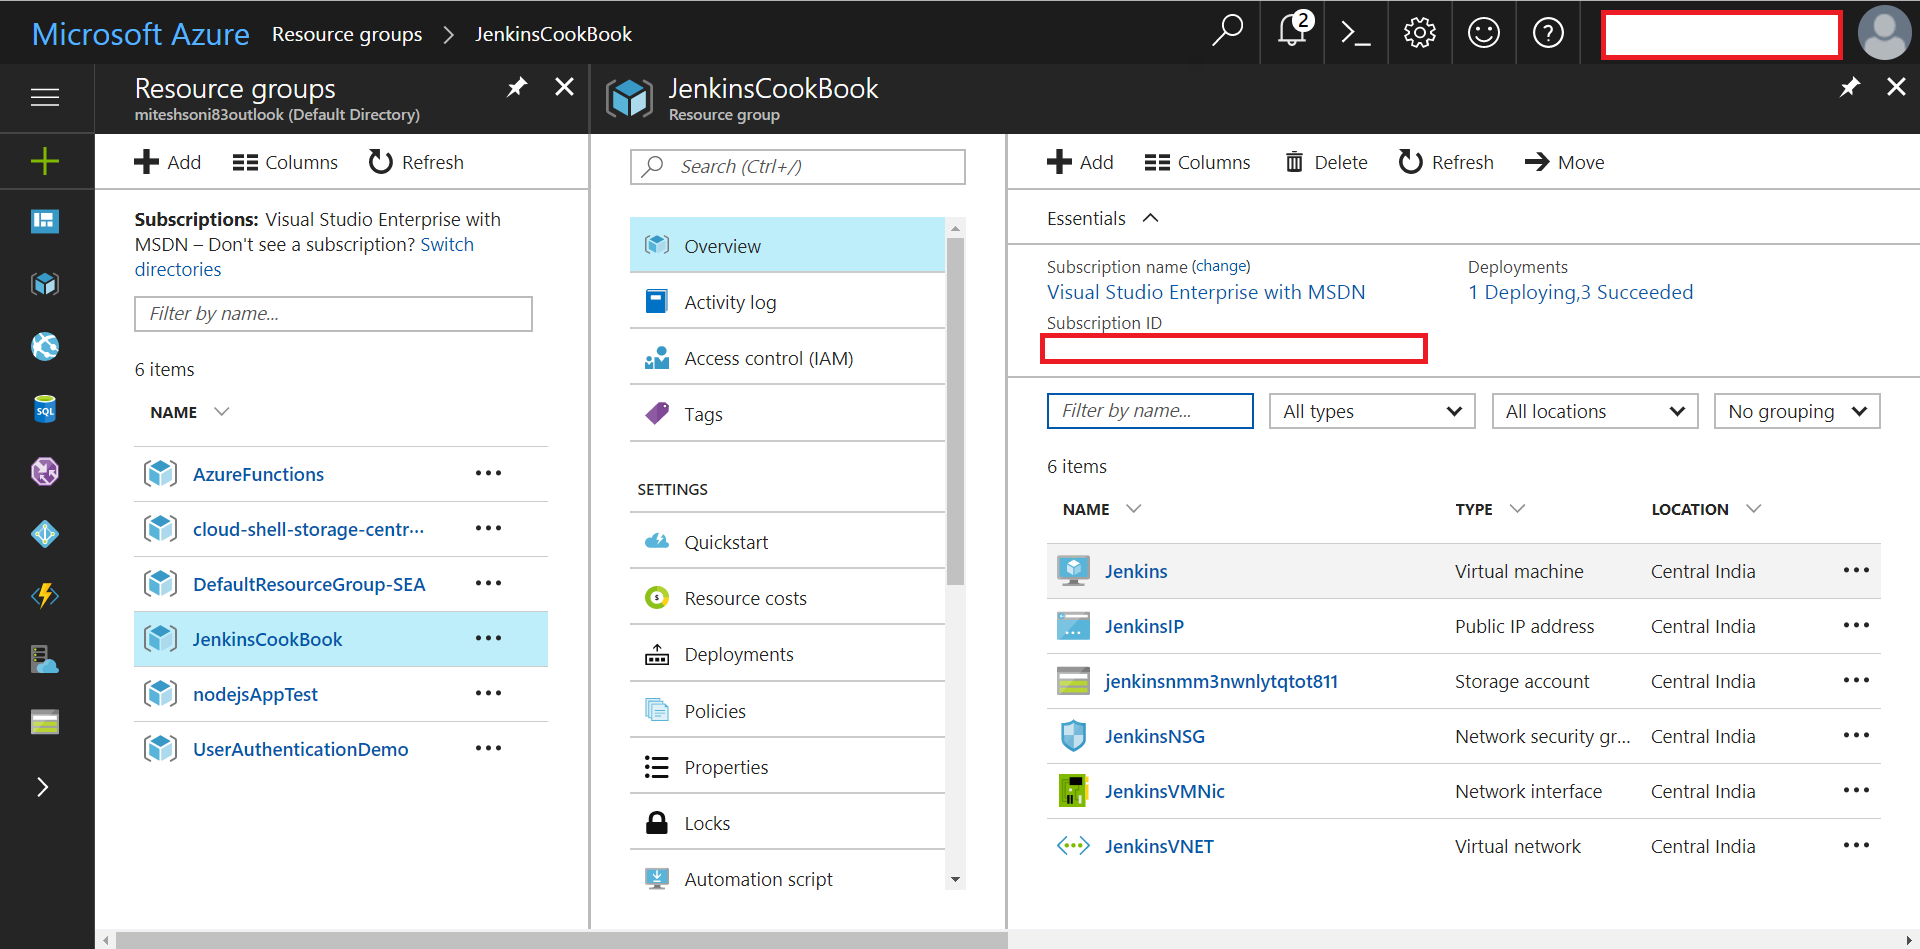
- Click on the JenkinsIP and visit the domain name associated with it:
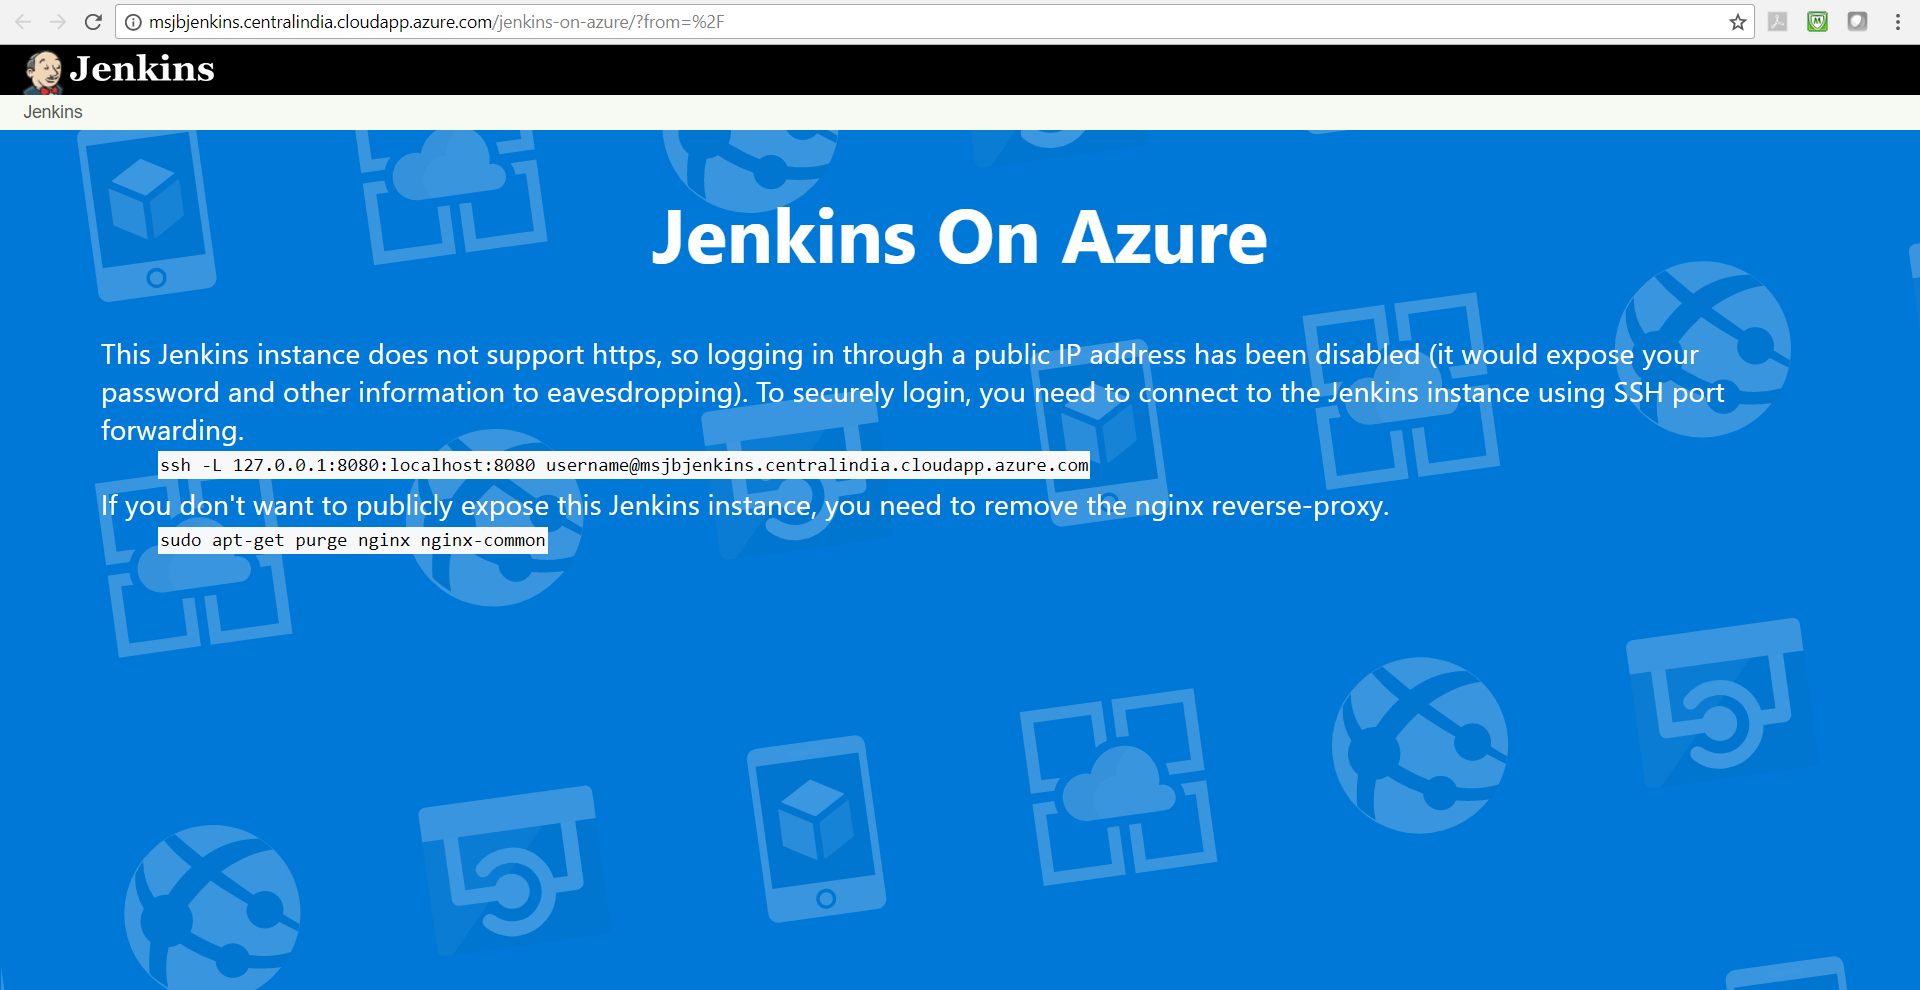
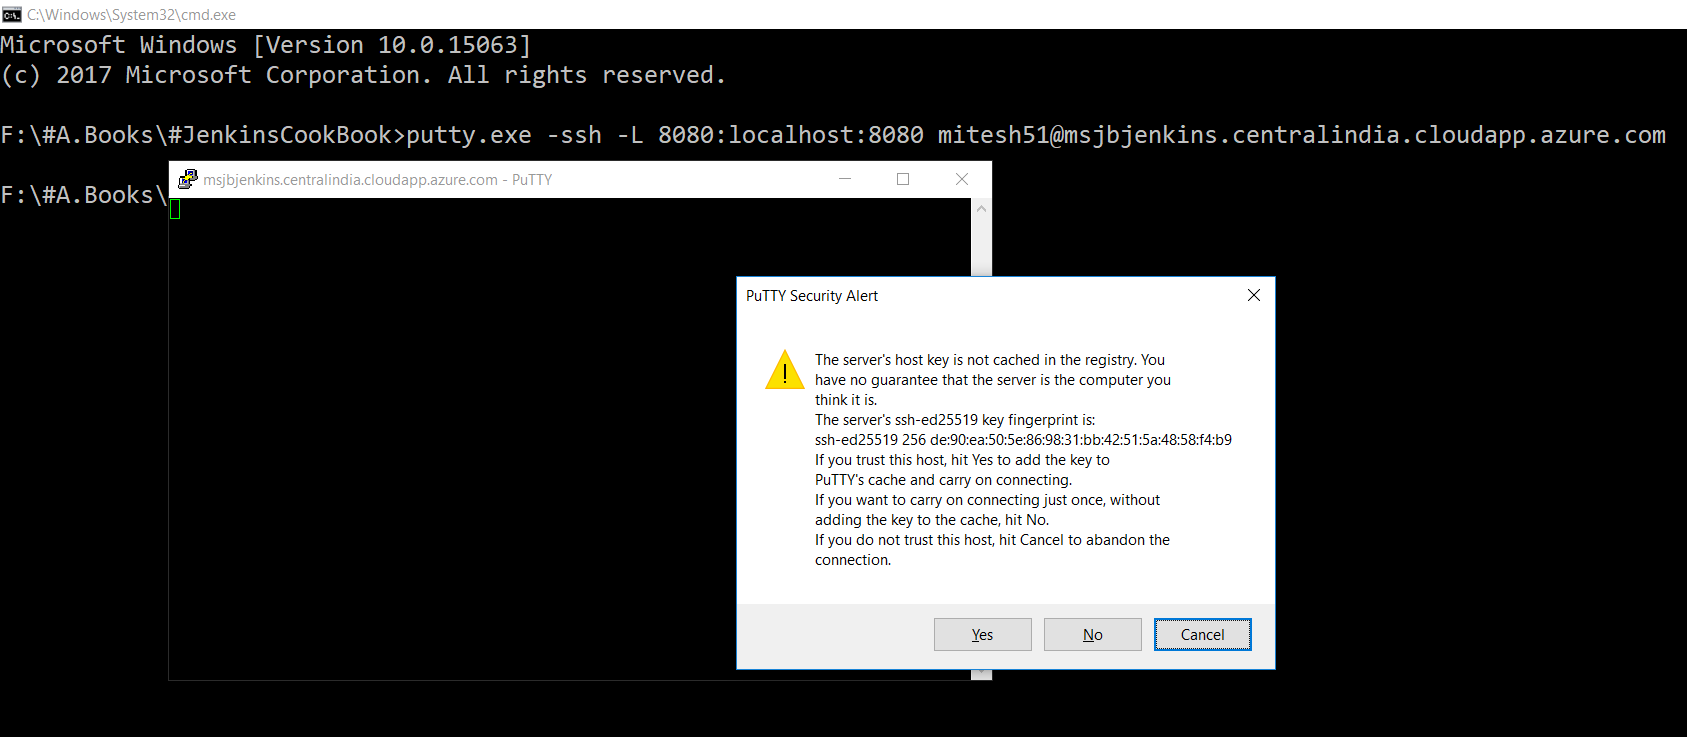
- Download PuTTY or any other ssh client so we can connect to the URL mentioned in the Jenkins page.
- Go to the location where putty.exe is available.
- Execute the command given on the Jenkins page in command prompt.
- Select Yes in PuTTY Security Alert:
- Open the browser and navigate to the URL, http://localhost:8080.
- It will ask for the Administrator password:
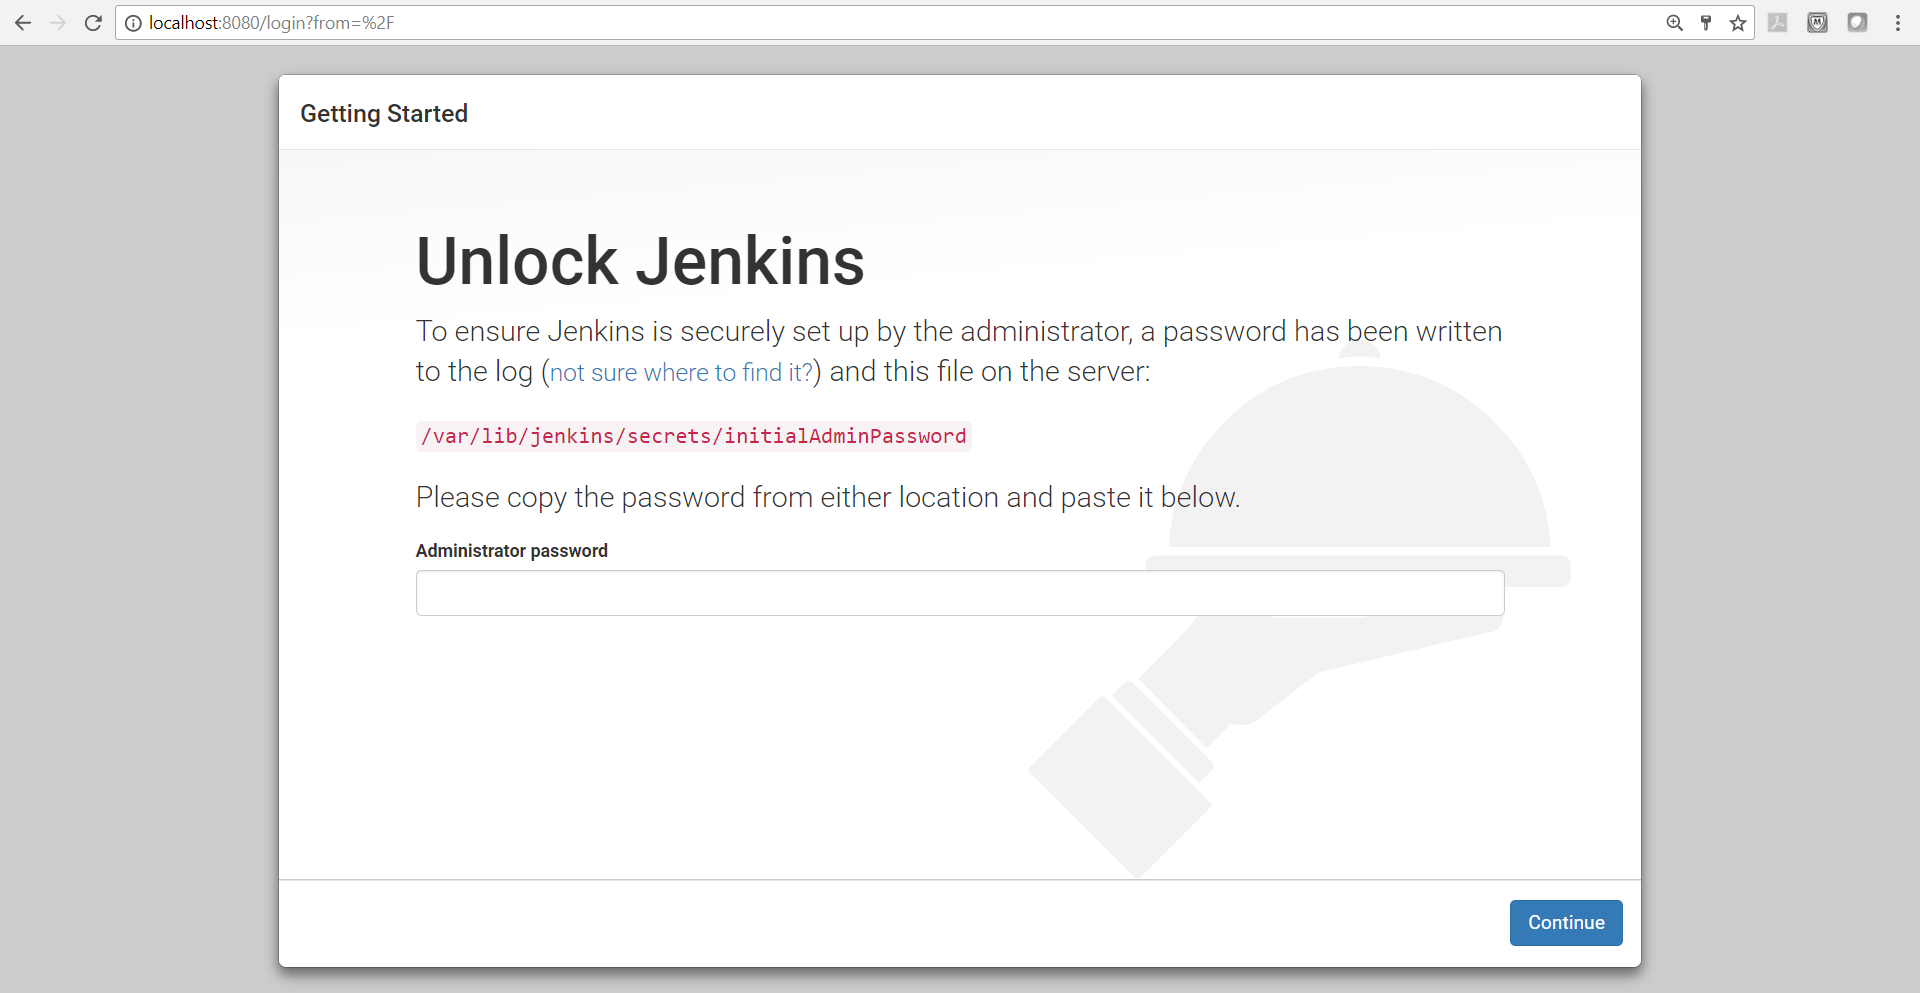
- In the PuTTY window, execute the cat command to get details of the file mentioned for the Administrator password.
- Replace that password in the Administrator password box and click on Continue:

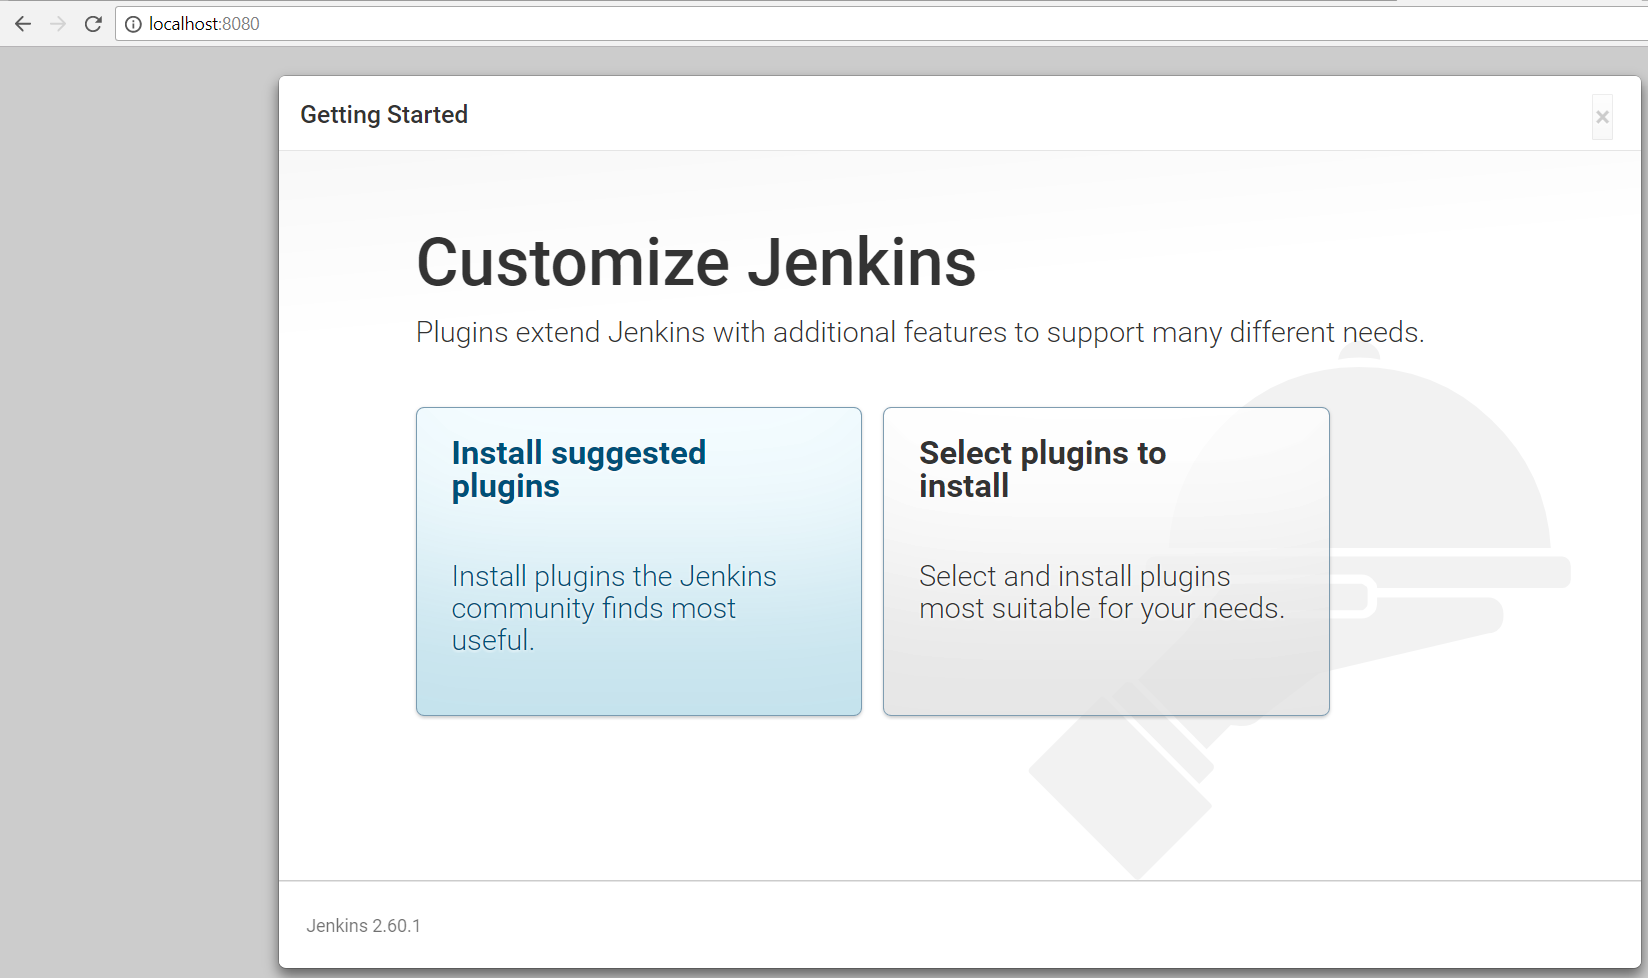
- Click on Install suggested plugins:
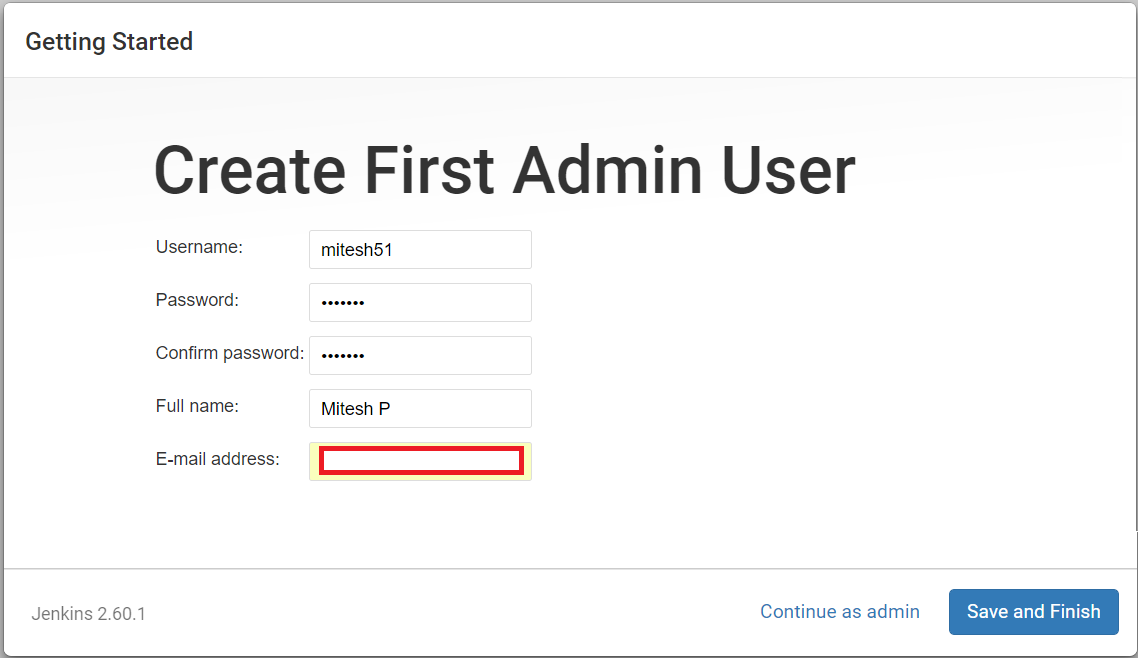
- Once all plugins are installed successfully, Create First Admin User. Click Save and Finish, as demonstrated in this next screenshot:
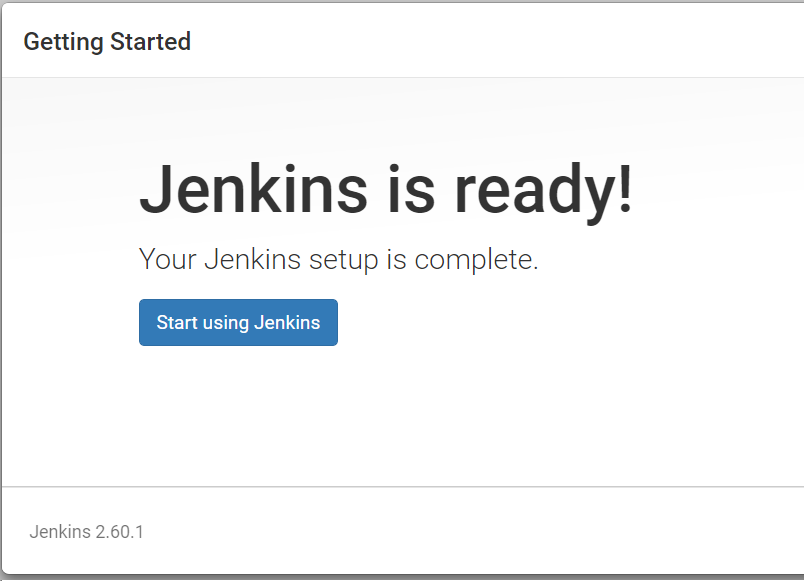
- Now, the Jenkins setup is completed. Click on Start using Jenkins:
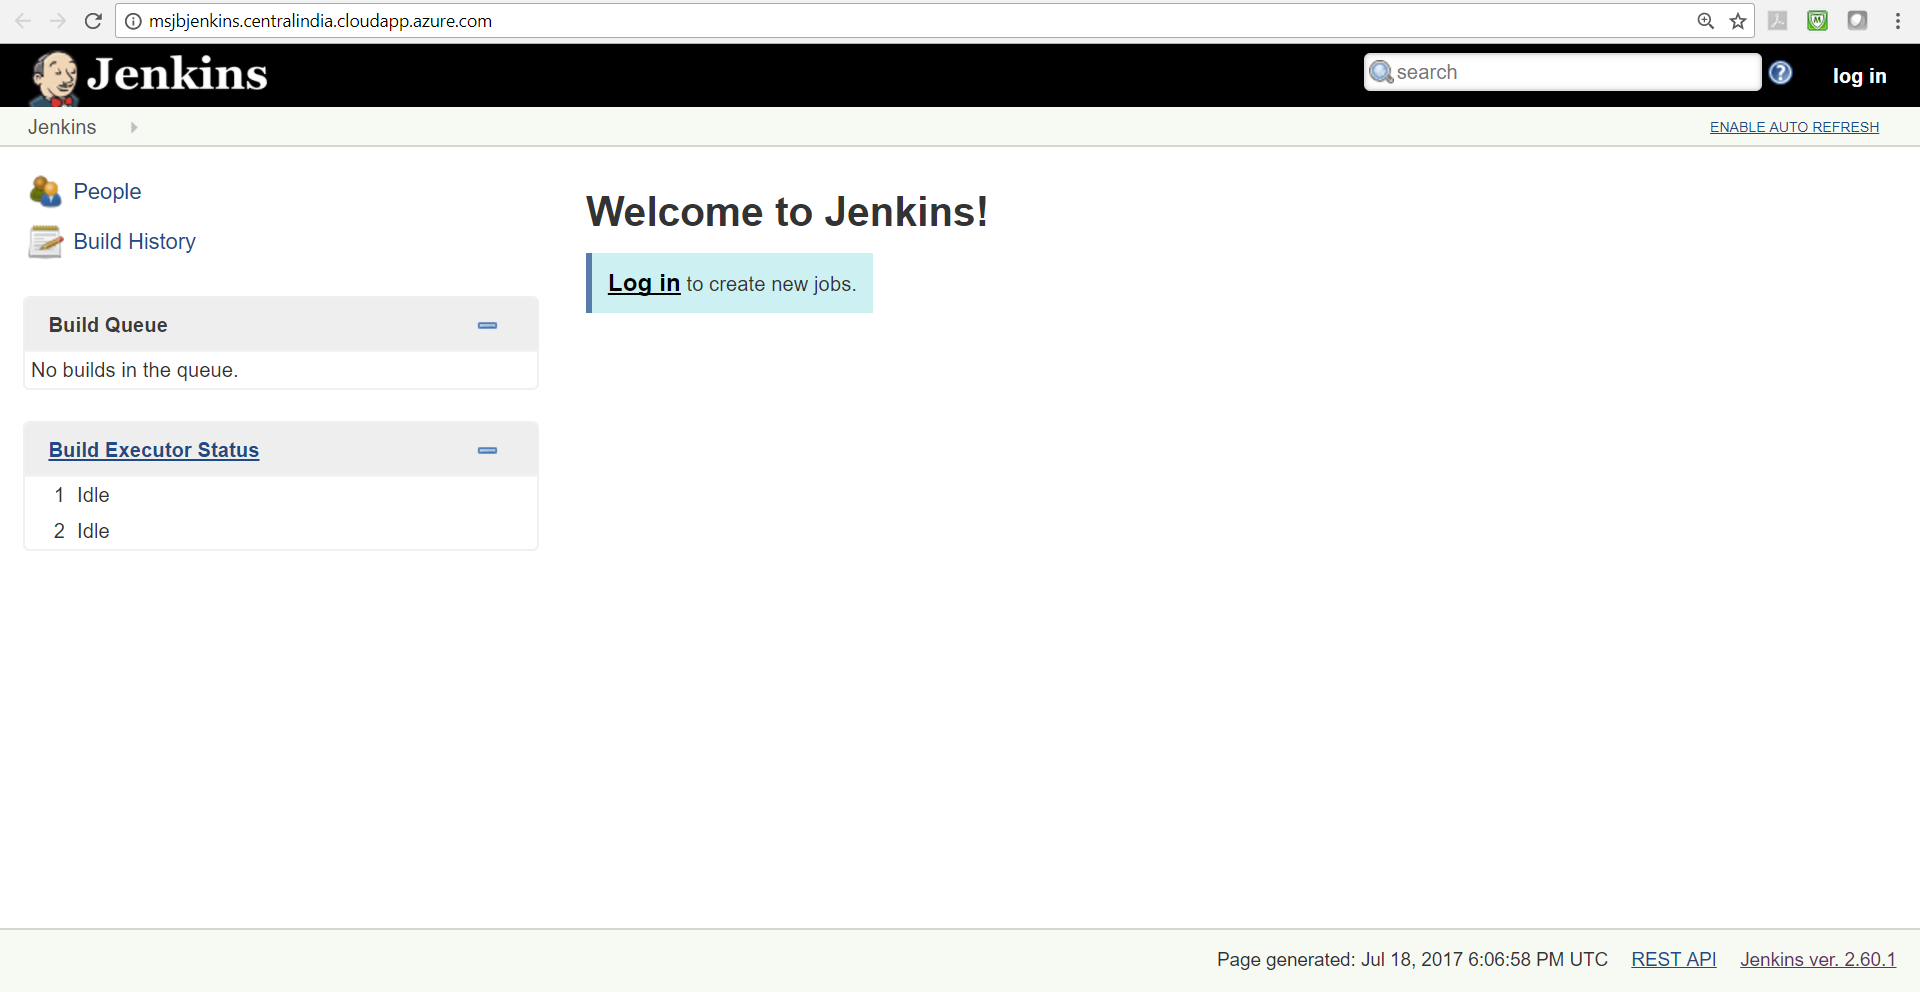
- Finally, we are at the dashboard screen:
How it works...
Behind the scene, the template creates all the resources that are required to host Jenkins, including virtual network, network security group, virtual machine, and so on, based on the best practices; and then Jenkins is installed and configured in a secured environment in Microsoft Azure.