Book Image

Real Time Analytics with SAP Hana

By : Vinay Singh
Book Image

Real Time Analytics with SAP Hana

By: Vinay Singh

Overview of this book

SAP HANA is an in-memory database created by SAP. SAP HANA breaks traditional database barriers to simplify IT landscapes, eliminating data preparation, pre-aggregation, and tuning. SAP HANA and in-memory computing allow you to instantly access huge volumes of structured and unstructured data, including text data, from different sources. Starting with data modeling, this fast-paced guide shows you how to add a system to SAP HANA Studio, create a schema, packages, and delivery unit. Moving on, you’ll get an understanding of real-time replication via SLT and learn how to use SAP HANA Studio to perform this. We’ll also have a quick look at SAP Business Object DATA service and SAP Direct Extractor for Data Load. After that, you will learn to create HANA artifacts—Analytical Privileges and Calculation View. At the end of the book, we will explore the SMART DATA access option and AFL library, and finally deliver pre-packaged functionality that can be used to build information models faster and easier.
Table of Contents (16 chapters)
Real Time Analytics with SAP HANA
Credits
About the Author
About the Reviewers
www.PacktPub.com
Preface
Index

Creating other elements


Let's learn to create other related elements, which can be used in conjunction with attribute view and analytical view.

Calculated attribute

The following are the steps to create a calculated attribute:

  1. Open any of the attribute views created previously.

  2. Click on Data foundation. In the output pane of the attribute view created previously, right-click Calculated Attributes.

  3. From the context menu, choose New. Give name and description of the calculated attribute that you want to create.

  4. Choose the Key tab page.

  5. Select the data type for the calculated attribute and fill the length and scale.

  6. Define the attribute using the required attributes, operator, and function.

  7. Drag and drop the required function onto the Expression Editor.

  8. Click Add.

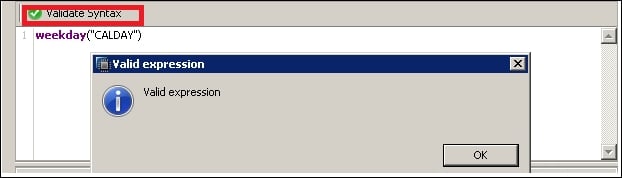
Here we have used Date Functions; as per our requirement, we can explore other options as well. We can validate the syntax just by clicking on validate syntax, as shown in the following screenshot:

Calculated measures

The steps for creating calculated...