-
Book Overview & Buying
-
Table Of Contents

Splunk Essentials - Second Edition
By :
Splunk Essentials
By:
Overview of this book
Splunk is a search, analysis, and reporting platform for machine data, which has a high adoption on the market. More and more organizations want to adopt Splunk to use their data to make informed decisions.
This book is for anyone who wants to manage data with Splunk. You’ll start with very basics of Splunk— installing Splunk—and then move on to searching machine data with Splunk. You will gather data from different sources, isolate them by indexes, classify them into source types, and tag them with the essential fields. After this, you will learn to create various reports, XML forms, and alerts. You will then continue using the Pivot Model to transform the data models into visualization. You will also explore visualization with D3 in Splunk. Finally you’ll be provided with some real-world best practices in using Splunk.
Table of Contents (10 chapters)
Preface

 Free Chapter
1. Splunk in Action
2. Bringing in Data
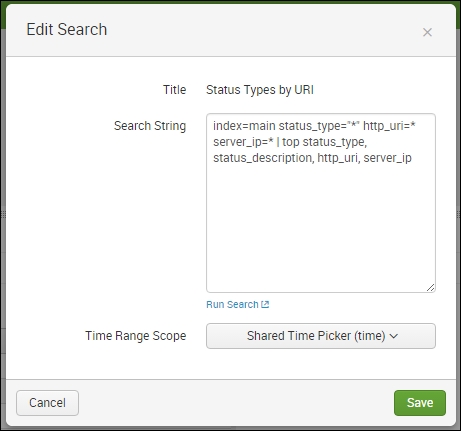
3. Search Processing Language
4. Data Models and Pivot
5. Data Optimization, Reports, Alerts, and Accelerating Searches
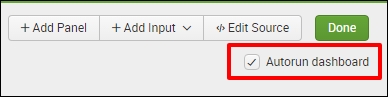
6. Panes of Glass
7. Splunk SDK for JavaScript and D3.js
8. HTTP Event Collector
9. Best Practices and Advanced Queries