

The previous sections were included to give us a better sense of what we are going to build and why. Now it is time to begin setting up a development environment that will support us as we work through all of these projects. Since this book is designed to teach us how to build the software to mine data for patterns, we will be writing our programs from scratch using a general purpose programming language. The Python programming language has a very strong – and still growing – community dedicated to data mining. This community has contributed some very handy libraries that we can use for efficient processing, and numerous data types that we can rely on to make our work go faster.
At the time of writing, there are two versions of Python available for download: Python 2 (the latest version is 2.7), now considered legacy, and Python 3 (the latest version is 3.5). We will be using Python 3 in this book. Because we have so many related packages and libraries we need to use to make our data mining experience as painless as possible, and because some of them can be a bit difficult to install, I recommend using a Python distribution designed for scientific and mathematical computing. Specifically, I recommend the Anaconda distribution of Python 3.5 made by Continuum Analytics. Their basic distribution of Python is free, and all the pieces are guaranteed to work together without us having to do the frustrating work of ensuring compatibility.
To download the Anaconda Python distribution, point your browser to the Continuum Analytics web site at https://www.continuum.io and follow the prompts to download the free Anaconda version (currently numbered 3.5 or above) that will work with your operating system.
Upon launching the software, you will see a splash screen that looks like the following screenshot:
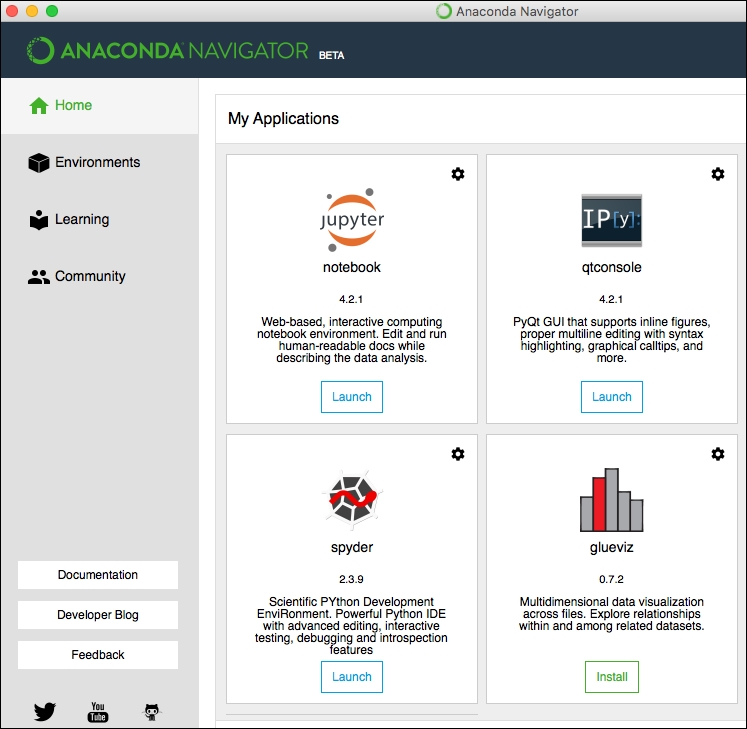
Continuum Anaconda Navigator
Depending on the version you are using and when you downloaded it, you may notice a few Update buttons in addition to the Launch button for each application within Anaconda. You can click each to update the package if your software version is indicating that you need to do this.
To get started writing Python code, click Spyder to launch the code editor and the integrated development environment. If you would rather use your own text editor, such as TextWrangler on MacOS or Sublime editor on Windows, that is perfectly fine. You can run the Python code from the command line.
Spend a few moments getting Spyder configured to your liking, setting its colors and general layout, or just keep the defaults. For my own workspace, I moved around a few of the console windows, set up a working directory, and made a few customization tweaks that made me feel at home in this new editor. You can do the same to make your development environment comfortable for you.
Now we are ready to test the editor and get our libraries installed. To test the Spyder editor and see how it works, click File and select New File. Then type a simple hello world statement, as follows:
print ('hello world')Run the program, either by clicking the green arrow, by pressing F5, or by clicking Run from inside the Run menu. Either way, the program will execute and you will see your output in the console output window.
At this point, we know Spyder and Python are working, and we are ready to test and install some libraries.
First, open a new file and save it as packageTest.py. In this test program, we will determine whether Scikit-learn was installed properly with Anaconda. Scikit-learn is a very important package that includes many machine learning functions, as well as canned data sets to test those functions. Many, many books and tutorials use Scikit-learn examples for teaching data mining, so this is a good package to have in our toolkit. We will use this package in several chapters in this book.
Running the following small program from the Scikit-learn tutorial on its website (found at http://scikit-learn.org/stable/tutorial/basic/tutorial.html#loading-an-example-dataset) will tell us if our environment is set up properly:
from sklearn import datasets
iris = datasets.load_iris()
digits = datasets.load_digits()
print (digits.data)
If this program runs properly, it will produce output in the console window showing a series of numbers in a list-like data structure, like this:
[[  0.   0.   5. ...,   0.   0.   0.]
[  0.   0.   0. ...,  10.   0.   0.]
[  0.   0.   0. ...,  16.   9.   0.]
...,
[  0.   0.   1. ...,   6.   0.   0.]
[  0.   0.   2. ...,  12.   0.   0.]
[  0.   0.  10. ...,  12.   1.   0.]
For our purposes, this output is sufficient to show that Scikit-learn is installed properly. Next, add a line that will help us learn about the data type of this digits.data structure, as follows:
print (type(digits.data))
The output is as follows:
<class 'numpy.ndarray'>
From this output, we can confirm that Scikit-learn relies on another important package called Numpy to handle some of its data structures. Anaconda has also installed Numpy properly for us, which is exactly what we wanted to confirm.
Next, we will test whether our network analysis libraries are included. We will use Networkx library later in the network mining we will do in Chapter 4, Network Analysis to build a graphical social network. The following code sample creates a tiny network with one node, and prints its type to the screen:
import networkx as nx
G=nx.Graph()
G.add_node(1)
print (type(G))
The output is as follows:
<class 'networkx.classes.graph.Graph'>
This is exactly the output we wanted to see, as it tells us that Networkx is installed and working properly.
Next we will test some of the text mining software we need in later chapters. Conveniently, the Natural Language Toolkit (NLTK), is also installed with Anaconda. However, it has its own graphical downloader tool for the various corpora and word lists that it uses. Anaconda does not come with these installed, so we will have to do it. To get word lists and dictionaries, we will create a new Python file, import the NLTK module, then prompt NLTK to start the graphical Downloader:
import nltk
nltk.download()
A new Downloader window will open in Anaconda that looks like this:
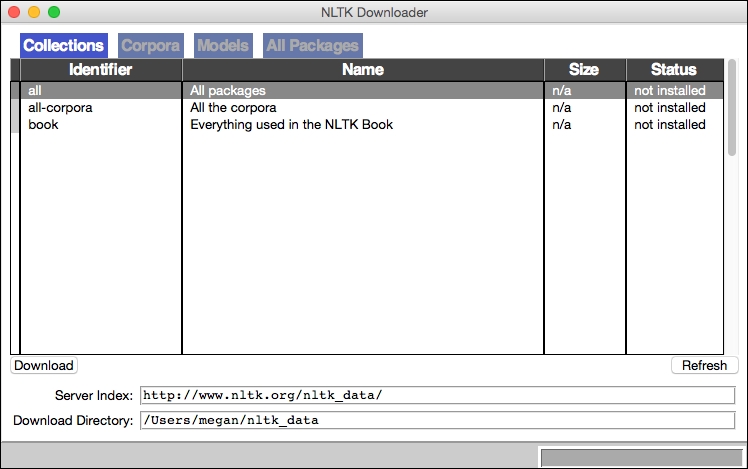
NLTK Downloader dialogue window
Inside this Downloader window, select all from the list of Identifiers, change the Download Directory location (optional), and press the Download button. The red progress bar in the bottom-left of the Downloader window will animate as each collection is installed. This may take several minutes if your connection is slow. This mid-download step is shown in the following screenshot:
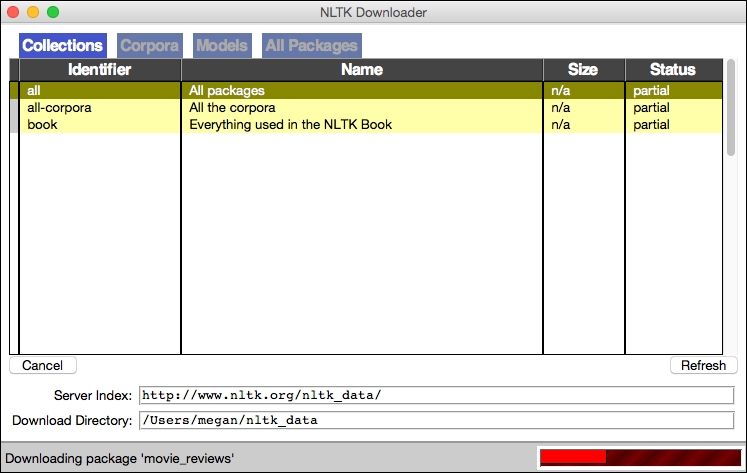
NLTK Downloader in progress
Once the Downloader has finished installing the NLTK corpora, we can test whether they work properly. Here is a short Python program where we ask NLTK to use the Brown University corpora and print the first 10 words:
from nltk.corpus import brown
print (brown.words()[0:10])
The output of this program is as follows, a list of the first 10 words in the NLTK Brown text corpus, which happens to be from a news story:
['The', 'Fulton', 'County', 'Grand', 'Jury', 'said', 'Friday', 'an', 'investigation', 'of']
With this output, we can be confident that NLTK is installed and all the necessary corpora have also been installed.
Next, we will install a text mining module called Gensim that we will need later for doing topic modeling. Gensim does not come pre-installed as part of Anaconda by default, but instead it is one of several hundred packages that are easily added by using Anaconda's built-in conda installer. From the Anaconda Tools menu, choose Open a Terminal and type conda install gensim. If you are prompted to update numpy and scipy, type y for yes, and the installation will proceed.
When the installation is finished, start up a new Python program and type this shortened version of the Gensim test program from its website:
from gensim import corpora, models, similarities
test = [[(0, 1.0), (1, 1.0), (2, 1.0)]]
print (test)
This program does not do much more than test if the module is imported properly and then print a list to the screen, but that is enough for now.
Finally, since this is a book about data mining, or knowledge discovery in databases, having some kind of database software to work with is definitely a good idea. Because it is free software, easy to install, and available for many operating systems, I chose MySQL to implement the projects in this book.
To get MySQL, head to the download page for the free Community Edition, available at http://dev.mysql.com/downloads/mysql/ for whatever OS you are using.
To get Anaconda Python to talk to MySQL, we will need to install some MySQL Python drivers. I like the pymysql drivers since they are fairly robust and lack some of the bugs that come with the standard drivers. From within Anaconda, start up a terminal window and run the following command:
conda install pymysql
It looks like all of our modules are installed and ready to be used as we need them throughout the book. If we decide we need additional modules, or if one of them goes out of date, we now know how to install it or upgrade it as needed.