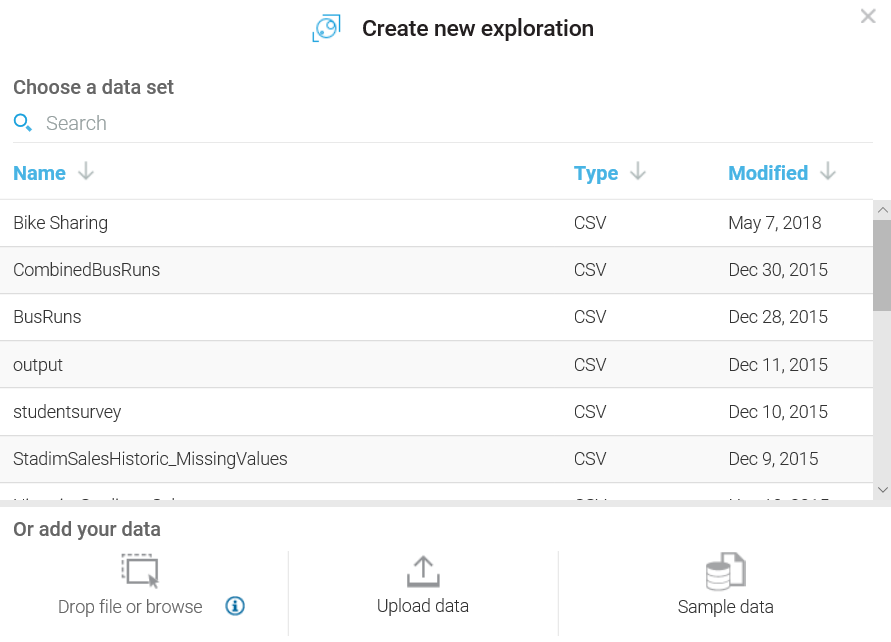
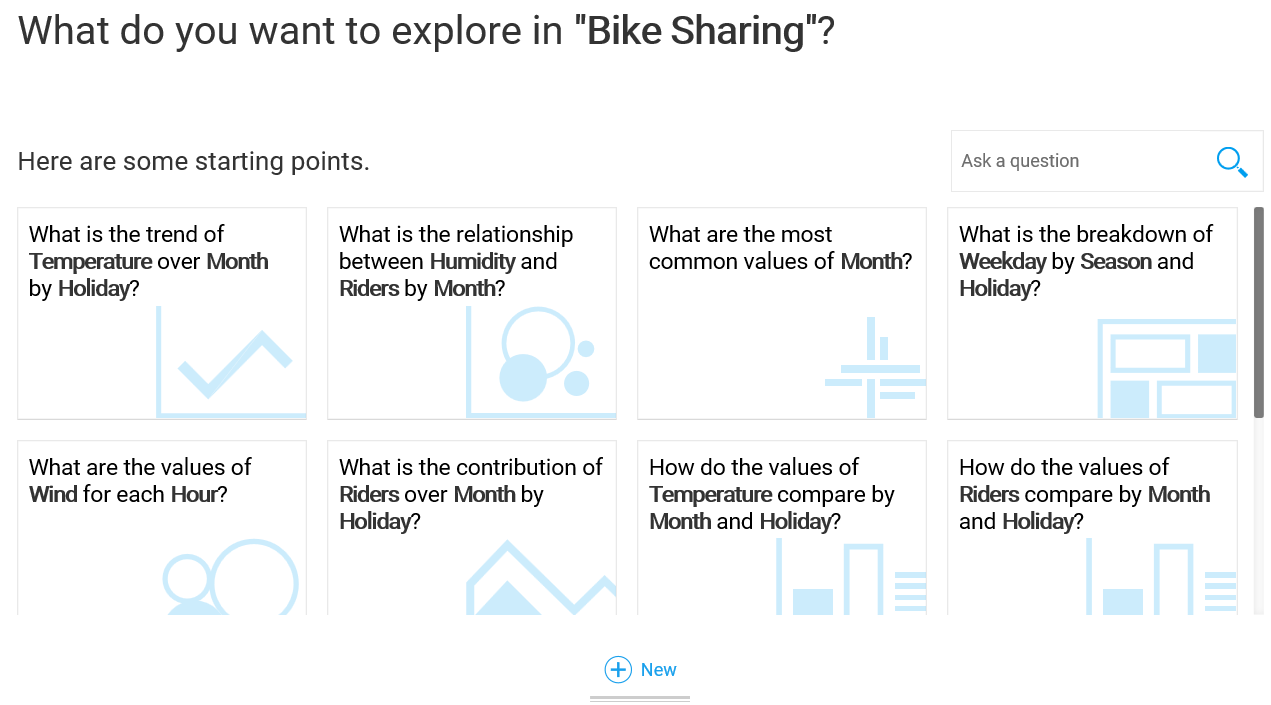
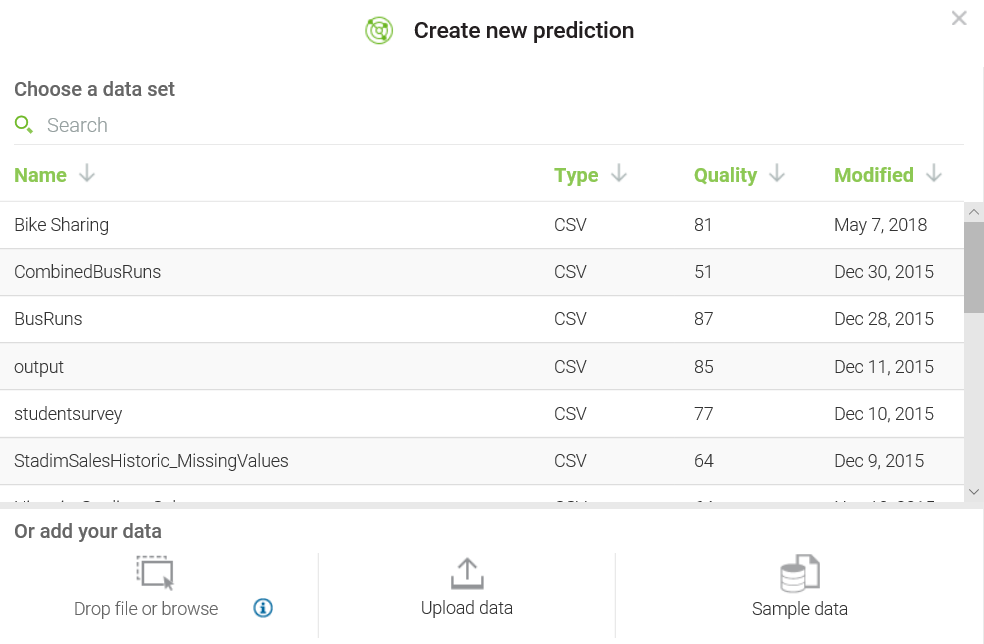
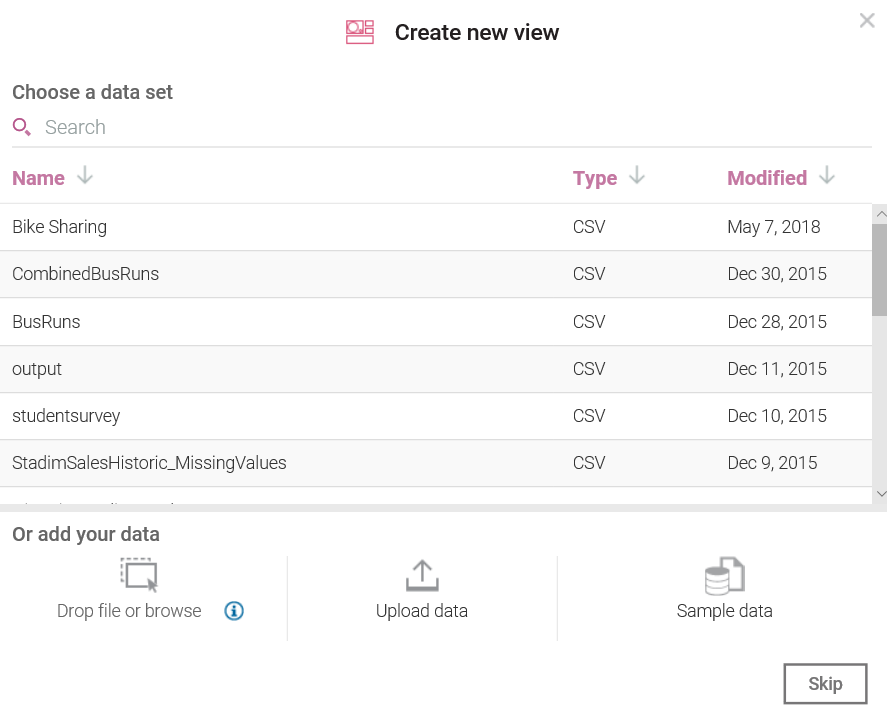
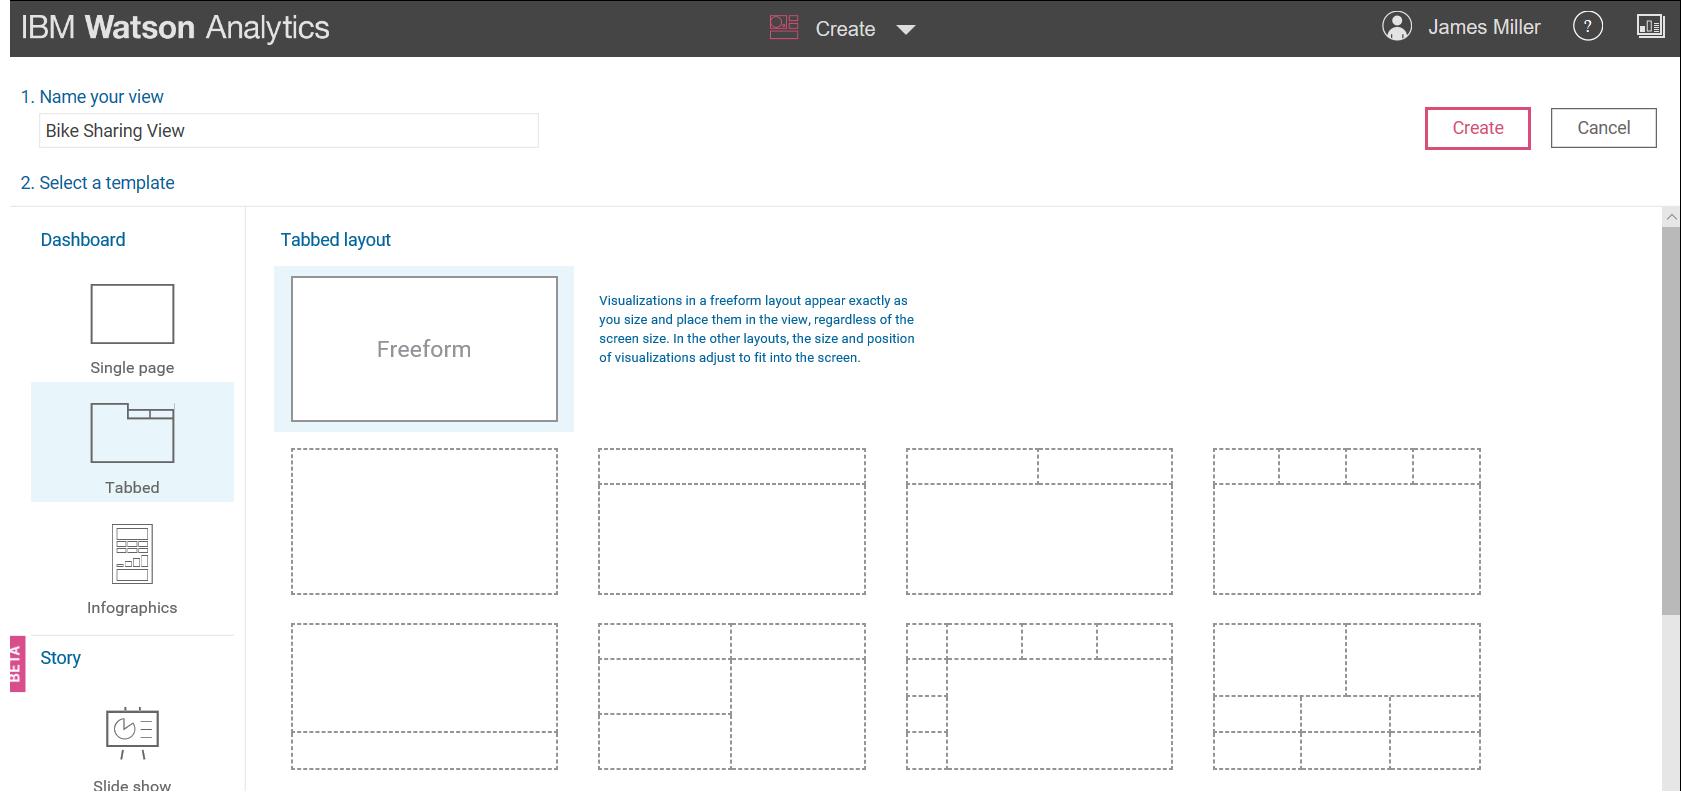
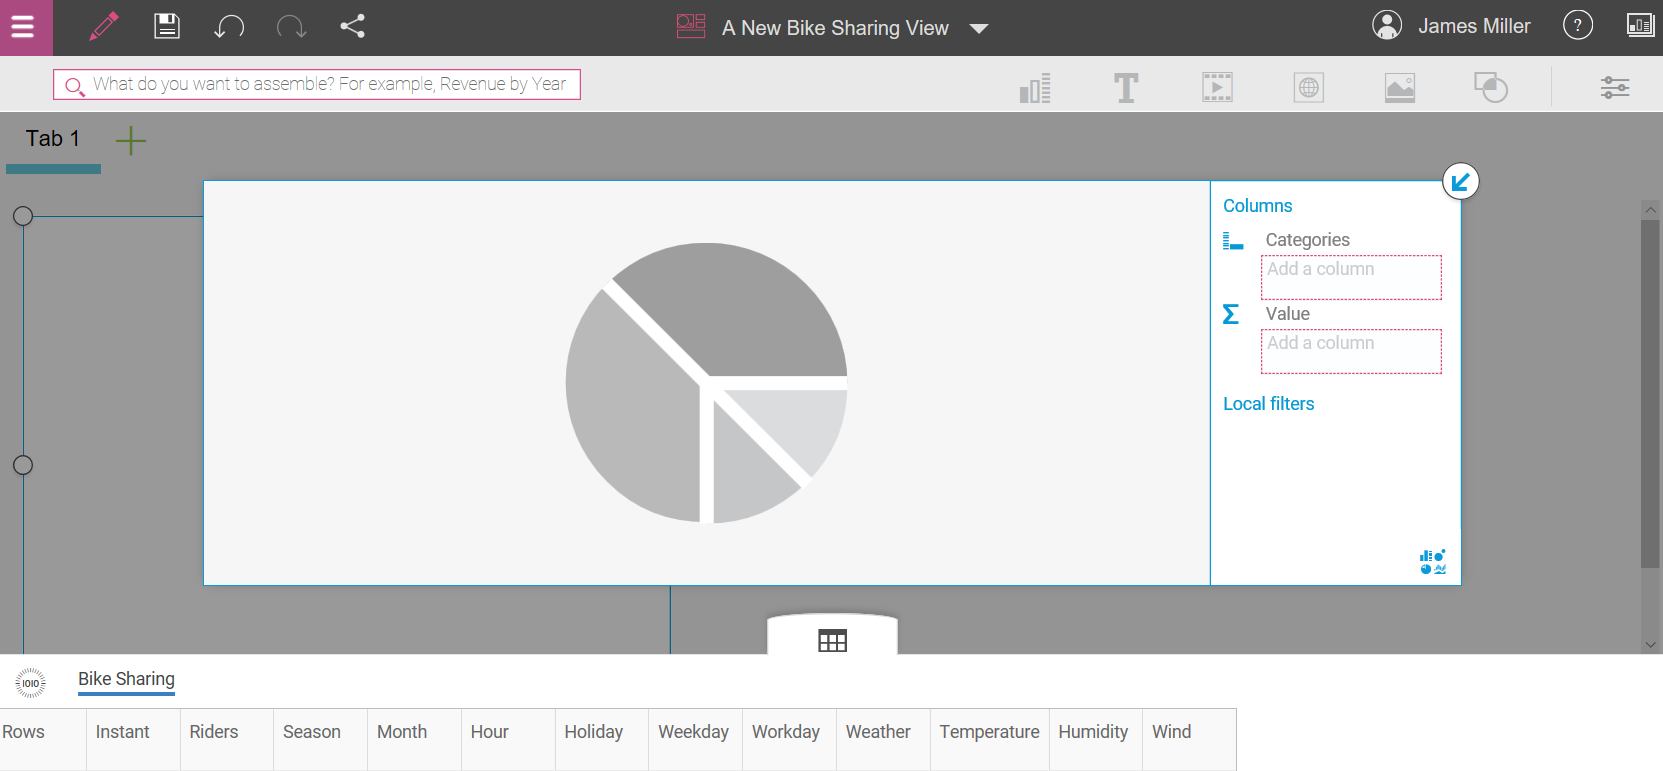
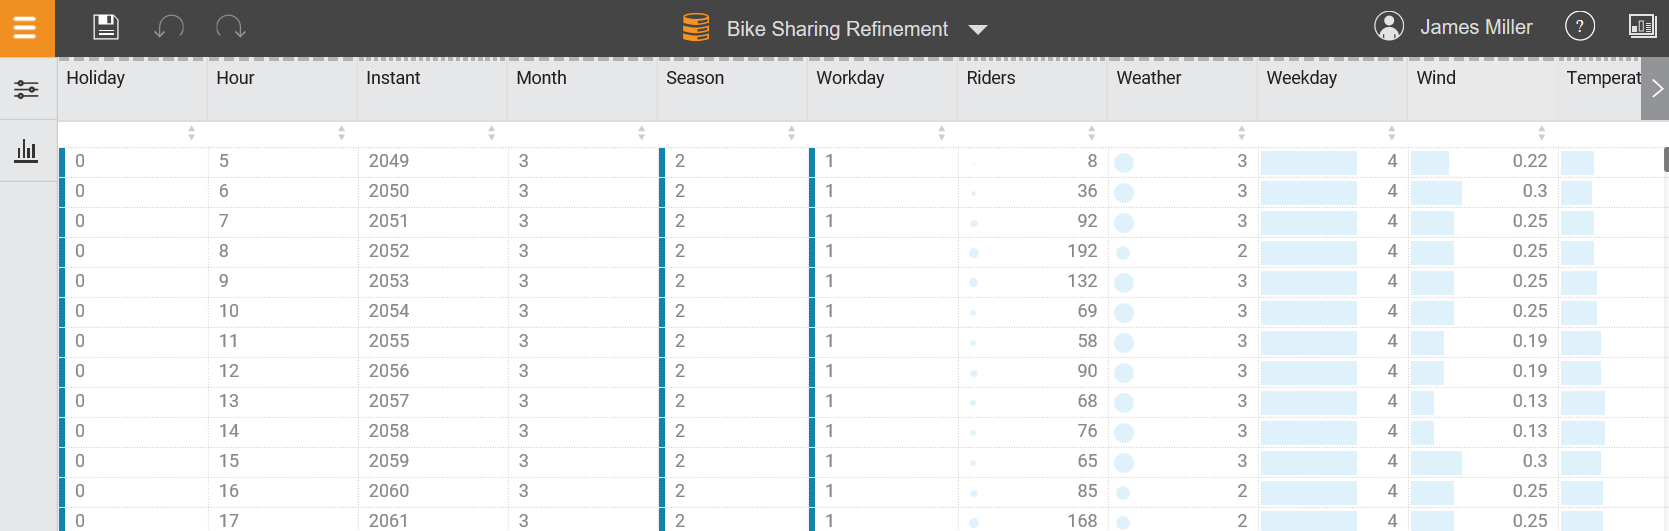
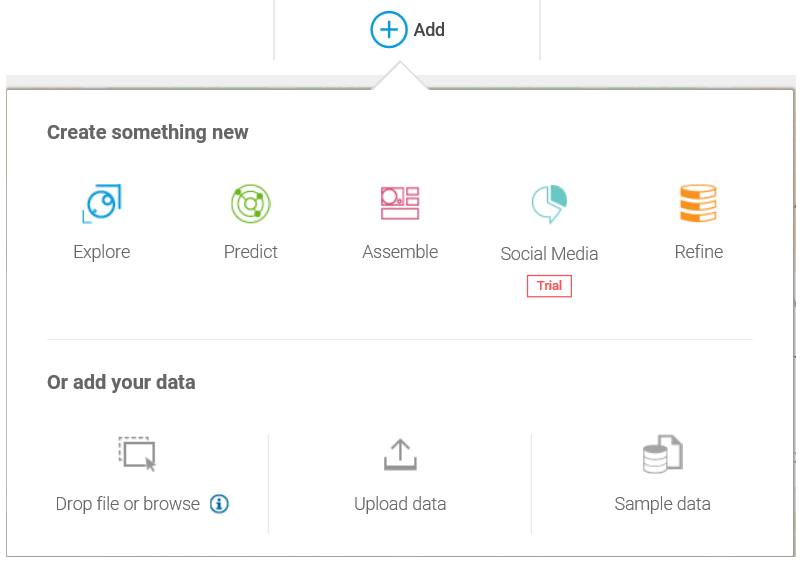
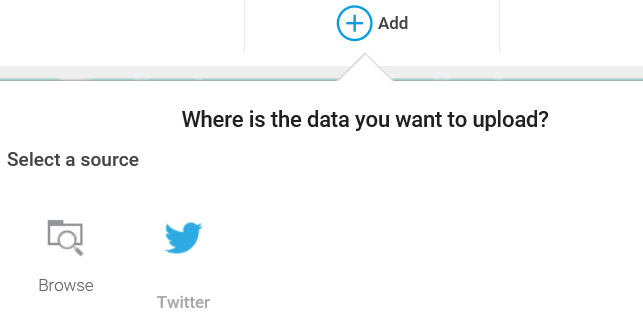
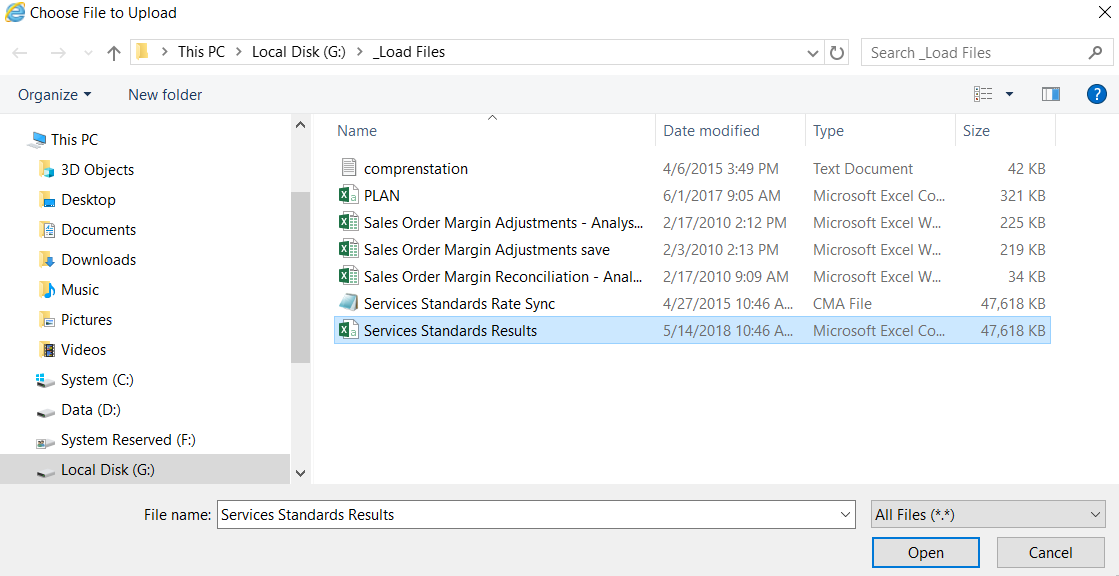
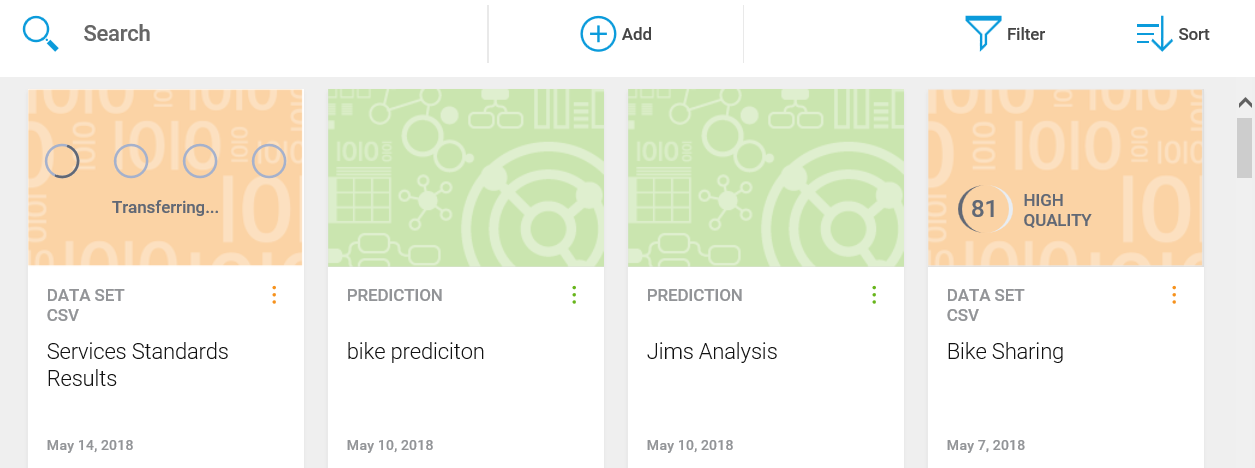
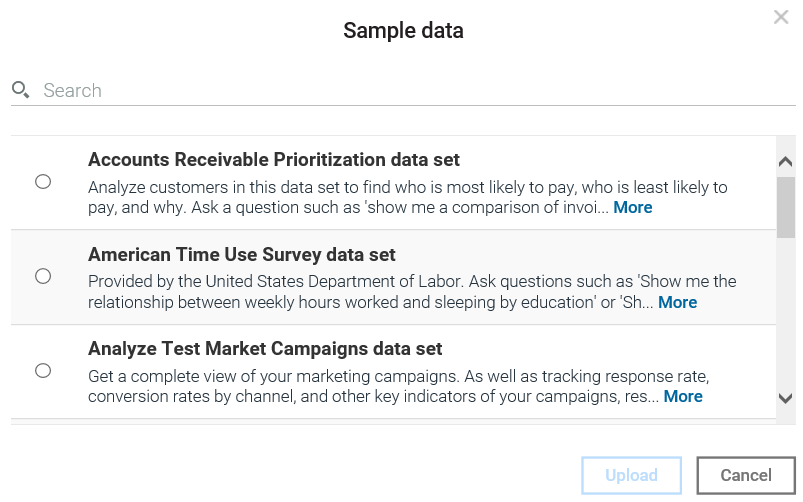
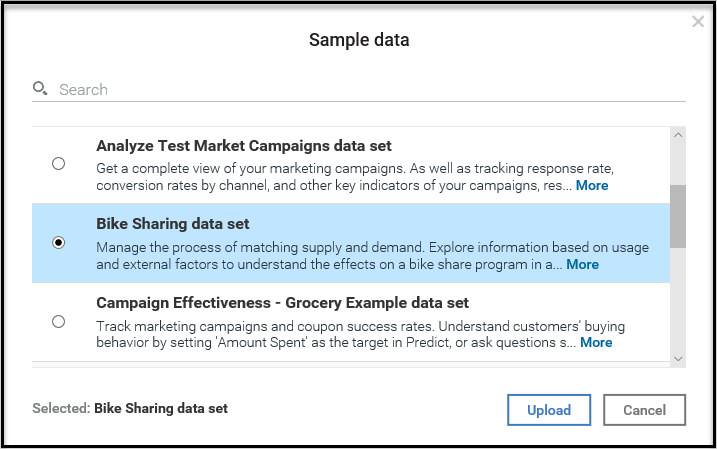
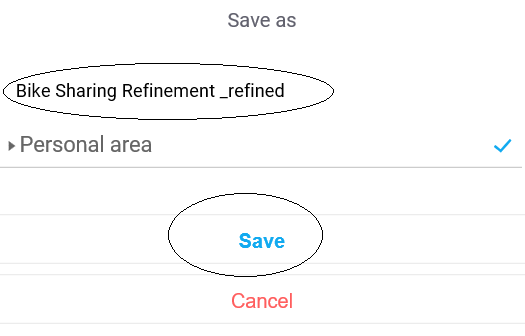
In this section, we will look into the basic tasks of IBM Watson.
-
Book Overview & Buying
-
Table Of Contents

IBM Watson Projects
By :
IBM Watson Projects
By:
Overview of this book
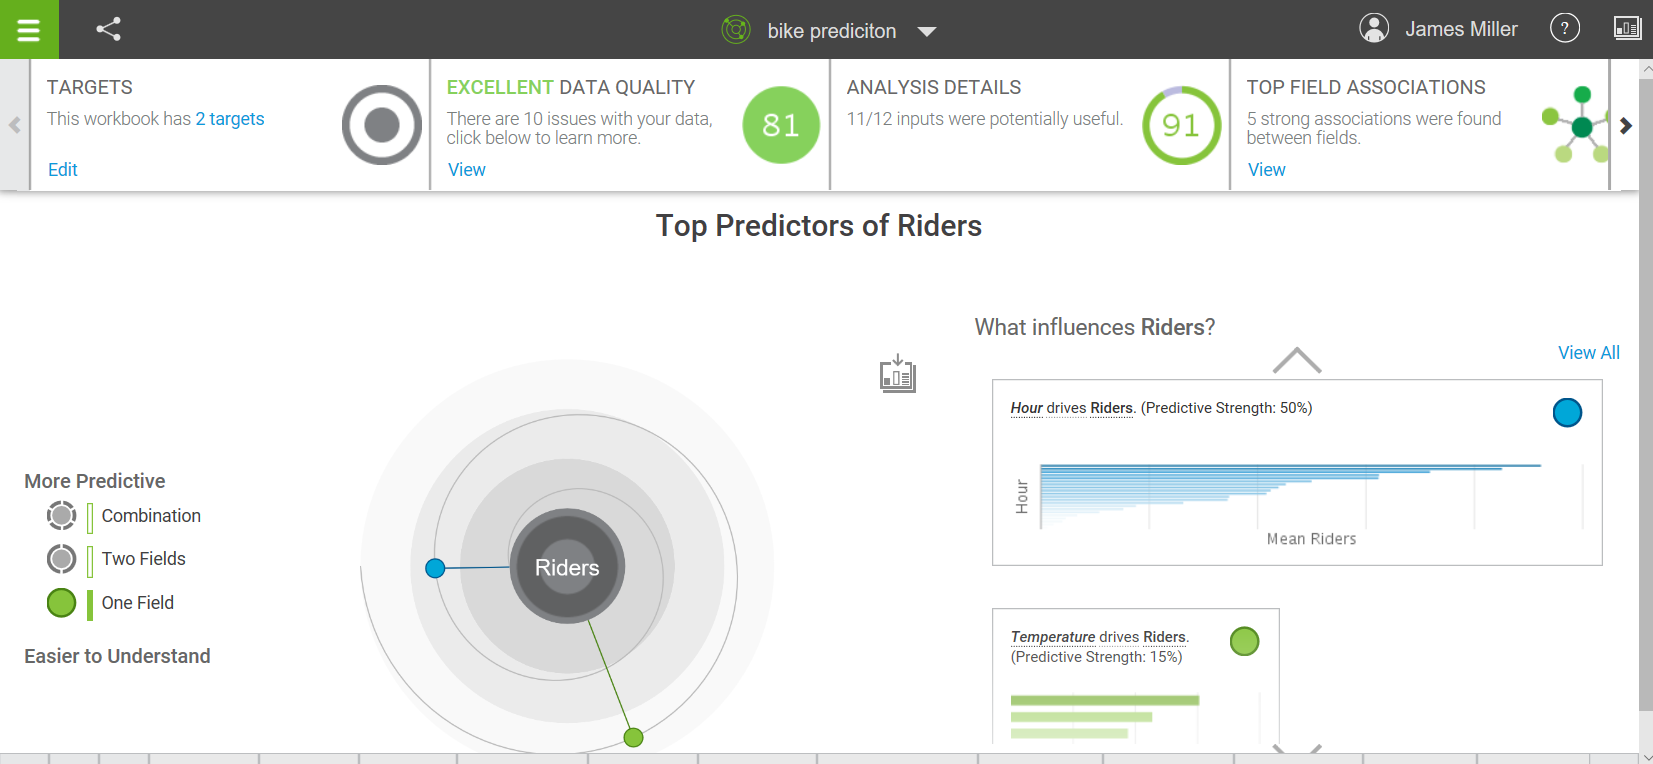
IBM Watson provides fast, intelligent insight in ways that the human brain simply can't match. Through eight varied projects, this book will help you explore the computing and analytical capabilities of IBM Watson.
The book begins by refreshing your knowledge of IBM Watson's basic data preparation capabilities, such as adding and exploring data to prepare it for being applied to models. The projects covered in this book can be developed for different industries, including banking, healthcare, media, and security. These projects will enable you to develop an AI mindset and guide you in developing smart data-driven projects, including automating supply chains, analyzing sentiment in social media datasets, and developing personalized recommendations.
By the end of this book, you'll have learned how to develop solutions for process automation, and you'll be able to make better data-driven decisions to deliver an excellent customer experience.
Table of Contents (12 chapters)
Preface
 Free Chapter
The Essentials of IBM Watson
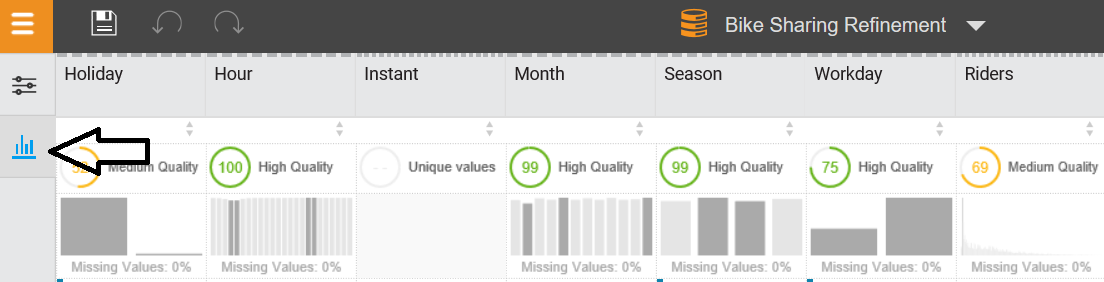
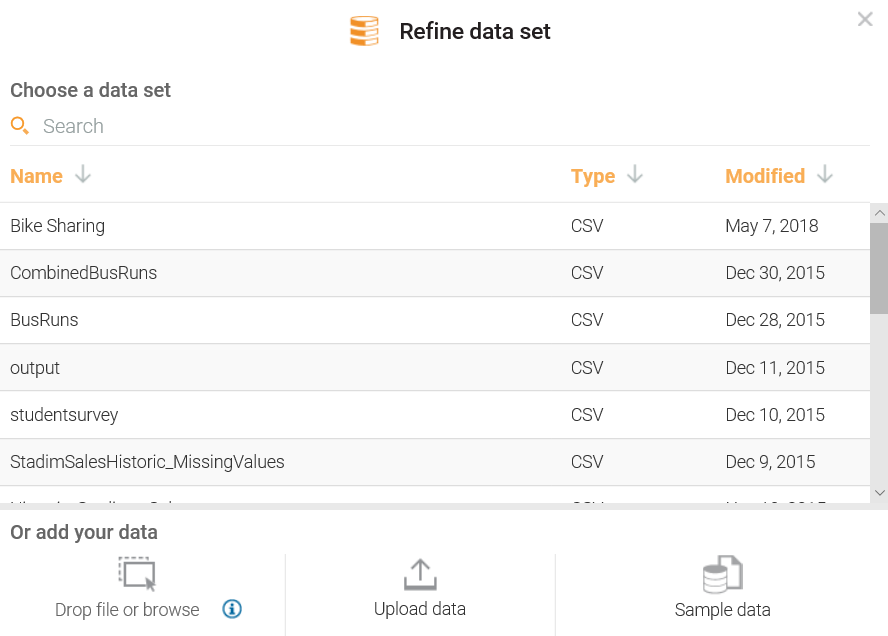
A Basic Watson Project
An Automated Supply Chain Scenario
Healthcare Dialoguing
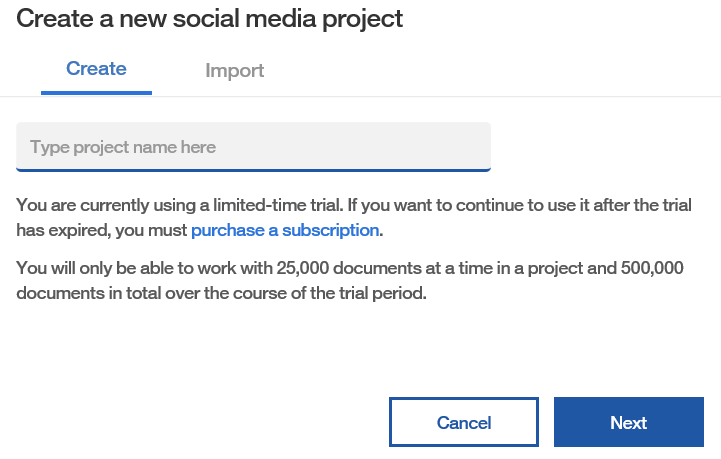
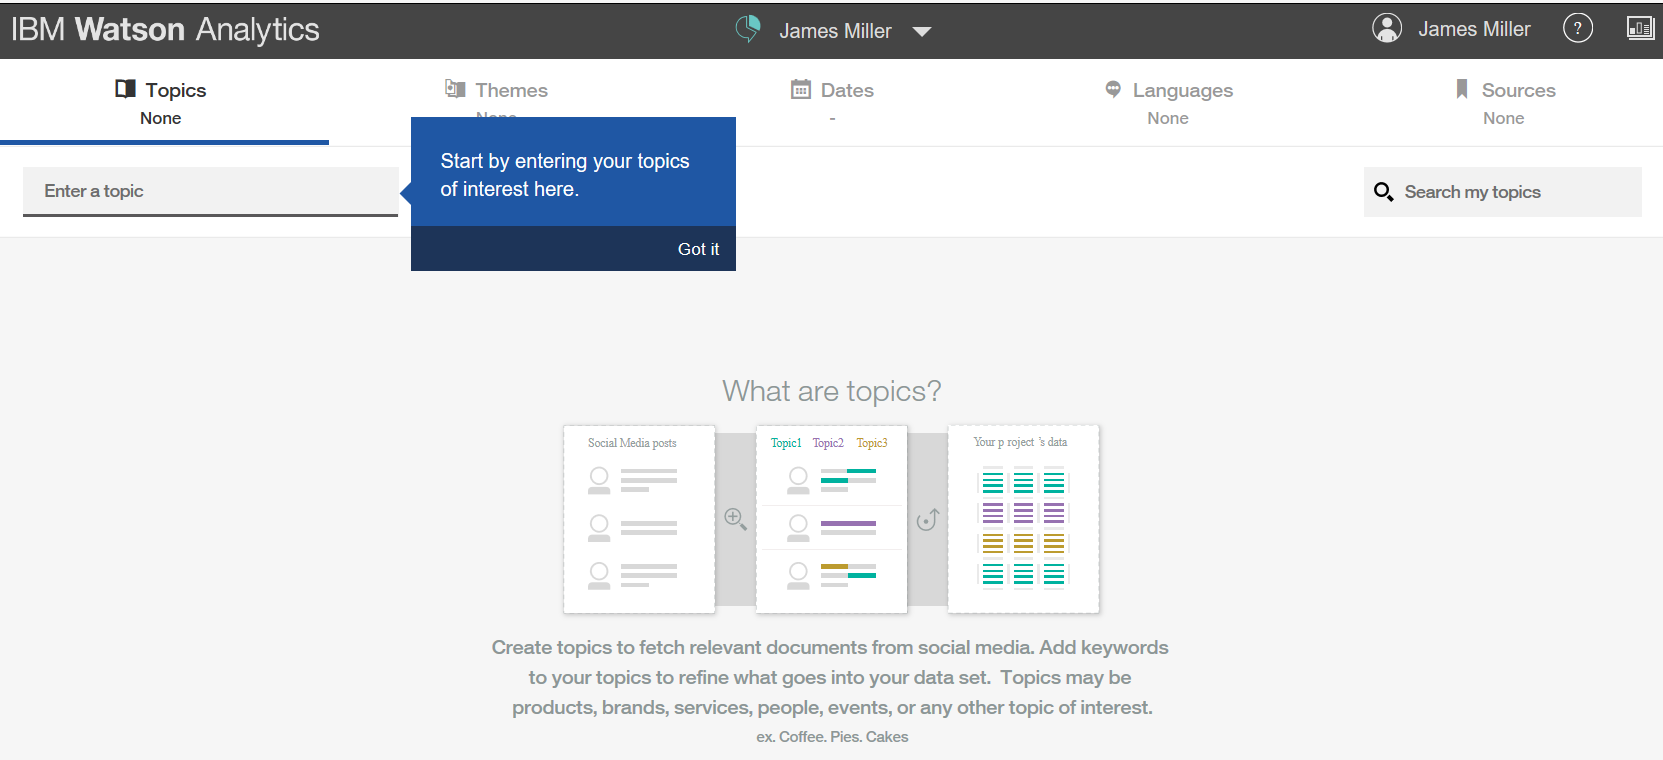
Social Media Sentiment Analysis
Pattern Recognition and Classification
Retail and Personalized Recommendations
Integration for Sales Forecasting
Anomaly Detection in Banking Using AI
Other Books You May Enjoy