


Here a list of useful commands to start with R and RStudio:
- help.start(): Starts the HTML version of R documentation
- help(command)/??command/help.search(command): Displays the help related to a specific command
- demo(): A user-friendly interface that runs some demonstrations of R scripts
- library(help=package): Lists functions and datasets in a package
- getwd(): Prints the directory that is currently active and working
- ls(): Lists the objects that are used in the current session
- setwd(mydirectory): Changes the working directory to mydirectory
- options(): Displays current settings in the options
- options(digits=5): You can print the specified digit as output
- history(): Displays previous commands until the limit of 25
- history(max.show=Inf): Displays all commands, irrespective of the limit
- savehistory(file=“myfile”): Saves the history (default file is a .Rhistory file)
- loadhistory(file=“myfile”): Recalls your command history
- save.image(): Saves the current workspace to the .RData file that's present in that particular working directory
- save(object list,file=“myfile.RData”): Saves objects into a specified file
- load(“myfile.RData”): Loads a specific object from a specified file
- q(): This will quit R for you with a prompt to save the current workspace
- library(package): Loads a library that's specific to a project
- install.package(package): Downloads and installs packages from CRAN-like repositories or even from local files
- rm(object1, object2…): Removes objects
To execute a command in RStudio, it should be written in the console, and then you must press Enter.
In RStudio, it is possible to create interactive documents by combining lines of code and plain text. R Notebooks will be helpful in interacting with R directly, and so we can have a publishing-quality document produced as output when we use it.
To create a new notebook in RStudio, go to File, New File, and R Notebook. The default notebook will open, as shown in the following screenshot:
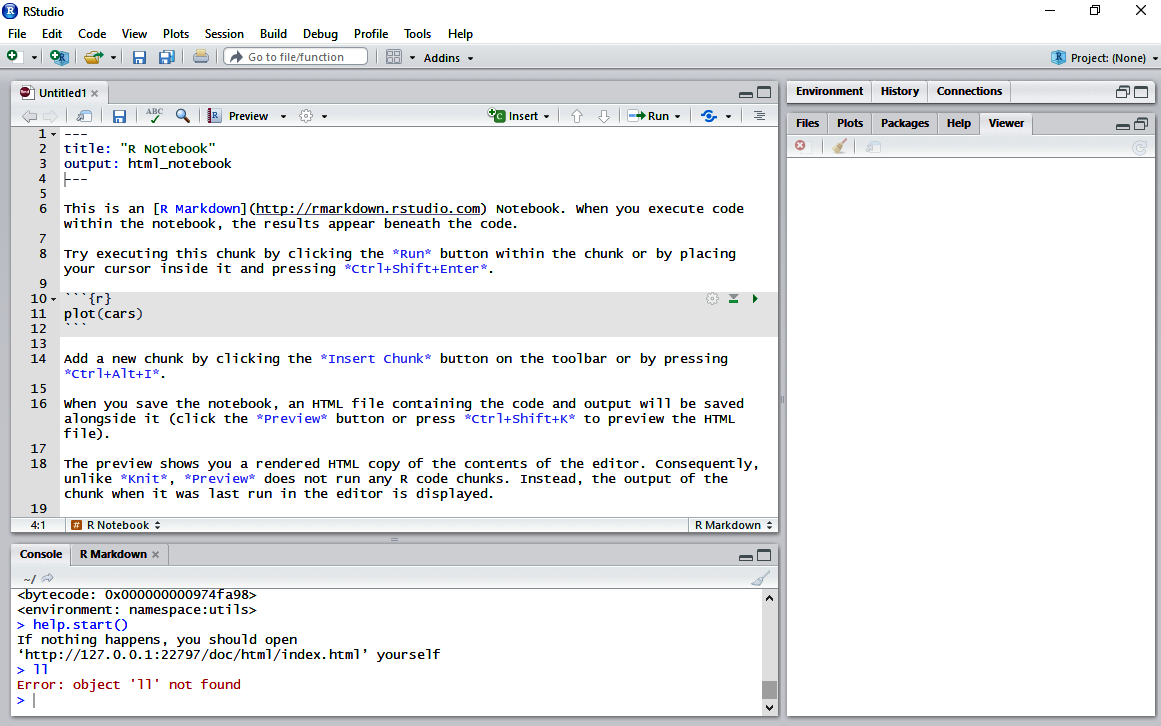
This notebook is a plain text file that has the .rmd extension. A file contains three types of content:
- An (optional) YAML header surrounded by --- lines
- R code chunks surrounded by ```r
- Text mixed with simple text formatting
R code chunks allow for the execution of code and display the results in the same notebook. To execute a chunk, click the run button within the chunk or place the cursor inside it and press Ctrl + Shift + Enter. If you wish to insert a chunk button on the toolbar, press Ctrl + Alt + I.
While saving the current notebook, a code and output file in HTML format will be generated and will be saved with the notebook. To see what the HTML file looks like, you can either click the Preview button or you can use the shortcut Ctrl + Shift + K. You can find and download all the code of this book as a R Notebook, where you can execute all the code without writing it directly.


