-
Book Overview & Buying
-
Table Of Contents

Microsoft SQL Azure Enterprise Application Development
By :
Microsoft SQL Azure Enterprise Application Development
By:
Overview of this book
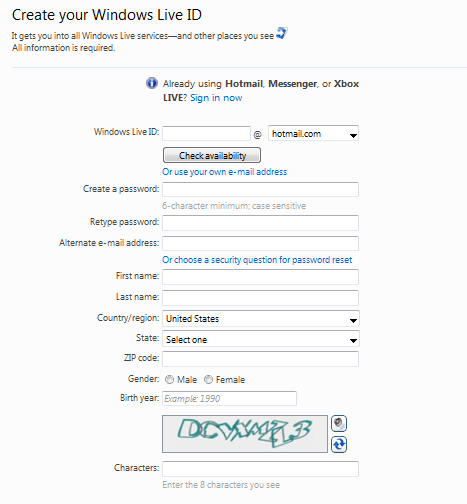
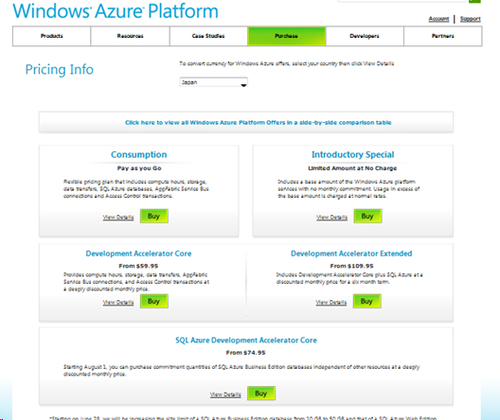
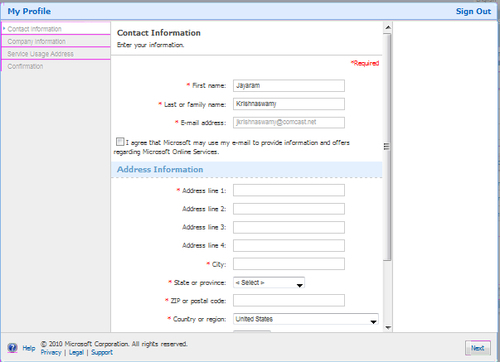
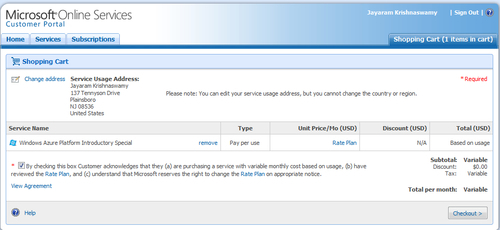
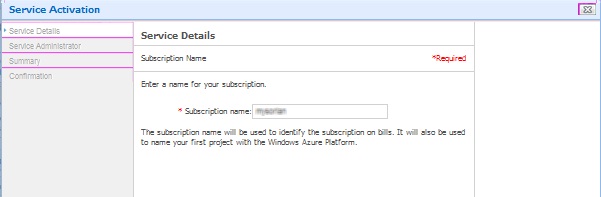
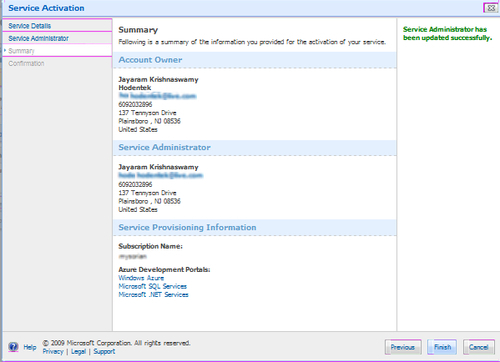
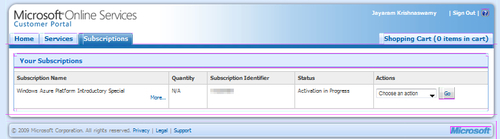
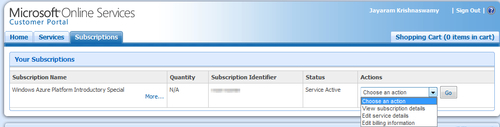
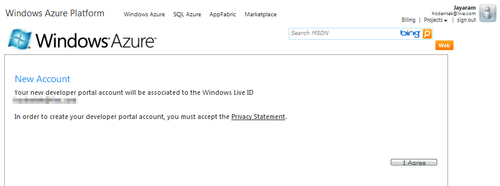
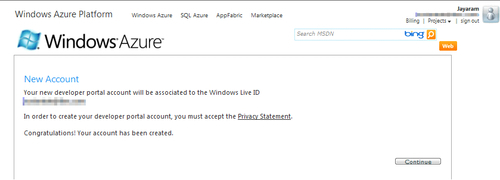
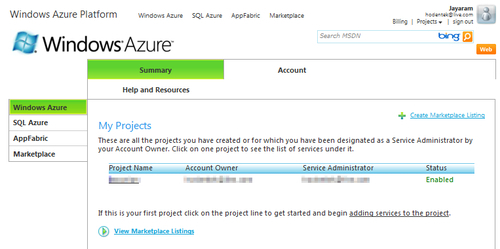
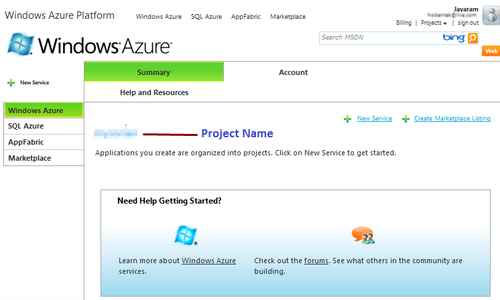
SQL Azure is a database service in the cloud. Based on Microsoft’s Windows Azure platform, SQL Azure is well suited for web facing database applications. Are you interested in moving your business applications and data to the cloud but are not sure how to go about it? Look no further; this book covers all you ever wanted to know about taking your relational enterprise data to the cloud using SQL Azure. This book will show you how to manage SQL Azure using various tools and also guide you in developing enterprise applications and business intelligence solutions. It will take you through migration and synchronization scenarios with a variety of tools, help you in working with Microsoft technology still in incubation, and in leveraging hybrid applications that exist partially in the cloud and partially on the ground.This step-by-step tutorial begins by providing an overview of Cloud Computing, introducing you to the most significant Cloud Computing implementations. You will then learn the mechanics of signing up and obtaining an account on Microsoft Windows Azure and logging into the portal.The book then dives deep into SQL Azure, showing you how to provision a SQL Azure Server, and how to create/delete databases as well as set up Firewall rules so that you can access SQL Azure from tools/Client programs. It is then followed by details of how to access SQL Azure using Client and Server APIs.Other content includes, a comprehensive description of tools required to access SQL Azure and how to use them and how to populate and migrate SQL Azure databases using a variety of tools.Finally, the book will detail with examples, data-centric applications that leverage a mix of on-site data and Cloud based data, how to synchronize data and extend the applicability of SQL Azure data by disconnected applications on mobile media, and synchronize services for globally distributed data. After covering the topics of services which are in production, the book will then cover future developments as well as a complete update to SQL Azure at the time of writing this book.
Table of Contents (17 chapters)
Microsoft SQL Azure: Enterprise Application Development

Credits
About the Author
Acknowledgement
About the Reviewers
www.PacktPub.com
Preface
 Free Chapter
Cloud Computing and Microsoft Azure Services Platform
SQL Azure Services
Working with SQL Azure Databases from Visual Studio 2008
SQL Azure Tools
Populating SQL Azure Databases
SSIS and SSRS Applications Using SQL Azure
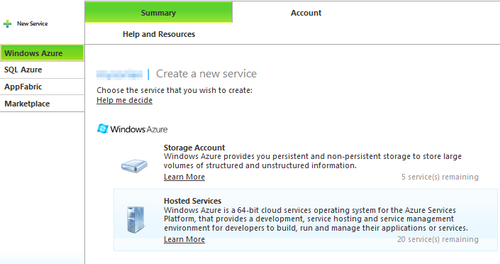
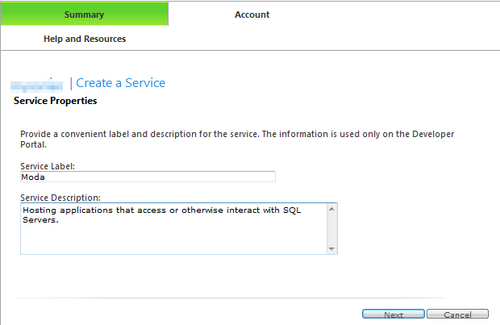
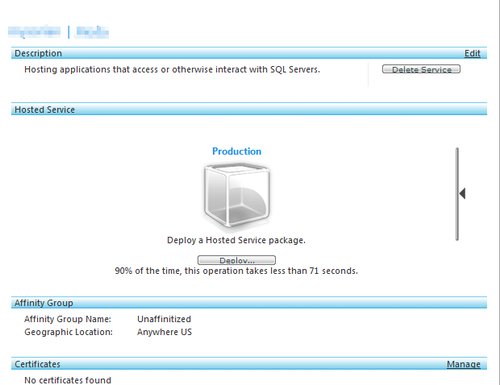
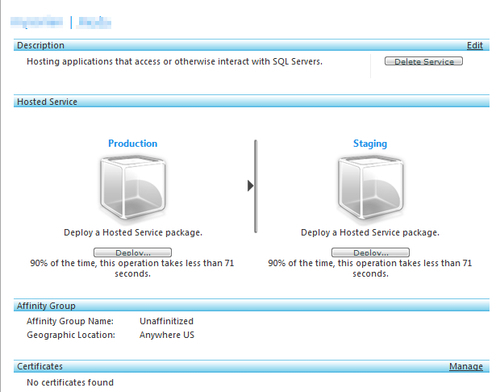
Working with Windows Azure Hosting
Database Applications on Windows Azure Platform Accessing SQL Server Databases
Synchronizing SQL Azure
Recent Developments