Book Image

Getting Started with Paint.NET

Book Image

Getting Started with Paint.NET

Overview of this book

Paint.NET is a free, reliable program that rivals the most expensive photo editing programs currently on the market.Paint.NET supports plugins, which add image adjustments, effects, and support for additional file types. They can be programmed using any .NET programming language, though they are most commonly written in C#. This book will teach you everything you need to know to edit and manipulate images. Written with very clear walkthroughs, hands-on tutorials,and amazing resources, this book will turn you into a photo wizard with Paint.NET. The book starts with simple tool-based tasks, introduces you to the workpane and then builds up to more complex areas taking a deep dive into the commonly-used features of Paint.NET. With this book, you will learn how to do everything from making simple adjustments to full artistic rendering with tools not available in any other program. Starting with the very basics of photo editing, you will gain an understanding of the basic principles of manipulating images. From layering to special effects, this book will give you all the knowledge you need to create images that leave a lasting impression. This book has everything you need to make amazing, artistic photos using completely free software. Filled with fun exercises and valuable information, you will learn how to master every tool and every effect in Paint.NET. Within minutes, you will be able to resize images, make adjustments to brightness and contrast, and apply color correction. By the end of this book, you will be working with layers and effects to create images that rival some of the most advised and expensive pieces of software. With simple exercises and information, this book will take you from absolute novice to an accomplished photo editor quickly and easily.
Table of Contents (15 chapters)
Getting Started with Paint.NET
Credits
About the Authors
About the Reviewer
www.PacktPub.com
Preface
Index

Merging layers


Too many layers might get a little too unwieldy. So what we are going to do now is merge the layers into one. Doing this will give us only one layer that is easier to deal with. Since these three layers will serve as our background, we will use them as one from here on. We will start with the very top layer and merge it down:

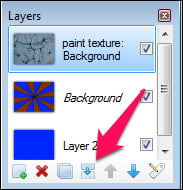
We will rename this new layer merged layers. This is now one unified layer that we will be able to control as a whole.

Now we are going to take the art piece image we created in Chapter 4, Image Resizing and Editing, in which we removed the background. However, we don't want to have the grunge layer affect this layer, so we are going to put this on the top layer.

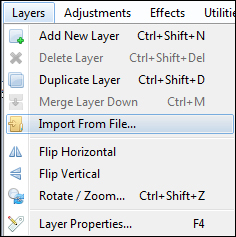
We do this by navigating to Layers | Import From File...:

In the pop-up window, navigate to the location where we saved the file and import the image by clicking on Open:

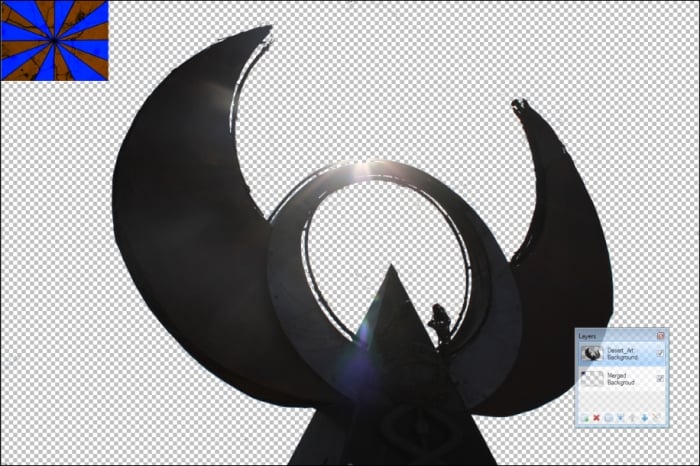
Only, something weird happens here. If you notice, the background has suddenly become a thumbnail. Why is that?

When we first worked...