Book Image

Raspberry Pi Computer Vision Programming

By : Ashwin Pajankar
Book Image

Raspberry Pi Computer Vision Programming

By: Ashwin Pajankar

Overview of this book

<p>This book will provide you with the skills you need to successfully design and implement your own Raspberry Pi and Python-based computer vision projects.</p> <p>From the beginning, this book will cover how to set up your Raspberry Pi for computer vision applications, exploring the basics of OpenCV, and how to design and implement real-life computer vision applications on your own. By sequentially working through the steps in each chapter, you will quickly be able to master the features of OpenCV. In the end of the book, you will also be introduced to SimpleCV, which is another powerful computer vision library for Python. Featuring plenty of coding examples and exercises, this book offers you an unparalleled learning experience.</p>
Table of Contents (17 chapters)
Raspberry Pi Computer Vision Programming
Credits
About the Author
About the Reviewers
www.PacktPub.com
Preface
5
Let's Make Some Noise
Index

Sending Raspberry Pi on a boating vacation


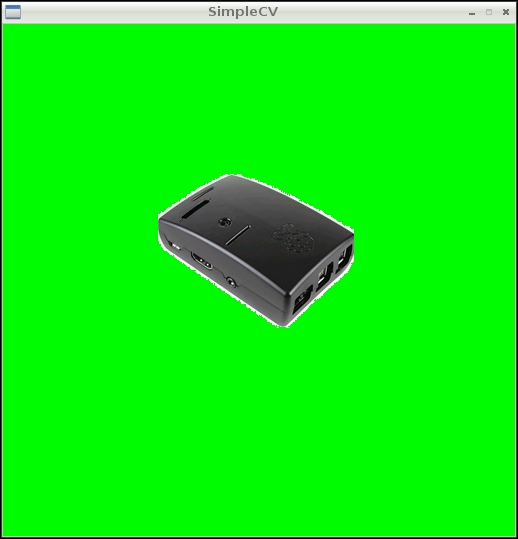
We made Pi work a lot until now. Let's send it on a well-deserved boating vacation. We are going to achieve it by applying a chroma key (green screen) effect to a picture of Pi with a scenic image as a background. First, we will load and display Pi with a green background:

from SimpleCV import *
import time

print 'Displaying Candidate Image'
candidate = Image ('/home/pi/book/test_set/mypy.png')
candidate.show()
time.sleep(3)

This image is as follows:

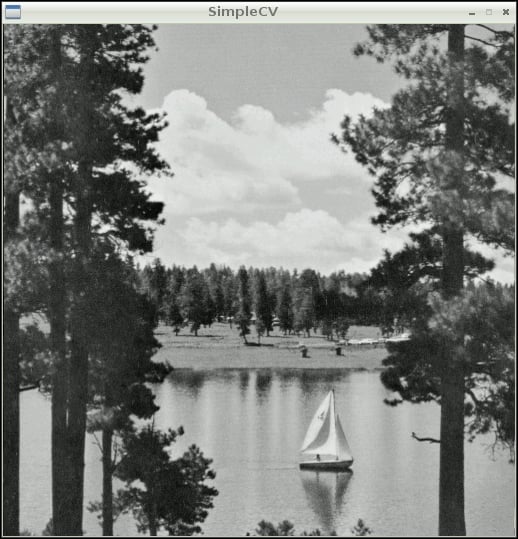
Then, we will load and display the scenic lake background by using the following code:

print 'Displaying Background Image'
lake = Image ('/home/pi/book/test_set/lake.tif')
lake.show()
time.sleep(7)

The scenic lake background will be displayed as follows:

Then, we will calculate the hue distance with hueDistance(), and green as the hue color, and binarize it with the following code:

print 'Apply and display mask'
mask=candidate.hueDistance(color=Color.GREEN).binarize()
mask.show()
time.sleep(7)

This will create...