

Showing the humidity and temperature data results on the serial port monitor
This section describes how the DHT11 data is displayed with the Blue Pill on the serial port monitor and the Curiosity Nano microcontroller boards, and also discusses what to do next with the data that's obtained from the DHT11 sensor module.
Open and run the code for the Blue Pill on the Arduino IDE. You can read the data that was obtained from the DHT11 by clicking on Tools | Serial Monitor from the Arduino IDE's main menu. This can be seen in the following screenshot:
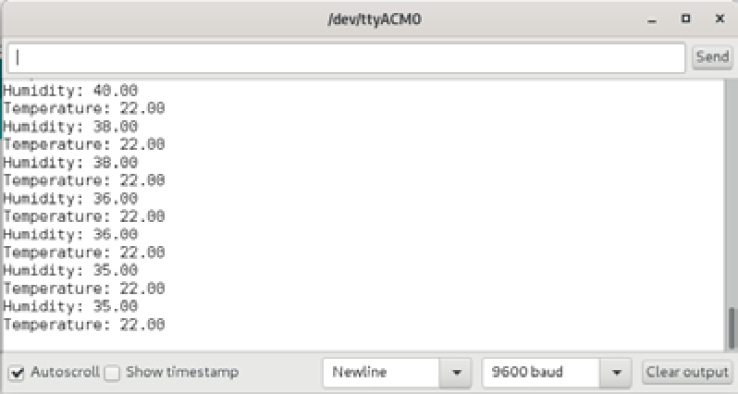
Figure 5.13 – Screenshot of the Arduino IDE's serial monitor
Here, you can see that the humidity and temperature values that were obtained from the DHT11 are shown with decimal points, thus showing a more accurate temperature. Remember that the variables storing these values were declared with the float type.
Tip
If you can't open the IDE's serial monitor and if the IDE...