
You can also run a virtual security lab on Mac OS X with relative ease by installing VMware Fusion on your Mac. VMware Fusion does require a license that has to be purchased, but it is very reasonably priced.
To install VMware Player on your Mac, you will first need to download the software. To download the free trial or purchase the software, go to the following URL: https://www.vmware.com/products/fusion/.
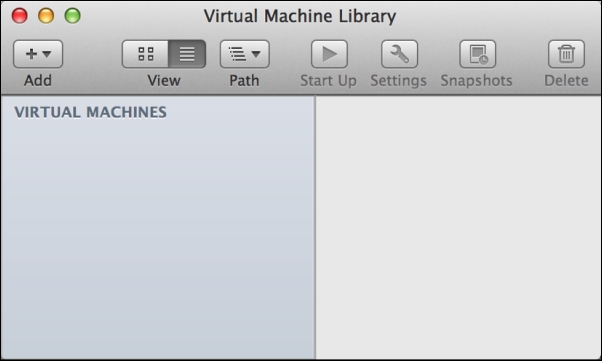
Once the software package has been downloaded, you should find it in your default download directory. Run the .dmg installation file and then follow the onscreen instructions to install it. Once the installation is complete, you can launch VMware Fusion either from the dock or within the Applications directory in Finder. Once loaded, you will see the virtual machine library. This library will not yet contain any virtual machines, but they will be populated as you create them on the left-hand side of the screen. The following screenshot shows the Virtual Machine Library:
To get started, click on the Add button in the top-left corner of the screen and then click on New. This will start the virtual machine installation wizard. The installation wizard is a very simple guided process to set up your virtual machine, as shown in the following screenshot:
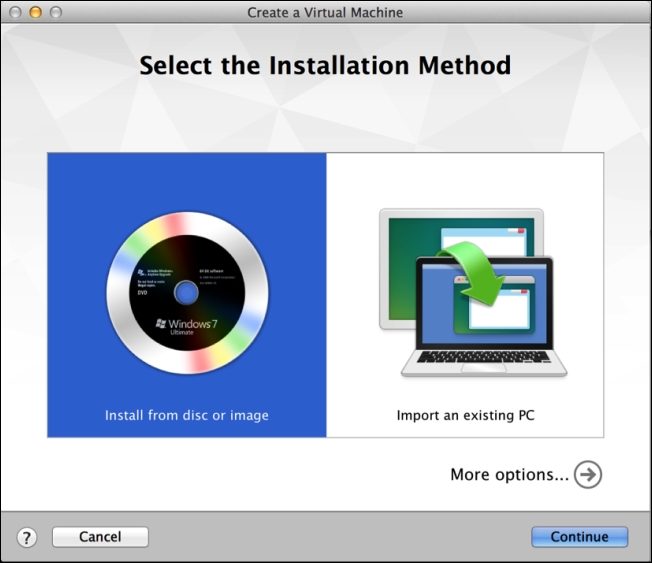
The first step requests that you select your installation method. VMware Fusion gives you options to install from a disc or image (ISO file), or offers several techniques to migrate existing systems to a new virtual machine. For all of the virtual machines discussed in this section, you will select the first option.
After selecting the first option, Install from disc or image, you will be prompted to select the installation disc or image to be used. If nothing is populated automatically, or if the automatically populated option is not the image you want to install, click on the Use another disc or disc image button. This should open up Finder, and it will allow you to browse to the image you would like to use. The place where you can get specific system image files will be discussed in later recipes in this section. Finally, we are directed to the Finish window:
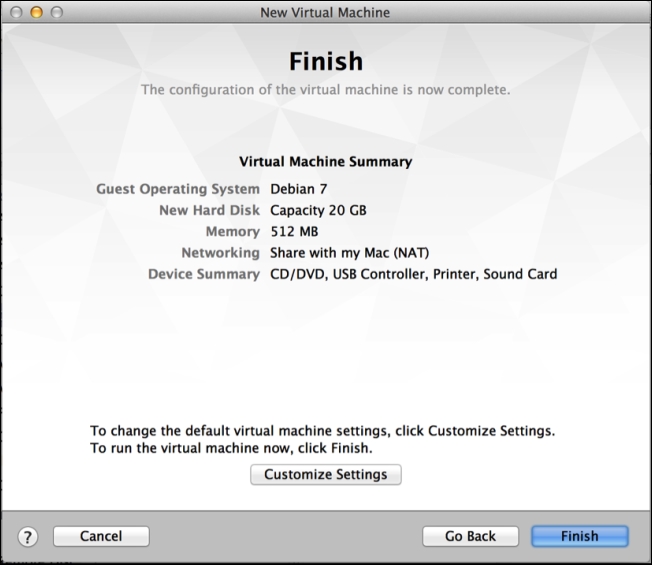
After you have selected the image file that you wish to use, click on the Continue button and you will be brought to the summary screen. This will provide an overview of the configurations you selected. If you wish to make changes to these settings, click on the Customize Settings button. Otherwise, click on the Finish button to create the virtual machine. When you click on it, you will be requested to save the file(s) associated with the virtual machine. The name you use to save it will be the name of the virtual machine and will be displayed in you virtual machine library, as shown in the following screenshot:
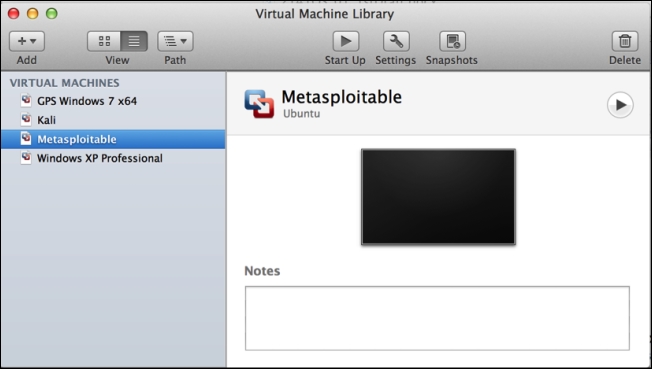
As you add more virtual machines, you will see them included in the virtual machine library on the left-hand side of the screen. By selecting any particular virtual machine, you can launch it by clicking on the Start Up button at the top. Additionally, you can use the Settings button to modify configurations or use the Snapshots button to save the virtual machine at various moments in time. You can run multiple virtual machines simultaneously by starting each one independently from the library.
By using VMware Fusion within the Mac OS X operating system, you can create a virtualized lab environment to create an entire network environment on an Apple host machine. Virtualization software such as VMware has made it significantly easier and cheaper to build a security lab for personal, independent study.