Book Image

Neural Network Programming with Java

By : Alan M. F. Souza, Fabio M. Soares
Book Image

Neural Network Programming with Java

By: Alan M. F. Souza, Fabio M. Soares

Overview of this book

<p>Vast quantities of data are produced every second. In this context, neural networks become a powerful technique to extract useful knowledge from large amounts of raw, seemingly unrelated data. One of the most preferred languages for neural network programming is Java as it is easier to write code using it, and most of the most popular neural network packages around already exist for Java. This makes it a versatile programming language for neural networks.</p> <p>This book gives you a complete walkthrough of the process of developing basic to advanced practical examples based on neural networks with Java.</p> <p>You will first learn the basics of neural networks and their process of learning. We then focus on what Perceptrons are and their features. Next, you will implement self-organizing maps using the concepts you’ve learned. Furthermore, you will learn about some of the applications that are presented in this book such as weather forecasting, disease diagnosis, customer profiling, and characters recognition (OCR). Finally, you will learn methods to optimize and adapt neural networks in real time.</p> <p>All the examples generated in the book are provided in the form of illustrative source code, which merges object-oriented programming (OOP) concepts and neural network features to enhance your learning experience.</p>
Table of Contents (19 chapters)
Neural Network Programming with Java
Credits
About the Authors
About the Reviewer
www.PacktPub.com
Preface
Index

Importing a project


Tip

Before importing the project, make sure that you unzip it in a folder you know.

The following are the steps to import a project in Eclipse:

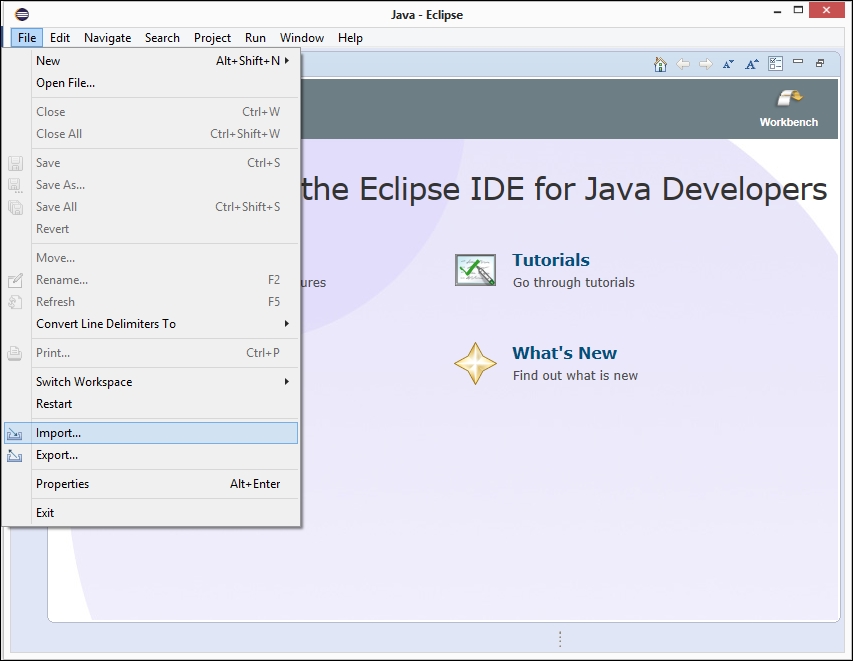
  1. To import a project that is already developed in your Eclipse IDE, navigate to File | Import.

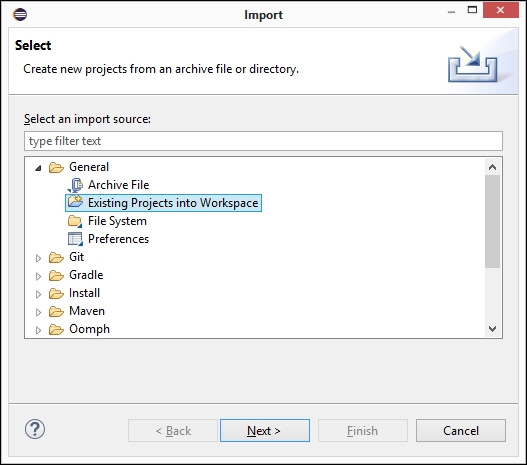
  2. After the import prompt is displayed, you should expand the General option, choose Existing Projects into Workspace, and click on the Next button.

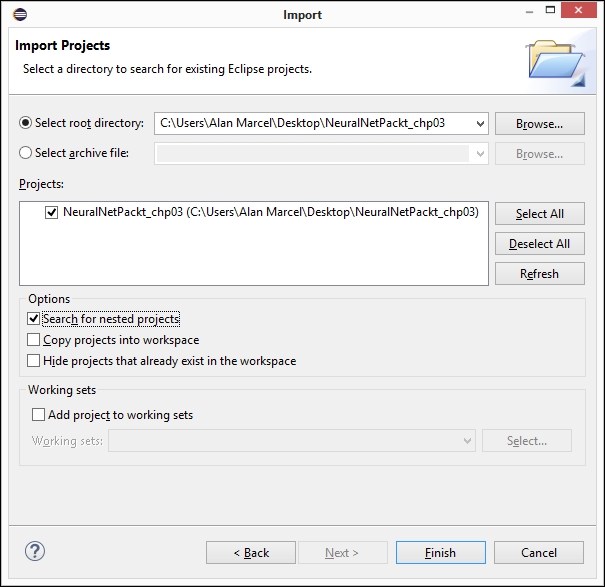
  3. Now, click on the Browse… button to search for the project unzip folder. After that, do not forget to mark the Search for nested projects option and click on the Finish button.

  4. In this step, you should close the welcome screen, and you will see in Package explorer the project you've imported to Eclipse.

  5. If you see a JRE version error, you should open the Problems tab. Right-click on Unbound classpath container…, and choose Quick Fix. The next screen will be exhibited.

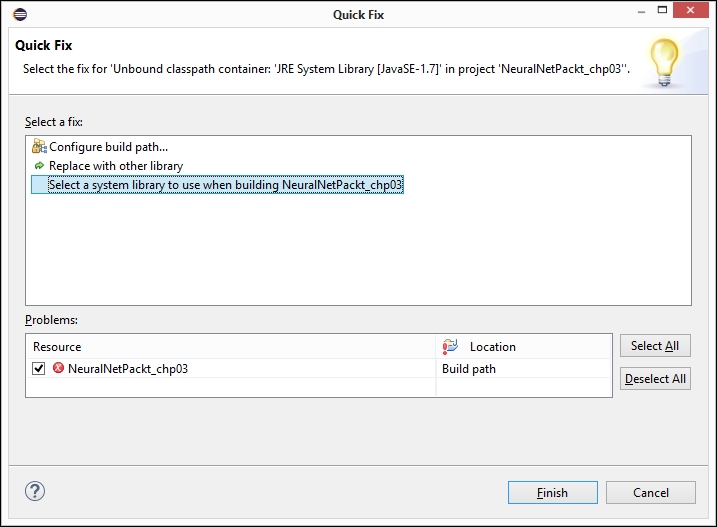
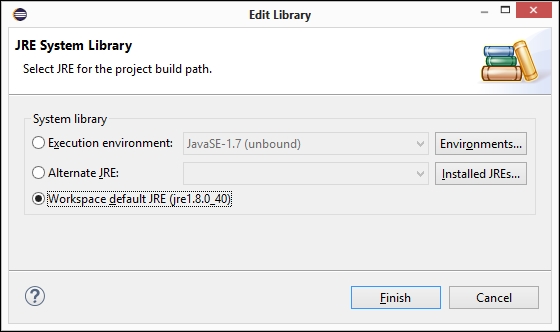
  6. Now, click on the Select a system library to use… option and the Finish button. The Edit Library window appears, and you should select the Workspace default JRE (jre1.8.0_40) option then and click on the Finish button.