-
Book Overview & Buying
-
Table Of Contents

Enterprise Application Development with Ext JS and Spring
By :
Enterprise Application Development with Ext JS and Spring
By:
Overview of this book
Spring and Ext JS are cutting edge frameworks that allow us to build high performance web applications for modern devices, that are now consuming data at a faster rate than ever before. It is the appropriate time for you to understand how to best leverage these technologies when architecting, designing, and developing large scale web development projects.
This practical guide condenses an approach to web development that was gained from real world projects, and outlines a simple, practical approach to developing high performance, and enterprise grade web applications.
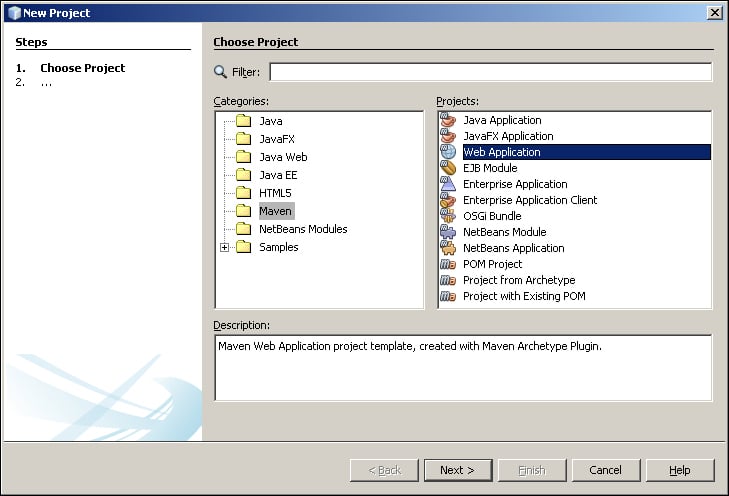
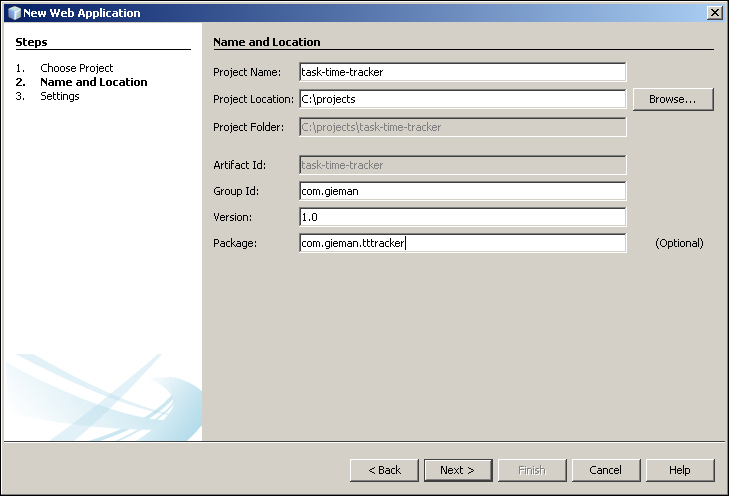
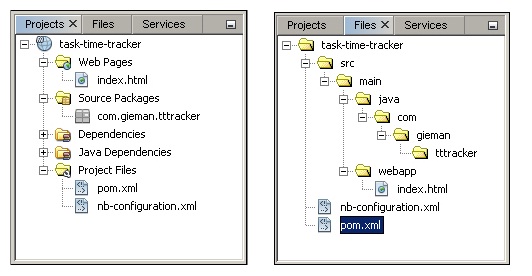
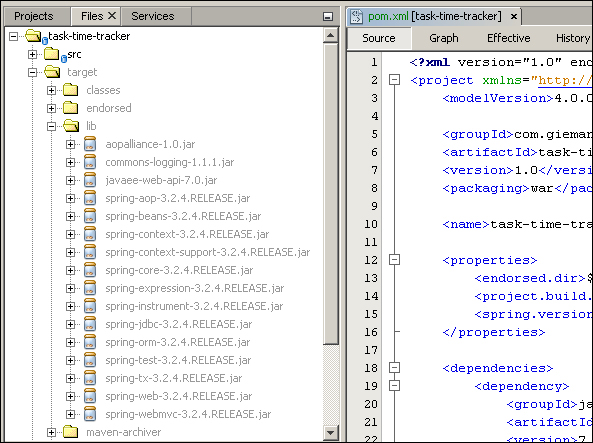
Starting with configuring Java, NetBeans, and MySQL to prepare your development environment, you will then learn how to connect your NetBeans IDE to the MySQL database server. We will then explore the Task Time Tracker (3T) project database structure and populate these tables with test data.
Following on from this, we will examine core JPA concepts after reverse engineering the domain layer with NetBeans. Leveraging the Data Access Object design pattern, you will learn how to build the Java DAO implementation layer assisted by generics in base classes, followed by a Data Transfer Object enabled service layer to encapsulate the business logic of your 3T application.
The final chapters that focus on Java explore how to implement the request handling layer using Spring annotated controllers, and deploy the 3T application to the GlassFish server. We will then configure the Ext JS 4 development environment and introduce key Ext JS 4 concepts, including MVC and practical design conventions.
Covering a variety of important Ext JS 4 strategies and concepts, you will be fully-equipped to implement a variety of different user interfaces using the Ext JS MVC design pattern. Your journey ends by exploring the production build and deployment process using Maven, Sencha Cmd and GlassFish.
Table of Contents (16 chapters)
Preface

 Free Chapter
1. Preparing Your Development Environment
2. The Task Time Tracker Database
3. Reverse Engineering the Domain Layer with JPA
4. Data Access Made Easy
5. Testing the DAO Layer with Spring and JUnit
6. Back to Business – The Service Layer
7. The Web Request Handling Layer
8. Running 3T on GlassFish
9. Getting Started with Ext JS 4
10. Logging On and Maintaining Users
11. Building the Task Log User Interface
12. 3T Administration Made Easy
13. Moving Your Application to Production
A. Introducing Spring Data JPA
Index