-
Book Overview & Buying
-
Table Of Contents

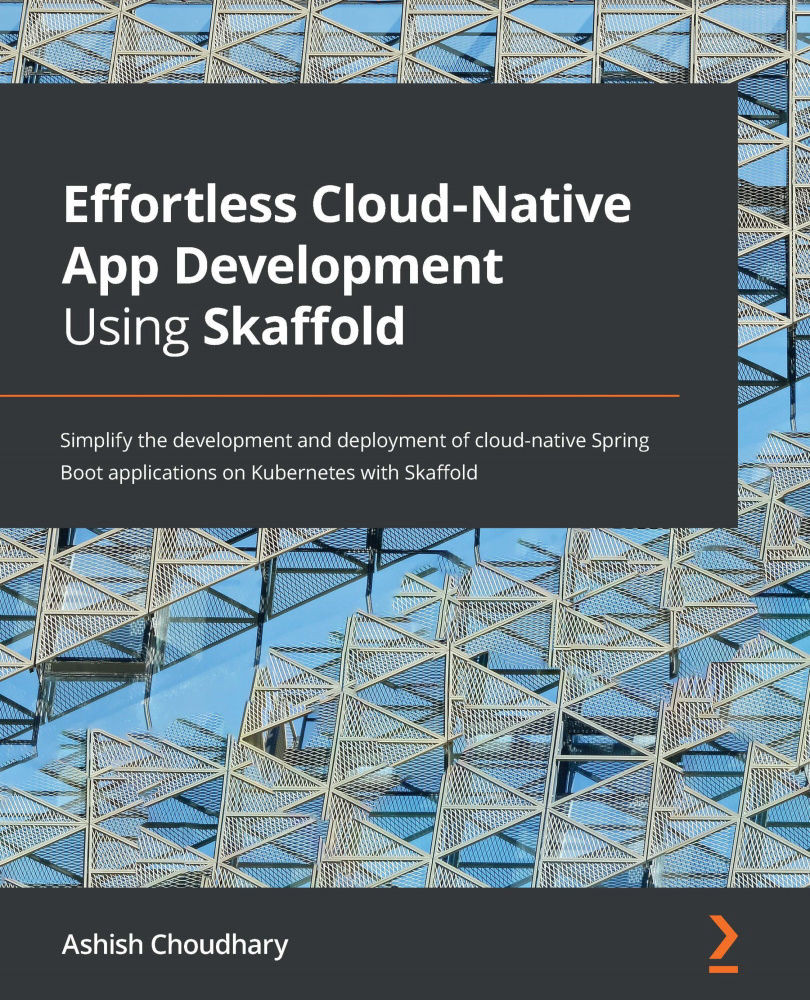
Effortless Cloud-Native App Development Using Skaffold
By :
Effortless Cloud-Native App Development Using Skaffold
By:
Overview of this book
Kubernetes has become the de facto standard for container orchestration, drastically improving how we deploy and manage cloud-native apps. Although it has simplified the lives of support professionals, we cannot say the same for developers who need to be equipped with better tools to increase productivity. An automated workflow that solves a wide variety of problems that every developer faces can make all the difference!
Enter Skaffold – a command-line tool that automates the build, push, and deploy steps for Kubernetes applications.
This book is divided into three parts, starting with common challenges encountered by developers in building apps with Kubernetes. The second part covers Skaffold features, its architecture, supported container image builders, and more. In the last part, you'll focus on practical implementation, learning how to deploy Spring Boot apps to cloud platforms such as Google Cloud Platform (GCP) using Skaffold. You'll also create CI/CD pipelines for your cloud-native apps with Skaffold. Although the examples covered in this book are written in Java and Spring Boot, the techniques can be applied to apps built using other technologies too.
By the end of this Skaffold book, you'll develop skills that will help accelerate your inner development loop and be able to build and deploy your apps to the Kubernetes cluster with Skaffold.
Table of Contents (15 chapters)
Preface

Section 1: The Kubernetes Nightmare – Skaffold to the Rescue
 Free Chapter
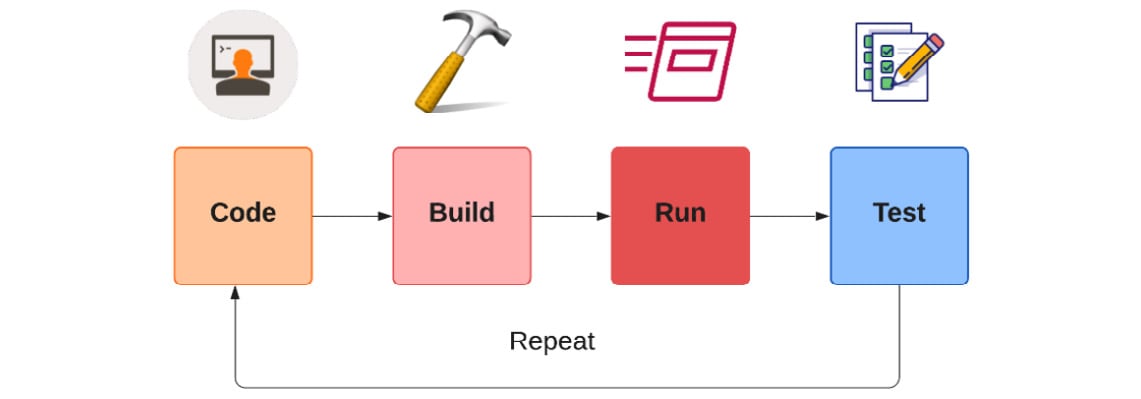
Chapter 1: Code, Build, Test, and Repeat – The Application Development Inner Loop
Chapter 2: Developing Cloud-Native Applications with Kubernetes – A Developer's Nightmare
Chapter 3: Skaffold — Easy-Peasy Cloud-Native Kubernetes Application Development
Section 2: Getting Started with Skaffold
Chapter 4: Understanding Skaffold's Features and Architecture
Chapter 5: Installing Skaffold and Demystifying Its Pipeline Stages
Chapter 6: Working with Skaffold Container Image Builders and Deployers
Section 3: Building and Deploying Cloud-Native Spring Boot Applications with Skaffold
Chapter 7: Building and Deploying a Spring Boot Application with the Cloud Code Plugin
Chapter 8: Deploying a Spring Boot Application to the Google Kubernetes Engine Using Skaffold
Chapter 9: Creating a Production-Ready CI/CD Pipeline with Skaffold
Chapter 10: Exploring Skaffold Alternatives, Best Practices, and Pitfalls
Other Books You May Enjoy