-
Book Overview & Buying
-
Table Of Contents
GUI Programming with C#
By :
Modern software uses GUIs. GUIs allow users to perform their tasks effortlessly through user-friendly interactions. Microsoft developed the object-oriented programming language C# (pronounced C Sharp) as its preferred language for developing its products across various platforms.
The easy-to-use, contemporary, and versatile C# works in the context of the wide-ranging set of technologies offered by Microsoft’s platform. This platform is designed to support, among other features, cross-platform development. The simplicity of the C# syntax allows developers to use it for different programming tasks. Developers used to C, C++, or Java can easily transition to C# due to all of them being C-style languages with similar syntax basics, such as the use of curly braces.
C# is an object-oriented language supporting event-driven programming and has a rich library support that makes it appropriate for UI development. Let’s explore some of them:
To use these features to start creating GUIs, we will need a tool that can facilitate the process. The tool of choice for C# development is Visual Studio. In the next section, we will install Visual Studio and develop our first GUIs.
The first step to be able to create the application is to install Visual Studio. Different options for this are available, including Visual Studio Code, Visual Studio Community, Visual Studio Professional, and Visual Studio Enterprise. In this book, we will use Visual Studio Code and Community as they are free and include the features we will explore. To download Visual Studio, navigate to https://visualstudio.microsoft.com/ and follow these steps:
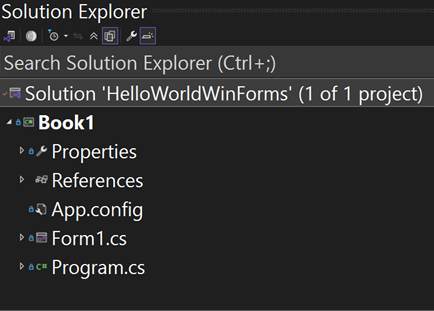
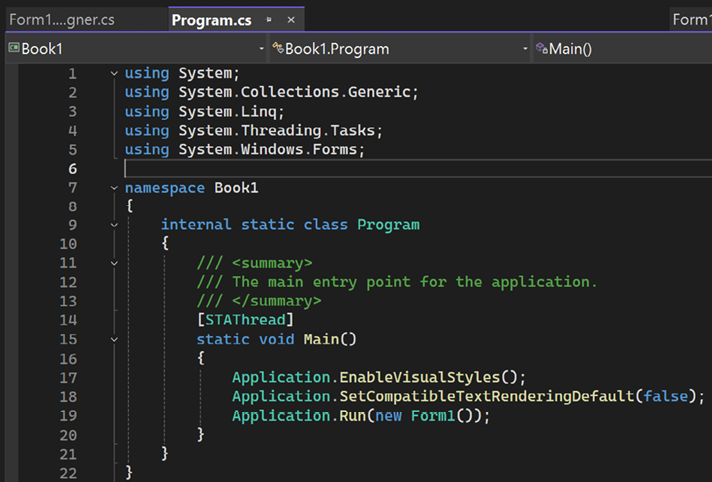
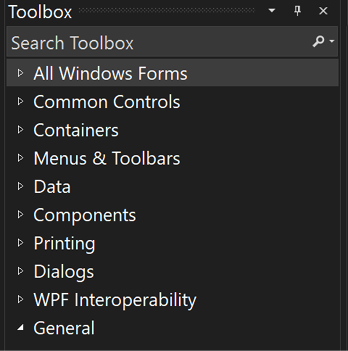
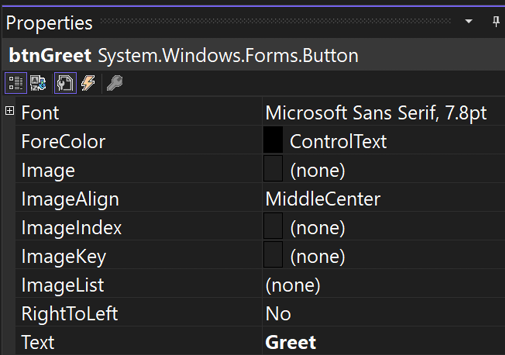
Once in Visual Studio, we can explore its main components as they appear on the screen:

Figure 1.1 – Solution Explorer

Figure 1.2 – Code editor

Figure 1.3 – Toolbox

Figure 1.4 – Properties window

Figure 1.5 – Designer window
Now that Visual Studio is installed, we can create our first UI.
We can create the first project by following these instructions.
Note
The .NET framework is now outdated and is only included here to show the foundations for the other technologies.
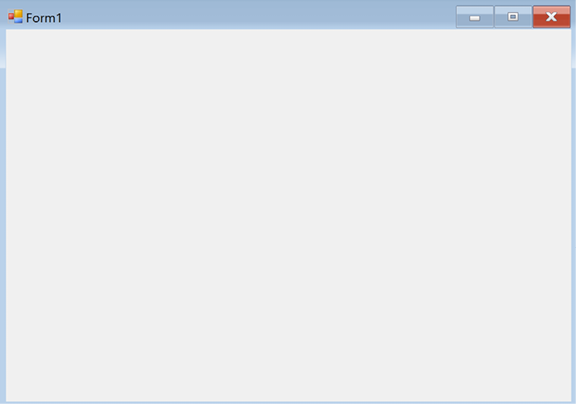
Hello World for Project Name.Visual Studio offers a smooth programming experience, which makes it the best option for C# GUI development. A blank Windows form is shown in Figure 1.6.

Figure 1.6 – Blank Windows form in Visual Studio
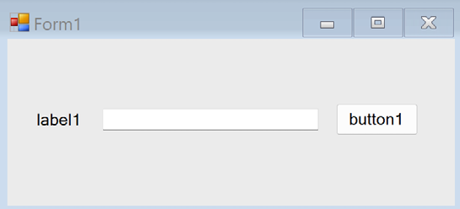
The next step is to add controls to the form. Those controls are added by dragging and dropping from Toolbox. Follow the steps below to complete the form.

Figure 1.7 – Form with a label, text box, and button
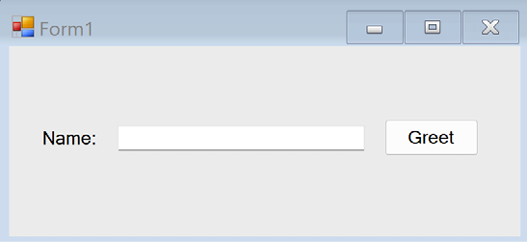
NametxtNameGreetbtnGreetAfter making those changes, the form should look like this:

Figure 1.8 – Controls with updated properties
Note that each of the elements in the form, including the form, are objects in an object-oriented hierarchy where all of them inherit from a class named Control, and the label, textbox, and button are contained in the form.
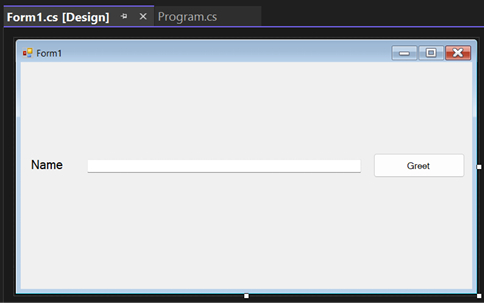
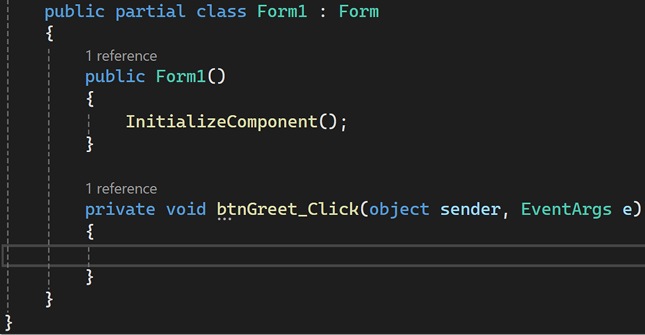
As mentioned before, C# uses events to manage the interactions, so we need to access the code for the event that indicates that the button has been clicked on to add the code that produces the interaction. To do that, double-click on the Greet button. The code editor shown in Figure 1.9 will be displayed.

Figure 1.9 – Code editor window showing the button click method
Complete the code by showing a popup saying 'Hello' followed by the name inserted in the text box. The code should look as follows:
private void btnGreet_Click(object sender, EventArgs e)
{
MessageBox.Show($"Hello {txtName.Text}");
}
This code works as follows:
private void btnGreet_Click(object sender, EventArgs e): This event handler method gets called when the btnGreet button is clicked. The private keyword means this method is only accessible within the same class. The void term means this method doesn’t return any value. The parameter’s sender object and EventArgs e represent the control that fired the event and the event data, respectively.MessageBox.Show($"Hello {txtName.Text}");: This line of code shows a message box with a greeting message. The MessageBox.Show() method displays a message box to the user. The message is "Hello" concatenated with the text from txtName. The txtName.Text part is the text property of a TextBox control named txtName, which contains the text entered by the user.So, when the btnGreet button is clicked, a message box will appear saying “Hello” followed by whatever name the user has entered into the txtName text box. For example, if the user entered John into the txtName text box and then clicked the btnGreet button, a message box would appear saying “Hello John”.
This example, though simple, shows the main ideas behind designing a GUI in C#. Those steps include selecting the platform/technology to be used, creating the interactions by placing the UI elements in the desired locations, and programming the interactions by writing code to respond to user actions when interacting with the UI components.
Change the font size
Change margin width
Change background colour