-
Book Overview & Buying
-
Table Of Contents

Angular Design Patterns and Best Practices
By :
Angular Design Patterns and Best Practices
By:
Overview of this book
Single page applications (SPAs) have become the standard for most web experiences. Angular, with its batteries-included approach, has emerged as a powerful framework for simplifying the development of these interfaces by offering a comprehensive toolbox. This book guides you through the Angular ecosystem, uncovering invaluable design patterns and harnessing its essential features.
The book begins by laying a strong foundation, helping you understand when and why Angular should be your web development framework of choice. The next set of chapters will help you gain expertise in component design and architecting efficient, flexible, and high-performing communication patterns between components. You’ll then delve into Angular's advanced features to create forms in a productive and secure way with robust data model typing. You'll also learn how to enhance productivity using interceptors to reuse code for common functionalities, such as token management, across various apps. The book also covers micro frontend architecture in depth to effectively apply this architectural approach and concludes by helping you master the art of crafting tests and handling errors effortlessly.
By the end of this book, you'll have unlocked the full potential of the Angular framework.
Table of Contents (19 chapters)
Preface

Part 1: Reinforcing the Foundations
 Free Chapter
Chapter 1: Starting Projects the Right Way
Chapter 2: Organizing Your Application
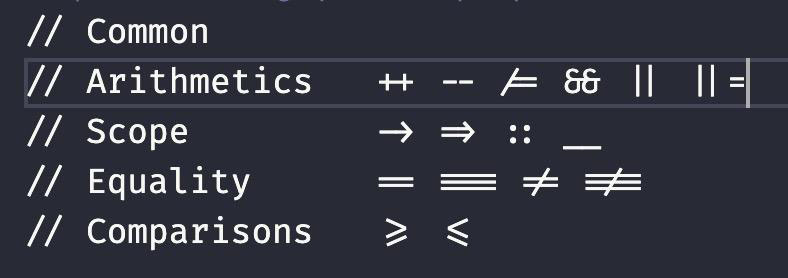
Chapter 3: TypeScript Patterns for Angular
Chapter 4: Components and Pages
Chapter 5: Angular Services and the Singleton Pattern
Part 2: Leveraging Angular’s Capabilities
Chapter 6: Handling User Inputs: Forms
Chapter 7: Routes and Routers
Chapter 8: Improving Backend Integrations: the Interceptor Pattern
Chapter 9: Exploring Reactivity with RxJS
Part 3: Architecture and Deployment
Chapter 10: Design for Tests: Best Practices
Chapter 11: Micro Frontend with Angular Elements
Chapter 12: Packaging Everything – Best Practices for Deployment
Chapter 13: The Angular Renaissance
Index