The Android SDK comes with a pretty neat tool called the emulator, which allows you to emulate the Android devices. The emulator is shipped with some of the most popular handsets and lets you create an emulated handset of your own. Using this tool, you can flash new kernels, mess around with the platform and, of course, debug apps and test your Android malware and application exploits. Throughout the book we will use this tool quite a bit, so, it's important that you get to know the Android emulator.
The emulator is pretty straightforward to use. When you want to launch a device, all you need to do is open the Android Virtual Device (AVD) tool either from your SDK folder or straight from Eclipse. Then, you can either set up a new device with its own memory card, CPU, and screen size as well as other custom features or you can select one of the preconfigured devices from a list. In this section, I'm going to cover exactly these things.
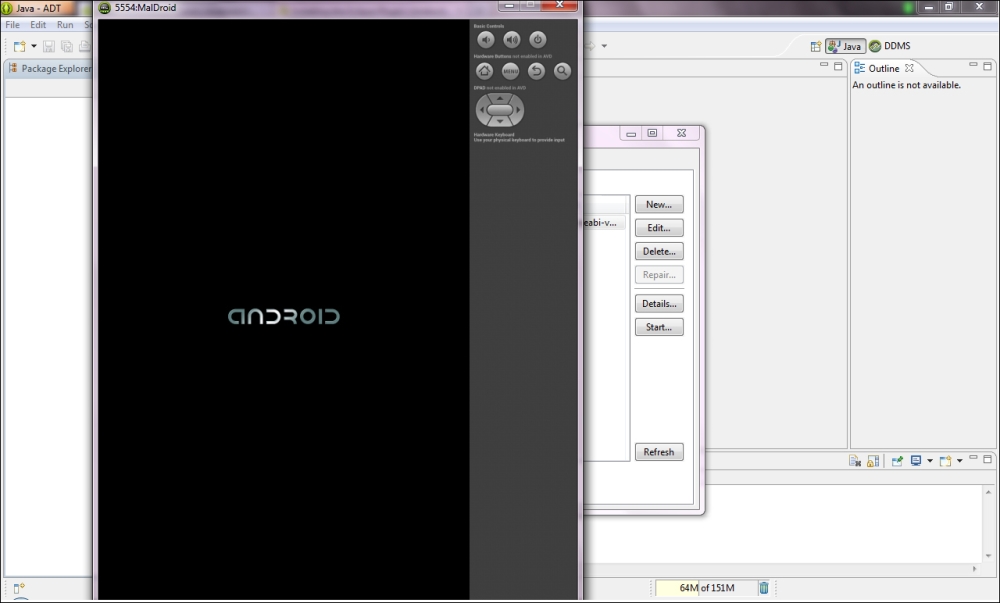
Just a quick disclaimer: the following screenshots were taken on a Windows 7 machine, but the AVD manager and device emulator work exactly the same on both Windows and Linux platforms, so Linux users will also be able to follow the walkthrough.
To emulate a device from Eclipse, use the following steps:
Click on the AVD manager icon on your toolbar.

The AVD will pop up. You can either select a preconfigured featured device or you can set up a device according to your own criteria. For this recipe, let's stick to configuring our own devices.
Click on New….

The Create new Android Virtual Device (AVD) dialog box should pop up. You will need to fill in some metrics for the new virtual devices and give it a name. You can enter whatever you feel here as this recipe is just to get you to emulate your first device.
Once you're done, click on OK. The new device should show up in the AVD dialog box.
Click on the device you just created and click on Start….

At this point, the AVD will prompt you for the screen-size options; the default values aren't too bad. Click on Launch when you're done, and in a few seconds your new AVD will start up.