

To be able to use Docker on Mac OS X, we have to run the Docker service inside a virtual machine (VM) since Docker uses Linux-specific features to run. We don't have to get frightened by this since the installation process is very short and straightforward.
There is an OS X installer that installs everything we need, that is, VirtualBox, boot2docker, and Docker.
VirtualBox is a virtualizer in which we can run the lightweight Linux distribution, and boot2docker is a virtual machine that runs completely in the RAM and occupies just about 27 MB of space.
Note
The latest released version of the OS X installer can be found at https://github.com/boot2docker/osx-installer/releases/latest.
Now, let's take a look at how the installation should be done with the following steps:
Download the installer by clicking on the button named Boot2Docker-1.3.0.pkg to get the
.pkgfile, as shown in the following screenshot: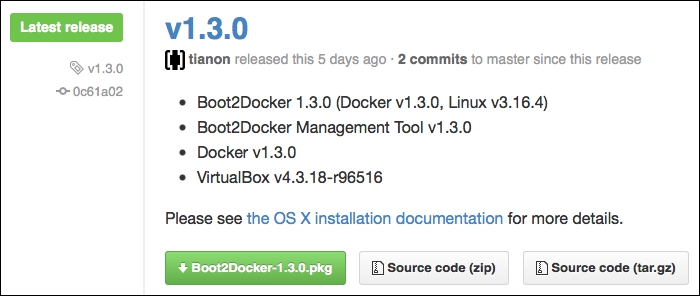
Double-click on the downloaded
.pkgfile and go through with the installation process.Open the Finder window and navigate to your
Applicationsfolder; locate boot2docker and double-click on it. A terminal window will open and issue a few commands, as shown here:
This runs a Linux VM, named
boot2docker-vm, that has Docker pre-installed in VirtualBox. The Docker service in the VM runs in daemon (background) mode, and a Docker client is installed in OS X, which communicates directly with the Docker daemon inside the VM via the Docker Remote API.You will see a screen similar to the following screenshot, which tells you to set some environment variables:

We open up the
~/.bash_profilefile and paste three lines from our output, as follows, at the end of this file:export DOCKER_HOST=tcp://192.168.59.103:2376 export.DOCKER_CERT_PATH=/Users/xxx/.boot2docker/certs/boot2docker-vm export DOCKER_TLS_VERIFY=1
The reason why we do this is so that our Docker client knows where to find the Docker daemon. If you want to find the IP in the future, you can do so by executing the
boot2docker ipcommand. Adding the preceding lines will set these variables every time a new terminal session starts. When you're done, close the terminal window. Then, open a new window and typeecho $DOCKER_HOSTto verify that the environment variable is set as it should be. You should see the IP and port your boot2docker VM printed.Type
docker versionto verify that you can use the Docker command. An output that looks similar to the last few lines of the preceding screenshot will mean that we have succeeded.
Since Docker is relatively new, there could be a lot happening in every update, so make sure that you check for updates on a regular basis. From time to time, go to the Mac OS X installer download page and check whether there is an upgrade available. If there is, execute these commands to update it:
boot2docker stop
boot2docker download
boot2docker start