-
Book Overview & Buying
-
Table Of Contents

-
Feedback & Rating

Spring MVC Cookbook
By :
Spring MVC Cookbook
By:
Overview of this book
Spring MVC is a lightweight application framework that comes with a great configuration by default. Being part of the Spring Framework, it naturally extended and supported it with an amazing set of recognizable annotations. External libraries can be plugged in and plugged out. It also possesses a request flow.
Complete support of REST web services makes the Spring architecture an extremely consistent choice to support your front-end needs and Internet transformations.
From the design of your Maven modules, you will achieve an Enterprise-standard for a stateless REST application based on Spring and Spring MVC with this book.
This guide is unique in its style as it features a massive overview of practical development techniques brought together from the Spring ecosystem, the new JEE standards, the JavaScript revolution and Internet of Things.
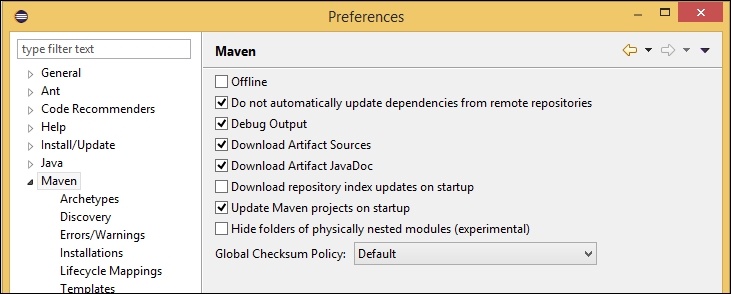
You will begin with the very first steps of Spring MVC's product design. Focused on deployment, viability, and maintainability, you will learn the use of Eclipse, Maven, and Git. You will walk through the separation of concerns driven by the microservices principles. Using Bootstrap and AngularJS, you will develop a responsive front-end, capable of interacting autonomously with a REST API.
Later in the book, you will setup the Java Persistence API (JPA) within Spring; learn how to configure your Entities to reflect your domain needs, and discover Spring Data repositories. You will analyze how Spring MVC responds to complex HTTP requests. You will implement Hypermedia and HATEOAS to guide your customer's stateless conversation with the product and see how a messaging-service based on WebSocket can be configured. Finally you will learn how to set up and organize different levels of automated-tests, including logging and monitoring.
Table of Contents (11 chapters)
Preface

 Free Chapter
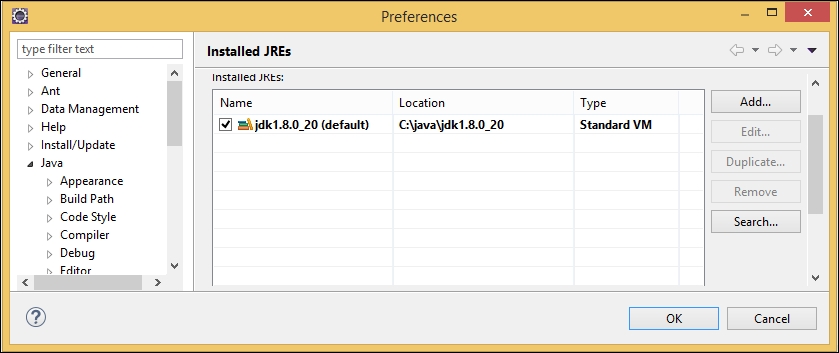
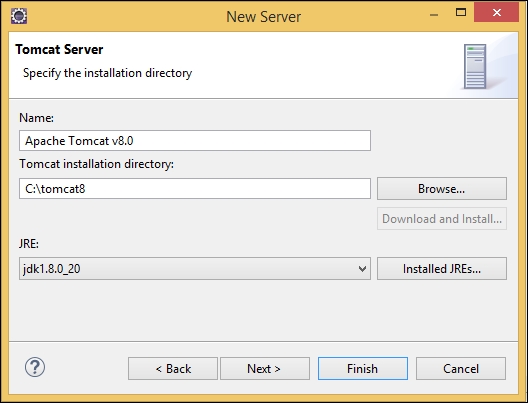
1. Setup Routine for an Enterprise Spring Application
2. Designing a Microservice Architecture with Spring MVC
3. Working with Java Persistence and Entities
4. Building a REST API for a Stateless Architecture
5. Authenticating with Spring MVC
6. Implementing HATEOAS
7. Developing CRUD Operations and Validations
8. Communicating Through WebSockets and STOMP
9. Testing and Troubleshooting
Index
Customer Reviews