

GitHub provides several hooks into other applications. A hook allows you to chain actions when a commit occurs. A hook is an extremely useful feature from a continuous integration standpoint because we can set up the code to be tested on every commit. Travis CI has a GitHub hook that can be easily set up on any GitHub repository. The following is a walk-through on how to create a Travis CI hook on your open source repository.
Here are the steps to create the hook:
Create a Travis CI account by going to the Travis CI page at https://travis-ci.org and click on Sign in with GitHub. Confirm the questions it asks and continue.
Activate a GitHub Webhook to Travis CI. You can set up the Webhook in Travis CI through your profile URL at https://travis-ci.org/profile
Turn the switch on. In the profile, you should see your repository.
Here is a before view of Webhook (Switch off):

Here is a view of the Webhook after it is enabled(Switch on):

Travis requires a configuration file to be at the root of your repository named .travis.yml. The configuration file contains the source code language, language versioning, metadata, and other information. The template configuration will look as follows:
language: node_js
node_js:
  - "0.10"
Besides the basic configuration in the preceding code, additional setup is needed to run Karma tests. The before_script configuration will be used to install Karma and Bower prior to running any tests. Here is what the configuration needs to look like in order to install Karma and Bower before any tests run:
language: node_js
node_js:
  - "0.10"
before_script:
  - npm install -g karma-cli
  - npm install -g bower
  - bower install
Now the tests are ready to be run. Add the preceding contents to a new file named travis.yml. By default, the Node.js project will execute the npm test command in Travis. This is why you don't need to specify the actual command to test your application.
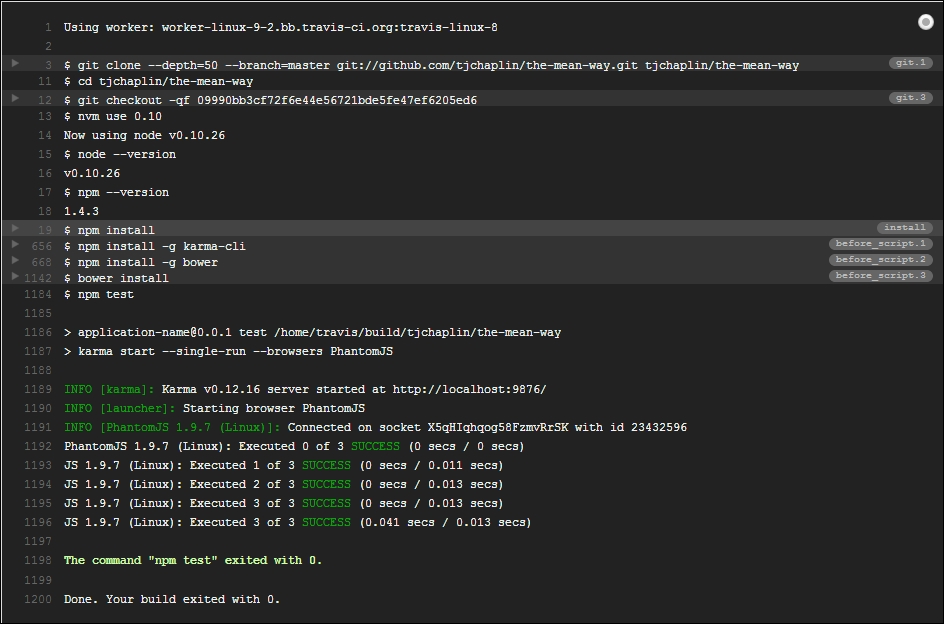
The following screenshot is an example of what the preceding code looks like:
If you have any issues, go to the Travis CI Getting started guide at http://docs.travis-ci.com/user/getting-started/.