
Installing Docker and other dependencies inside the AWS EC2 instance
We will need three very important applications inside the EC2 instance. First, we will need the AWS CodeDeploy agent, after which we’ll need to install Docker and docker-compose so that we can build and run the Docker containers we need for our application.
Connecting to the EC2 instance
We need to get inside the instance before we can install anything. Thankfully, we can do this by using the AWS console from a browser:
- In the EC2 dashboard, select the running instance we created earlier and click on the Connect button at the top of the table:
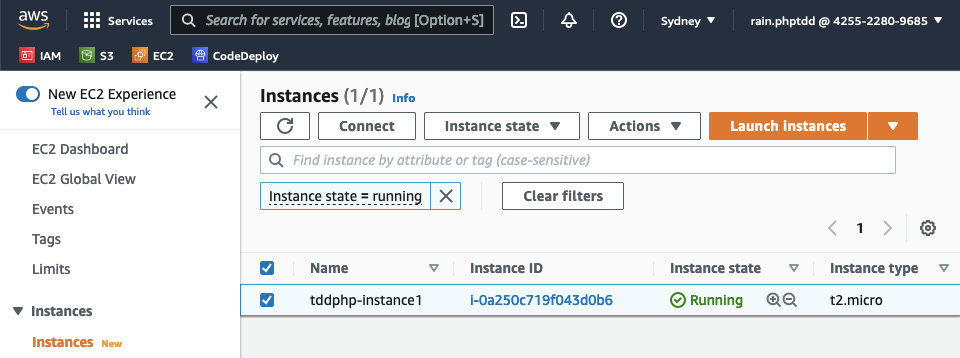
Figure 10.24 – EC2 table – the Connect button
You will be redirected to the Connect to instance page.
- Click on the Connect button on that page. Finally, you will be redirected to the browser’s terminal window:
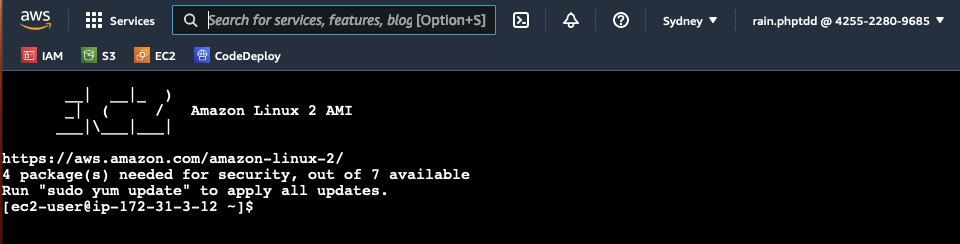
Figure 10.25 – EC2 terminal window
Great...