

The installation is successful as much as the process is concerned. However, it is always a good idea to test the installation. From this point onwards, I will be using the rails_apps directory as the base directory for the RoR application that will be developed within this book. The installation has to be tested for two components:
Fire up the editor of your choice (I will be using ScITE) and enter the following code: print 'Hello Ruby'. Save it in a file named first.rb, and place the file in the rails_apps directory. Then drop into the command prompt and change into the rails_app directory (if you are using Instant Rails, then the rails_app directory would be inside the Instant Rails directory). Then run the file with the following command:
>ruby first.rbThe result should be as shown below.

Anything apart from the output shown means you will have to check the installation and configuration of Ruby. This test is more important in the case of an Instant Rails installation. The reason is that in the case of any manual installation, if Ruby does not work, then the RoR installation would not be successful. However, in the case of Instant Rails, everything comes as a bundle. If it succeeds, then Ruby supplied with the bundle is working fine. That completes the first part of 'Testing the Installation'.
Inside the rails_apps directory, issue the following command:
>rails test_appIf you get the screen shown next, then your RoR installation is OK. What has happened is that RoR has generated the whole file structure for the application. Even certain files that work as placeholders have been generated by just one command. Impressive, isn't it?

The next step is to check the server provided by RoR. Give the following command after changing into the test_app folder.
> ruby script/serverAs a response to the command, you should see the messages shown in the following screen saying that it is booting up the WebRick server.
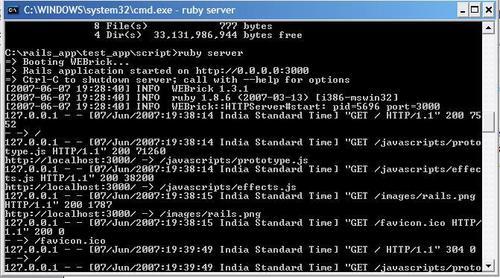
WebRick is a project embeddable server provided by RoR that resides in the script folder of the application which in this case is test_app.
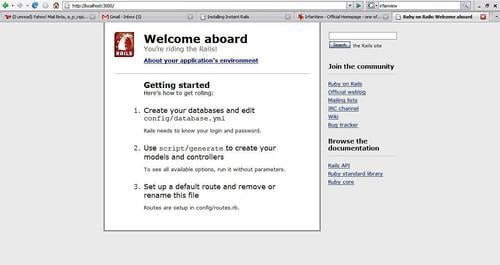
Next, open the browser of your choice and provide the following URL: http://localhost:3000.
You will be presented with the following screen. If you get anything else, then it means that you need to go through the steps for installation and configuration once again. That covers testing the manual installation of RoR. So what about Instant Rails? That is what is coming up next.
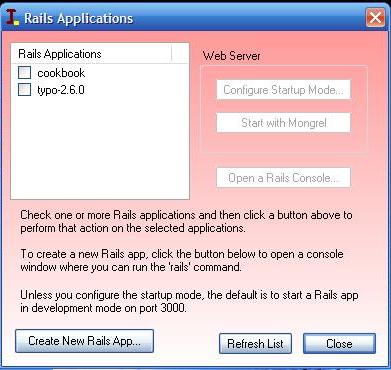
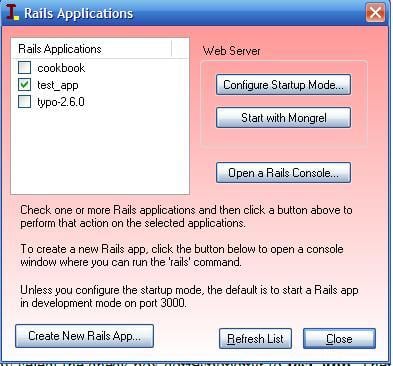
To test Instant Rails's RoR installation, first stop the Apache server by selecting Apache | stop. This step is necessary so that the Rails server is provided by Instant Rails. Next, select I | Rails Applications | Manage Rails Applications.... It will popup the following window:
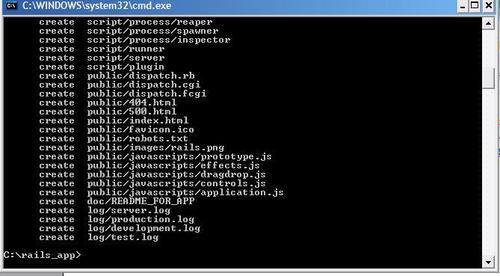
Click on the Create New Rails App… button. It will drop you into the shell at the rails_app directory of the Instant Rails install folder as shown in the following screen:
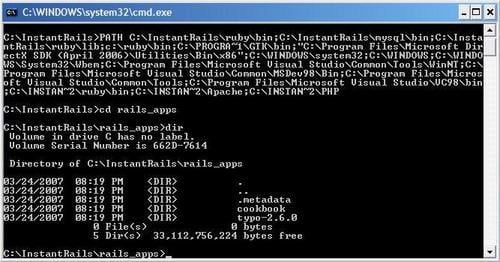
Then give the rails command as follows:
>rails test_appIf the screen you get is the same as shown it means the Instant Rails installation is correct. It is the same as that of the one which you saw for the manual installation.
Now, select I | Rails Applications | Manage Rails Applications..., and in the pop-up window, select the check box corresponding to test_app. Then click Start with Mongrel. The popup window will appear as the following screen:
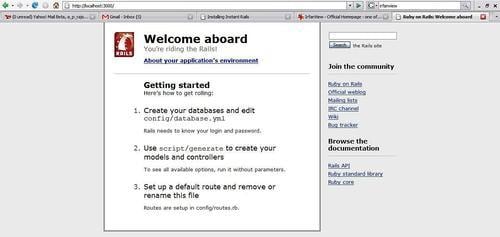
The Mongrel server will be started as a command window. Next, in the browser give the URL as http://localhost:3000 to bring up the default index page of the test_app application. If it looks like the following screen that means you are set to go into the exciting world of RoR.
This completes the testing phase of the installation. From here on, I will be using Instant Rails as the development environment.