

If you have the Selenium IDE open from the previous steps, click on the File menu.
Click on New Test Case.
You will see that Selenium IDE has opened a new area on the left-hand side of the IDE, as seen in the next screenshot:

You can do this as many times as you want, and when the Run Entire Test Suite button is clicked, it will run all the tests in the test suite. It will log all the passes and failures at the bottom of the Test Case box.
To save this, click on the File menu and then click on Save Test Suite and save the Test Suite file to somewhere convenient.
Changing the name of the test case to something a lot more meaningful, this can be done by right-clicking on the test and clicking on the Properties item in the context menu.
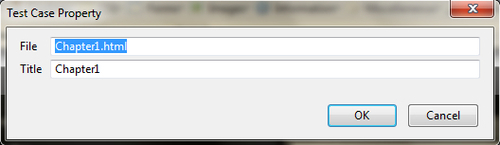
You can now add meaningful names to your tests and they will appear in the Selenium IDE instead of falling back to their filenames.
We have managed to create our first test suite. This can be used to group tests together to be used later. If your tests have been saved, you can update the test suite properties to give the tests a name that is easier to read.