
At this point, we are ready to start writing our first functions and methods in JavaScript language. We know how to deal with the new ES6 syntax and how we can use all these new features to improve our application. Let's set up our environment and install Node.js.
The first thing you need to do to start using NPM is download Node.js. Node is an asynchronous event-driven JavaScript runtime. It is not a new language or a new syntax; it's just the platform where you can write JavaScript code outside the browser and Node.js will use the power of Google's V8 JavaScript Engine to execute it.
If you're using OS X or Windows, the best way to install Node.js is to use one of the installers from theNode.js download page.
If you're using Linux, you can use your package manager or check the download page to see whether there's a more recent version that works with your system.
To check whether you have a previous version installed, run the following command:
$ node –vThe Node Package Manager (NPM) is a complete tool created to help developers share, maintain, and reuse JavaScript code bundled in packages with other developers to reuse it on their own applications. NPM is made up of three distinct components:
- The NPM website
- The NPM registry
- The NPM command-line tool
This website serves as the primary tool for users to discover packages; you’ll find something like this:
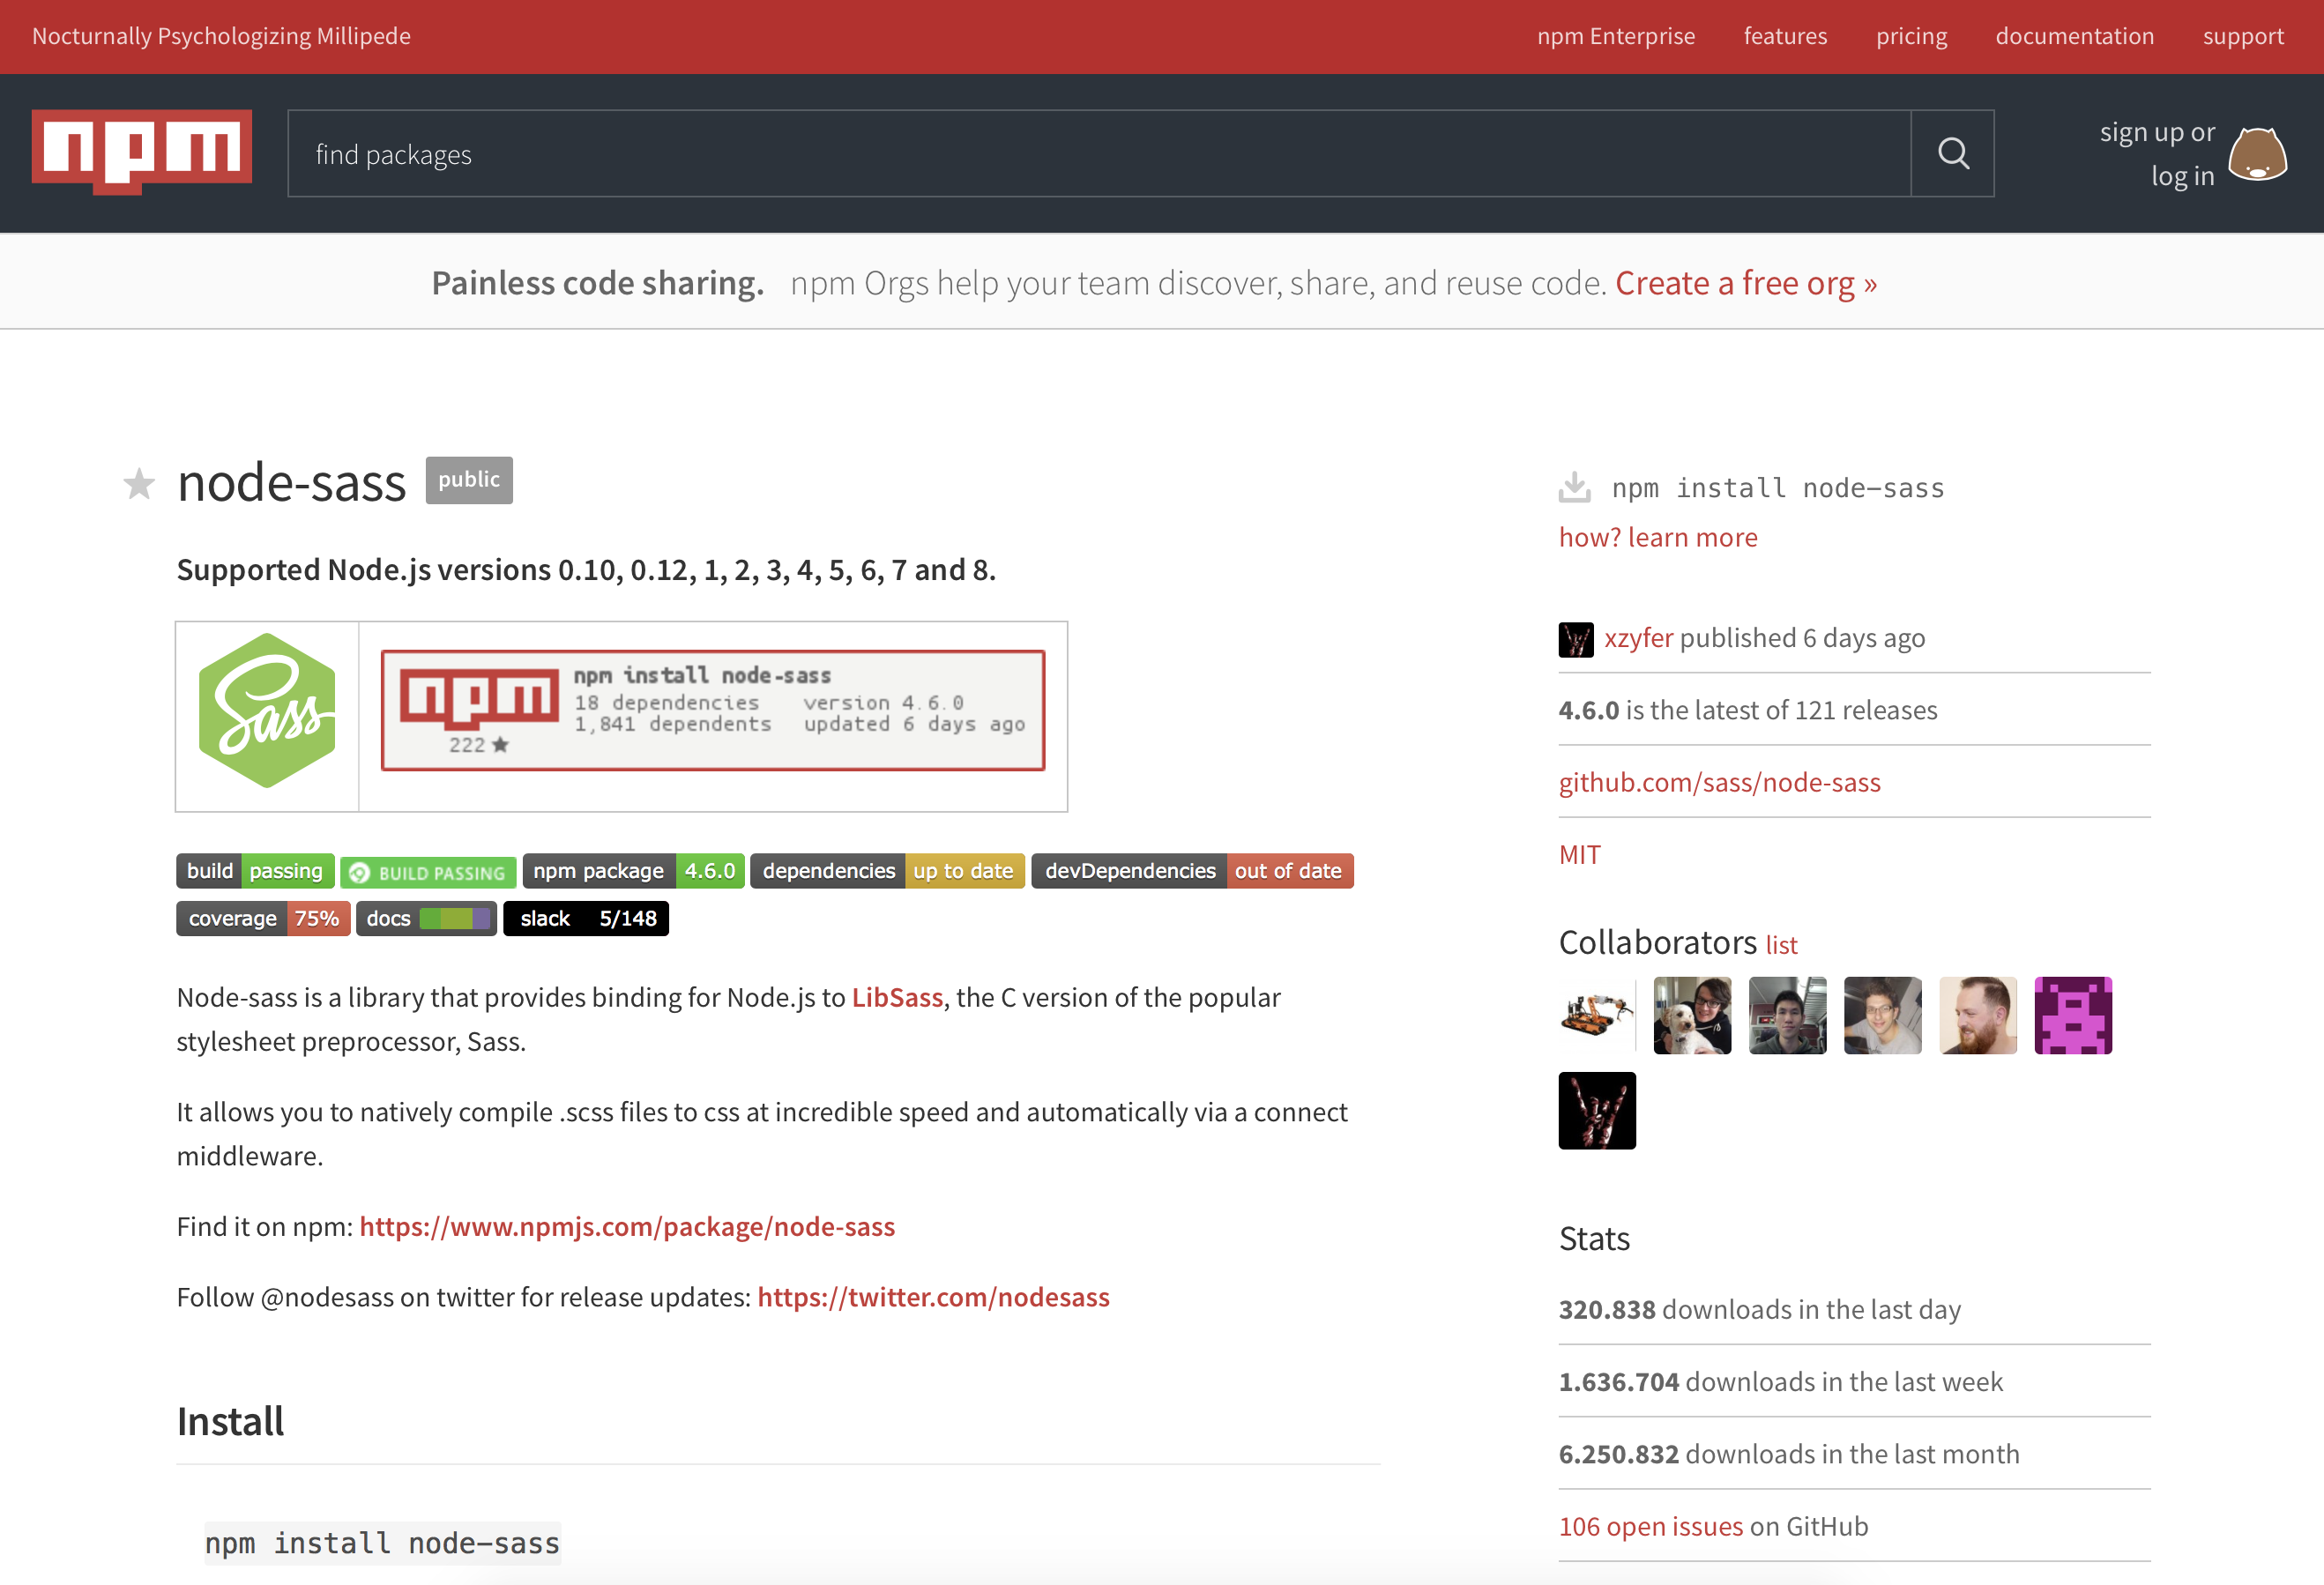
This page describes all the features of the package you want to download, a brief documentation about it, the GitHub URL, and instructions to import them into your project.
It is a large database of information about each package.The official public NPM registry is athttps://registry.npmjs.org/. It is powered by a CouchDB database, of which there is a public mirror athttps://skimdb.npmjs.com/registry.
A command-line tool for interacting with the registry and allowing the developers to publish or download packages.
Once you have the code downloaded on your machine, NPM will make it very easy to check whether there is an update available and download those changes when they’re made. More than two bits of reusable code is called a package. That’s just a directory with one or more files in it, along with a file calledpackage.json, which contains all the metadata about that package.
Like all the command-line tools, it is important to understand the options provided by NPM. The NPM CLI is a powerful tool that will help us in the development cycle of our project.
The first step is complete! We have the Node runtime on our machine ready to execute our .js files, so the last thing we need to start working on is the NPM. Node comes with NPM installed by default, but NPM gets updated more frequently than Node, so we can check the updation of our NPM CLI by executing the following command:
$ npm install npm@latest -gNPM is installed and configured; now it's time to start working. There are two ways to install NPM packages. Our choice will depend on how we want to use the package. The options are as listed:
- Globally: Install the given package globally as part of our command-line tools
- Locally: Install the given package to be available only in our application context
With this in mind, type the following command to install a new package:
$ npm install <package-name>This instruction will create a folder called node_modules, where we will download all the packages we need.We can ensure that we have the package downloaded, entering the folder and checking the existence of a folder with a name similar to our package name. Run the following command to list all the packages installed in your project:
$ ls node_modulesWe know how to download a package and how to import it into our project. However, we will commonly need more than one package, with some specific versions. Should we memorize them to download manually each time we set up the project? No, now is the moment to create apackage.jsonfile.
This file is not only to map our dependencies; it must contain all the metadata about our project, and it serves as a quick documentation for which packages your project depends on.As minimal, thepackage.jsonshould contain the following:
- Name: Project name, all lowercase with no blank spaces (you can use underscores if needed)
- Version: In the form of x.x.x
We can create this file manually, but NPM allows us to create it automatically by executing the following command:
$ npm initThe preceding command will prompt you with a bunch of questions that will be present in your package.json file. If you don't want to accept the defaults without being prompted any question, run the same command, adding a --yes flag at the end:
$ npm init --yesThen, you will get apackage.jsonfile, as follows:
{
"name": "my_package",
"version": "1.0.0",
"description": "",
"main": "index.js",
"scripts": {
"test": "echo \"Error: no test specified\" && exit 1"
},
"repository": {
"type": "git",
"url": "https://github.com/package_owner/my_package.git"
},
"keywords": [],
"author": "",
"license": "ISC",
"bugs": {
"url": "https://github.com/package_owner/my_package/issues"
},
"homepage": "https://github.com/package_owner/my_package"
}You have all your dependencies installed now. You start working and during the development process, you may need some other dependencies to improve your code. You just need to run the NPM CLI to get the new dependency, but this will not be present in your package.json file! It can be very dangerous, because if you don't have the list of libraries or dependencies you need for your project, when you want to run it in a different machine, your code will fail, because the dependency is not installed in that machine.
We can ensure that the new package name will be added to our dependencies' list, adding the –-save or –-save-dev flag. The first will add the package name to the dependencies' section of thepackage.jsonfile. This means that the dependency is mandatory for the application itself and should be installed before running or deploying the application. On the other hand, we have the devDependencies' part, where there will be only the dependencies used for our development process:
$ npm install <package_name> --saveNow, we are ready to start developing JavaScript applications. In the next section, you will make use of NPM to install the Aurelia command-line tool required to create new Aurelia projects, but let's continue exploring the Aurelia framework.