

Understanding the UmiJS folder structure and its main files
In this section, you will understand the UmiJS folder structure, and you will add some essential configurations to files and folders.
The project we create based on the umi-app template generates a set of folders with responsibilities for different parts of the project. Let's see what each one does:
mock: In this folder, we store our simulated endpoints definitions to generate a mock API that we can interact with while developing the frontend.src: This is the source folder where all our components are located.src/.umi: This folder is automatically generated by UmiJS every time the project is compiled and contains its internal configurations.src/pages: The React components responsible for rendering the pages in response to configured routes are located in this folder.
These are the folders included with the umi-app template, but there are other essential folders in a UmiJS project, so let's add them.
The first folder we'll add is config.
Adding config and locales folders
In the root folder of our project, we have a file named .umirc.ts. This file contains the configuration for Umi and its plugins. When your project is compact, it's a good choice, but as it grows and becomes complex, the configuration file can become hard to maintain. To avoid that, we can break down our configuration into different parts located in the config folder. Let's do this now by opening your project in VSCode and following these steps:
- In the root directory of your project, create a new folder named
config.
You can do that by clicking on the icon in the upper-right corner above the folders list.
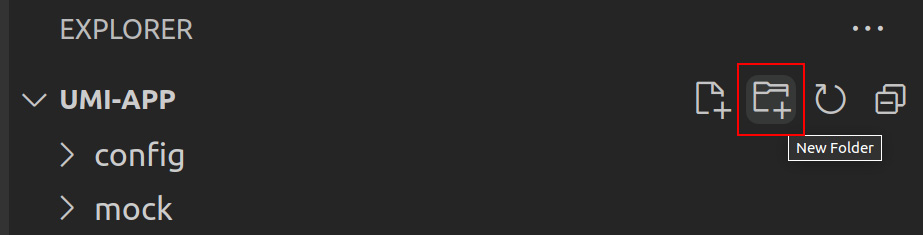
Figure 1.3 – VSCode new folder icon
- Move the
.umirc.tsfile to theconfigfolder and rename itconfig.ts.
You can rename a file by selecting it and pressing F2.
- In the
configfolder, create a new file namedroutes.ts. In this file, we'll configure the application's routes.
You can do that by clicking on the icon in the top-right corner, above the folders list.
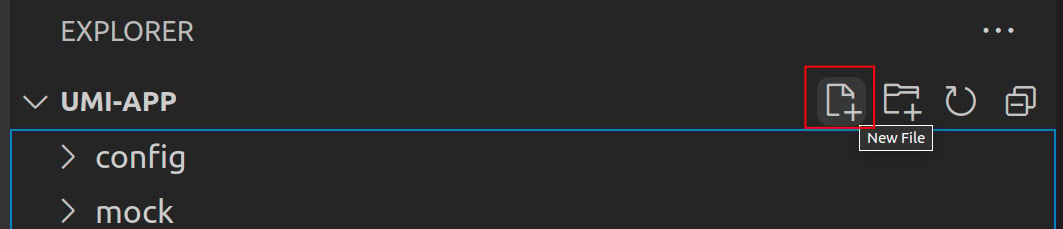
Figure 1.4 – VSCode new file icon
- Paste this code into the
routes.tsfile and save:export default [ { path: '/', component: '@/pages/index', }, ];
This code defines the root path ('/') to render the component index located in the pages folder.
- Now we can import the
routes.tsfile intoconfig.tsand add this line to theconfig.tsfile:import routes from './routes';
We can then rewrite the route section to use it as follows:
import { defineConfig } from 'umi';
import routes from './routes';
export default defineConfig({
  nodeModulesTransform: {
    type: 'none',
  },
  routes,
  fastRefresh: {},
});
Umi also supports internationalization (also known as i18n) through the locale plugin. You'll learn more about this and other helpful Umi plugins in later chapters. To enable internationalization, create a folder named locales in the src folder and add the following configuration to the config.ts file under the config folder:
config.ts
import { defineConfig } from 'umi';
import routes from './routes';
export default defineConfig({
  locale: {
    default: 'en-US',
    antd: true,
    baseNavigator: true,
    baseSeparator: '-',
  },
  nodeModulesTransform: {
    type: 'none',
  },
  routes,
  fastRefresh: {},
});
The locale configuration properties are as follows:
default: The default application language.antd: Enable Ant Design components internationalization.baseNavigator: Enable browser language detection.baseSeparator: The separator used in multi-language files localized under thesrc/localesfolder.
Now we can support internationalization by adding multi-language files in the locales folder. For example, to support the English language, we need to add a file named en-US.js.
Now, we'll add the app.tsx file to set configurations at runtime.
Runtime configuration
Umi uses a file named app.tsx to expand your application's configurations at runtime. This file is useful to configure the initial state using the initial-state plugin and the layout using the layout plugin. The app.tsx file needs to be located in the src folder.
Add a file named app.tsx to the src folder following the steps demonstrated previously.
At this point, our project structure should look like this:
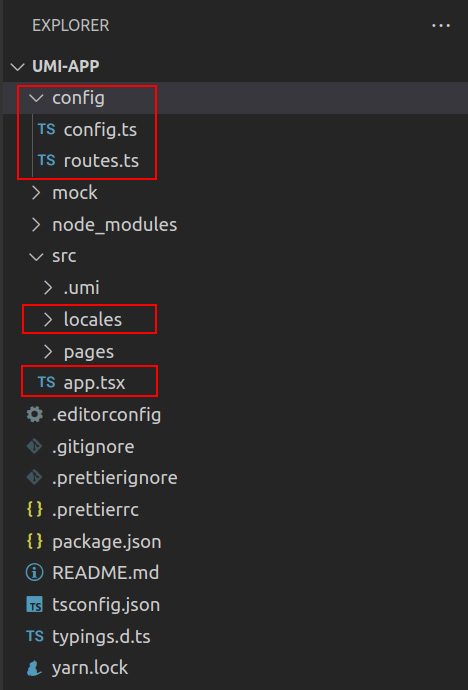
Figure 1.5 – Project structure after last modifications
You'll better understand all these features following the exercises in the upcoming chapters.
Now that you understand the Umi project structure and have added the missing folders and files, let's learn about some useful commands in the Umi command-line interface (CLI).