
Let's try this by adding a new web page to a topic. Make sure you've got a couple of images that you can display side by side:
After you have created a new web page, we first need to insert a table. Click on the Insert Table button to display the Insert Table dialog:
 |
2. You can now specify the number of columns and rows your table will have. Don't worry if you aren't exactly sure how many you will need as you can always change things later on. I'm going to have two pictures side by side, each with a fragment of text underneath. That means two rows and two columns. When you first insert a table, the border has a thickness of 1. If you want a borderless table, then you must set the border to be 0.
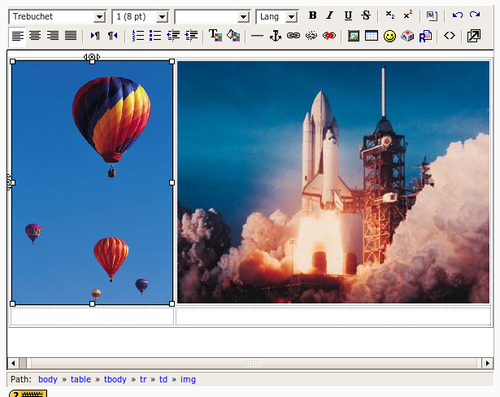
3. Insert an image into each of the two cells in the top row of the new table:
 |
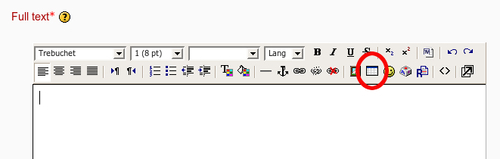
4. If you want a full view of the page so that you can position the images then remember you can click on the Enlarge Editor button to open the Fullscreen view. Click on that...