

So you want to develop apps for mobile and embedded devices using Qt. Excellent choice, as Qt was made for cross-platform development. To get you started, we will run through the basic procedure of using Qt Creator to create, build and run an application. We will briefly examine different aspects to consider when creating mobile and embedded apps, such as how to use Qt Creator to add a menu. Adding a QWidget in the designer is not that difficult, and I will show you how.
Qt has a long history of running on mobile devices, starting with Qt Embedded, which was initially released in 2000. Qt Embedded was the base framework for the UI Qtopia, which was initially released on the Sharp Zaurus on the SL-5000D developer edition.
These days, you can develop an application using Qt and sell it in the iOS App Store, Android Google Play store, or other Linux mobile phones. Qt apps run on TVs and you can even see them running on entertainment systems in cars and planes. It runs on medical devices as well as industrial automation machines on factory floors.
There are considerations for using Qt on mobile and embedded devices such as memory constraints and display size constraints. Mobiles have touchscreens, and embedded devices might not have screens at all.
When you install Qt, you can use the Qt Creator IDE to edit, build and run your code. It's free and open source, so you can even customize it. I once had a patch that customized Qt Creator in a way that would allow me to print out all the keyboard commands that is was using, so I could have a quick reference sheet. Let's take a quick look at Qt Creator, that was once known as Workbench.
We are not going to go into any great detail about Qt Creator, but I thought I should mention it to demonstrate how we could go about using it to develop a cross-platformQWidgetbased application that runs on a desktop and mobile platform. Some differences between the two will be discussed. We'll then demonstrate how using dynamic layouts can help you target many different screen sizes and handle device orientation changes. You might already be familiar with Qt Creator, so we will refresh your memory.
The basic procedure for cross-compiling and building apps that run on a mobile device are straight forward after you get set up. The procedure that we would hypothetically follow is:
File|New FileorProject...|Qt Widgets Application, click theChoose...button- Write some amazing code
- Select the
Projectsicon on the left side ofQt Creator, then pick which target platform you want likeQt 5.12.0for iOS - Hit Ctrl + B, or Command + B to build
- Hit Ctrl + R, orCommand + R to run
- Hit F5, or Command + Y to debug
For this first chapter, we will use Qt Widgets, which are UI elements that are more closely aligned to traditional desktop computer applications. They are still useful for mobile and embedded devices.
Qt Creator comes with a design tool named Qt Designer. When you create a new template application, you will see a list of files on the left. It will open your application form in Qt Designer when you click on any .ui file.
Note
The source code can be found on the Git repository under the Chapter01-a directory, in the cp1 branch.
Navigate to Forms | mainwindow.ui and double click on that. This will open the UI file in Qt Creators Designer. A UI file is just a text file in the form of XML, and you can edit that file directly if you choose. The following image shows how it looks when opened in Qt Designer:
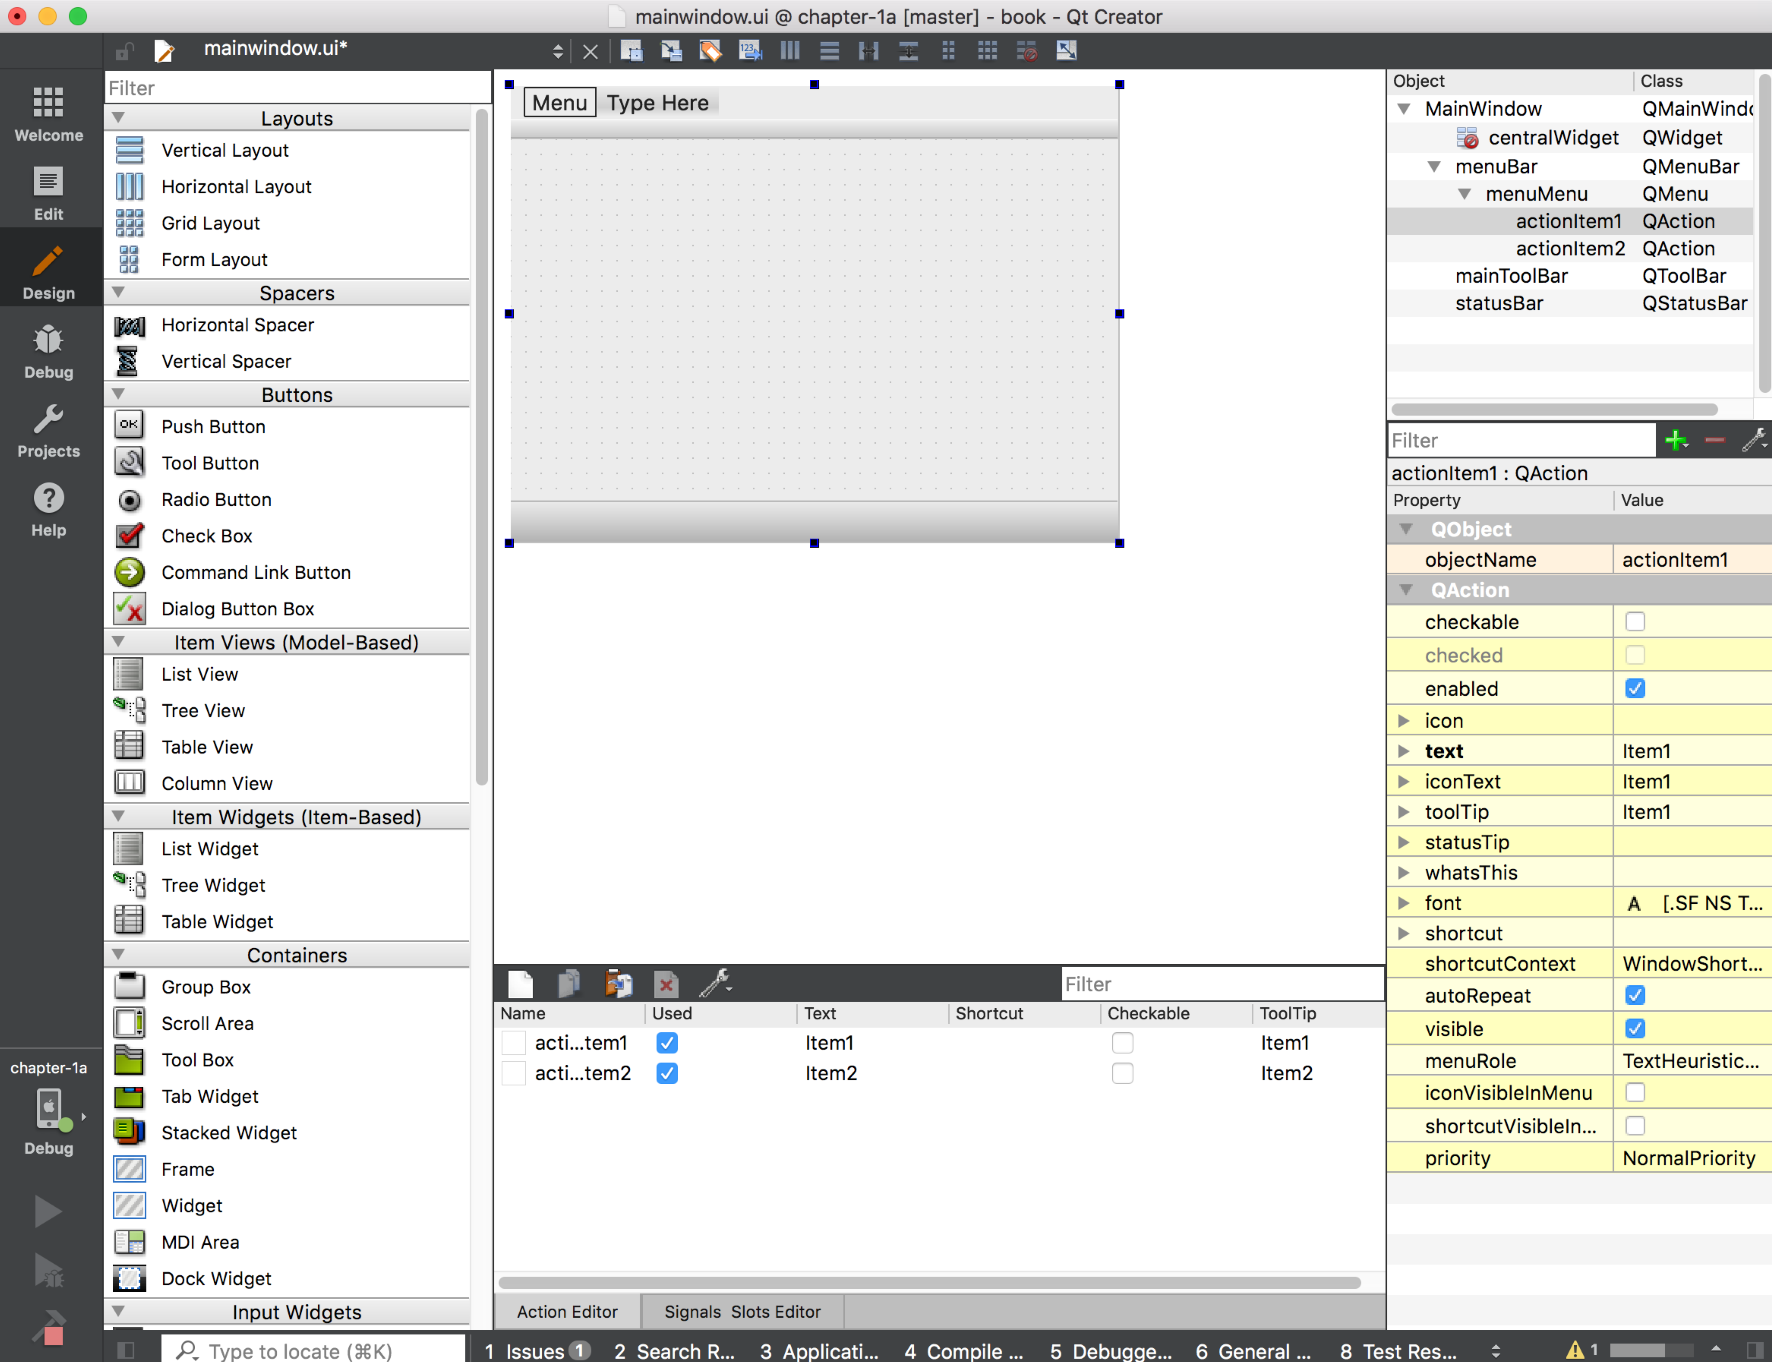
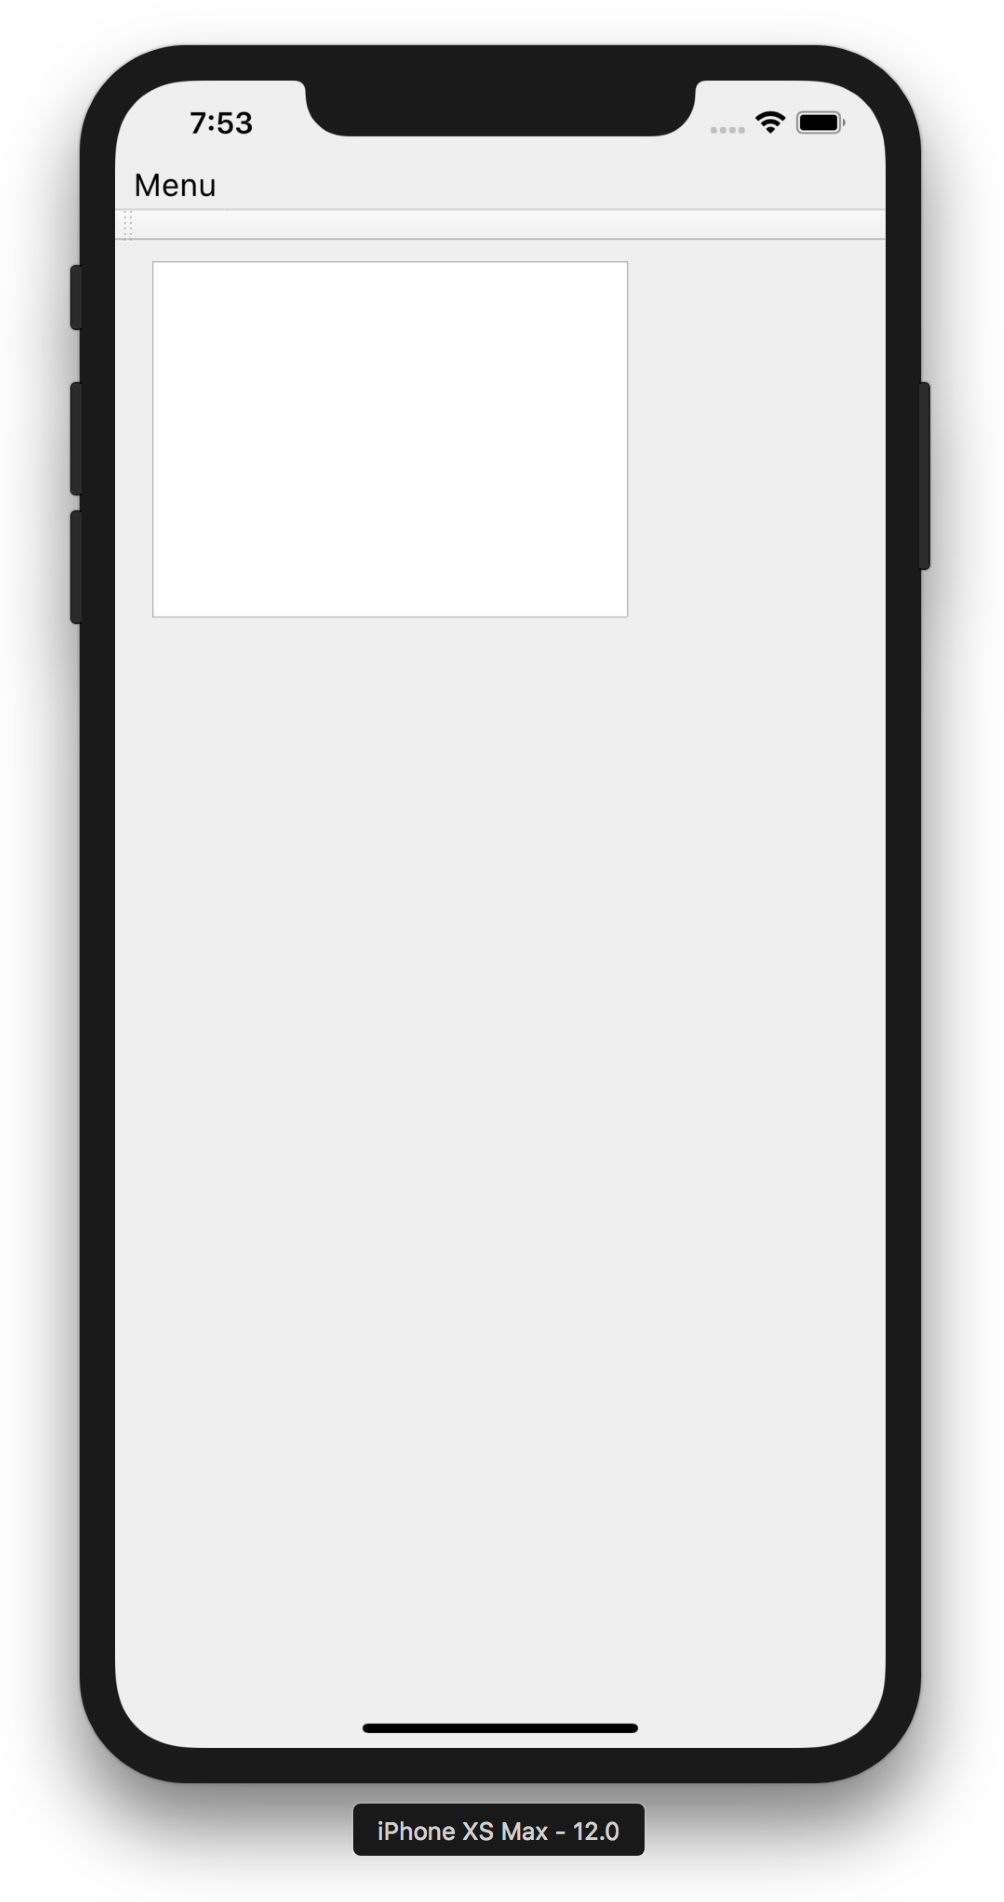
Let's start with something just about every desktop application has—a Menu. Your mobile or embedded application might even need a Menu. As you can see, there is a templateMenu that the Qt app wizard has produced for us. We need to customize this to make it usable. We can add some sub-menu items to demonstrate basic Qt Creator functionality.
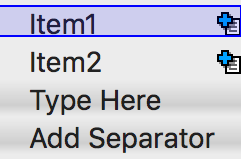
Click on the application form where it saysMenuto add menu items. Type in something likeItem1, hit Enter. Add another menu item, as demonstrated in the following image:
If you were to build this now, you would have an empty application with a Menu, so let's add more to demonstrate how to add widgets from the list of widgets that is on the left side of Qt Creator.
Our UI form needs some content. We will build and run it for the desktop, then build and run it for the mobile simulator to compare the two. The procedure here is easy as drag and drop.
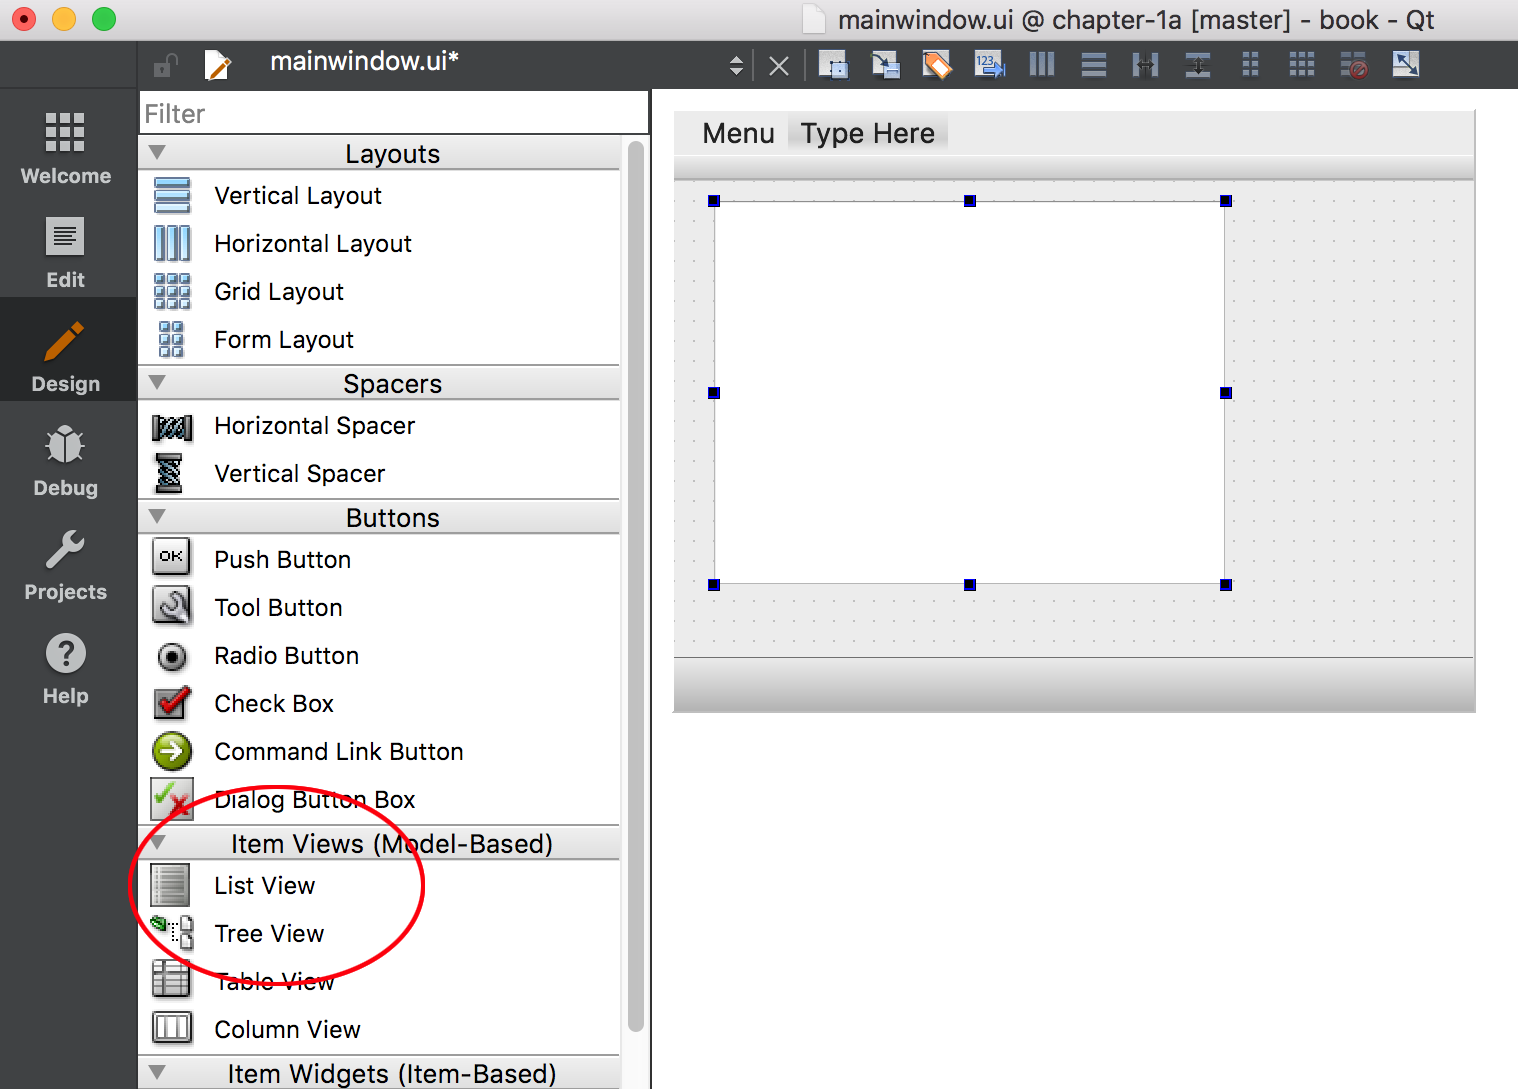
On the left side of Qt Creator is a list of Widgets, Layouts and Spacers that you can simply drag and drop to place onto the template form and create your masterpiece Qt application. Let's get started:
- Drag a
ListViewand drop it on the form.
- Select
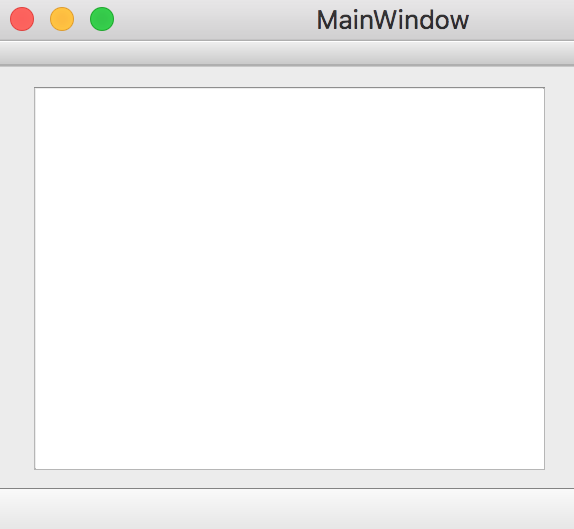
Desktopkit and build and run it by hitting the Run button. Qt Creator can build and run your application in the same step if you have made any changes to the form or source code. When you run it, the application should look similar to this image:
That's all fine and dandy, but it is not running on anything small like a phone.
Qt Creator comes with iOS and Android simulators, which you can use to see how your application will run on a small screened device. It is not an emulator, which is to say it does not try to emulate the device hardware, but simply simulates the machine. In effect, Qt Creator is building and running the target architectures.
- Now select
iOS Simulatorkit, orAndroidfrom theProjectstool in green, as seen in the following image:

- Build and run it, which will start it in the simulator.
Here is this app running on the iOS simulator:
There you go! You made a mobile app! Feels good, doesn't it? As you see, it looks slightly different in the simulator.