Book Image

Managing Software Development with Trac and Subversion

By : David J Murphy
Book Image

Managing Software Development with Trac and Subversion

By: David J Murphy

Overview of this book

<p><br />Trac is a minimalistic open-source enhanced wiki and bug/issue tracking system for software development projects, designed to help developers while staying out of the way and provides an interface to Subversion. Subversion is an open-source version control system that addresses many of the perceived deficiencies of CVS and can use WebDAV for network communications, and the Apache web server to provide repository-side network service.<br /><br />This book presents a simple set of processes and practices that allow you to manage these projects using open-source software without getting in the way by imposing as little as possible on established development practices and policies.<br /><br />This book looks at what is needed to manage software development projects, how web-based software project management system Trac and open-source revision control system Subversion meet these needs, and how to install, configure, and use them.</p> <p><a href="http://www.packtpub.com/article/managing-software-development-with-trac-and-subversion-table-of-contents"><br /></a></p>
Table of Contents (15 chapters)

Accessing Trac


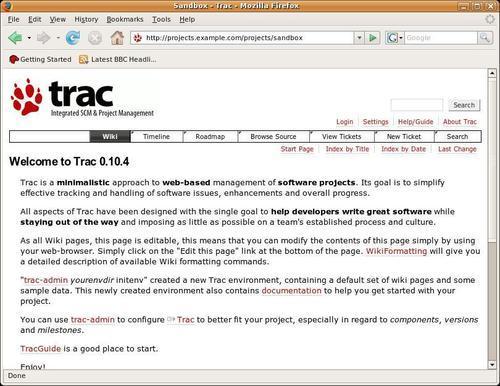
Before we look at how to modify and create pages, let's see how our Trac environment looks to a normal (i.e. unauthenticated) user. To do this we need to open our web browser and enter the URL http://servername/projects/sandbox into the address bar and then press the Enter key. This will take us to the default page (which is actually called WikiStart).

When we access our project as an unauthenticated (or anonymous in Trac parlance) user, the majority of it will look and act like a normal website and the wiki in particular seems just like the usual collection of interlinked pages.

However, as soon as we authenticate ourselves to Apache (which passes that information on to Trac), it all changes.

If we click the Login link in the top right of the page now, we will be presented with our browser's usual authentication dialog box as shown in the following screenshot.

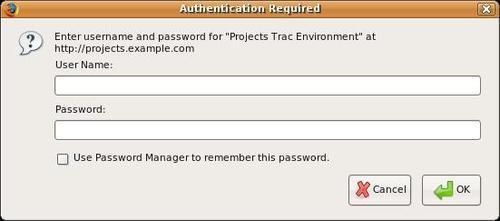
We need to put in the username and password we created for ourselves in Chapter 3 and click OK. If we enter them correctly...