For developing a JAX-WS web service with Java 7, we shall be using NetBeans IDE 7 and Oracle GlassFish Server 3.1.1, both of which support Java 7. In this chapter we shall install the software required for this book. The Windows version of the software (.exe application) is used in this book. If using another OS, install the corresponding version of the software if available.
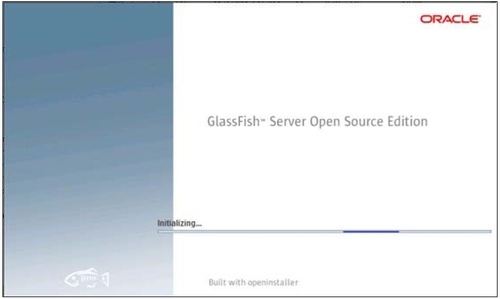
Download the Oracle GlassFish Server 3.1.1 or the latest version Open Source Edition .exe file from http://www.oracle.com/technetwork/java/javaee/downloads/ogs-3-1-1-downloads-439803.html. Double-click on the .exe file to start the installation. The installation gets initialized, as shown in the following screenshot:
In the Introduction window, click on Next.
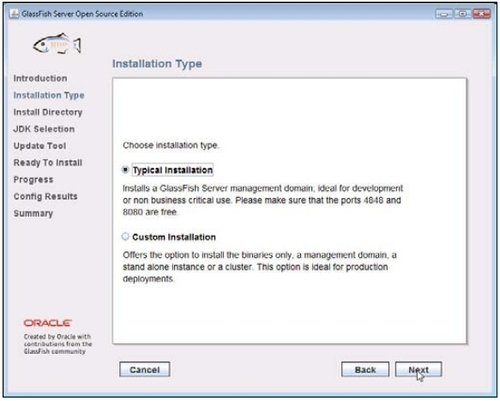
In the Installation Type window, select Typical Installation. Ports 4848 and 8080 must be available. For example, if the Oracle database XE is installed and running, the database needs to be stopped. Click on Next:
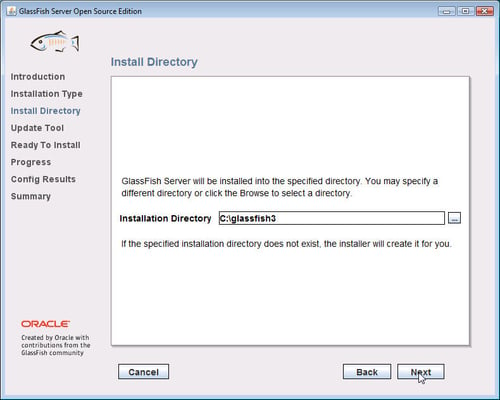
In the Install Directory window, specify an Installation Directory (C:/glassfish3) and click on Next. The directory does not need to be created prior to specifying the Installation Directory:
If GlassFish Server updates need to be installed, select the Install Update Tool checkbox. Select the Enable Update Tool to enable the update tool. As we won't be using the Update Tool for the sample application in the book, in Update Tool deselect Install Update Tool and click on Next.
In the Ready To Install window, click on Install to install and configure the Oracle GlassFish Server Open Source Edition:

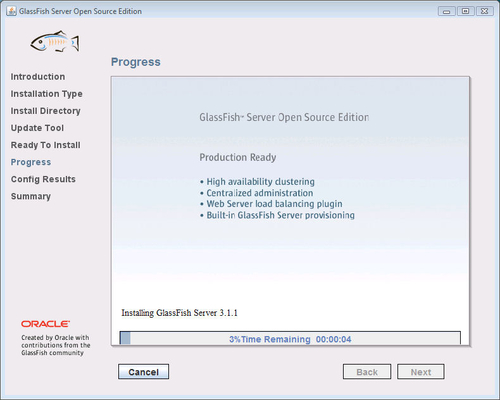
The installation of GlassFish Server 3.1.1 starts and the Progress bar indicates the percentage installed:
The Config Results window shows whether the required configuration domain (domain1) is created or not. If the domain creation fails with the error: "The system cannot find the path specified", running the installer with the -j JAVA_HOME option fixes this issue.

The start-domain command gets invoked:
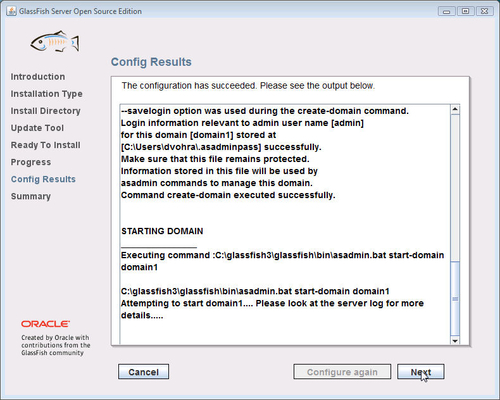
As shown in the following screenshot, the domain domain1 starts successfully. The Admin Port is 4848:

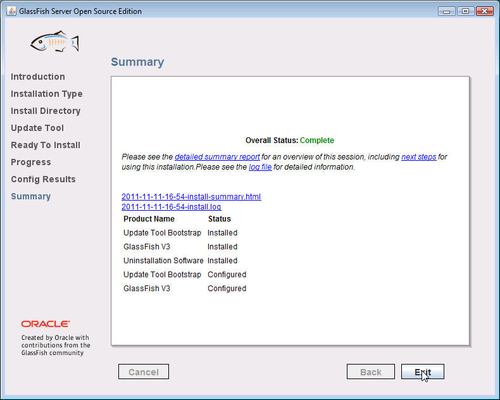
The Oracle GlassFish Server is now installed and configured. Click on Exit:
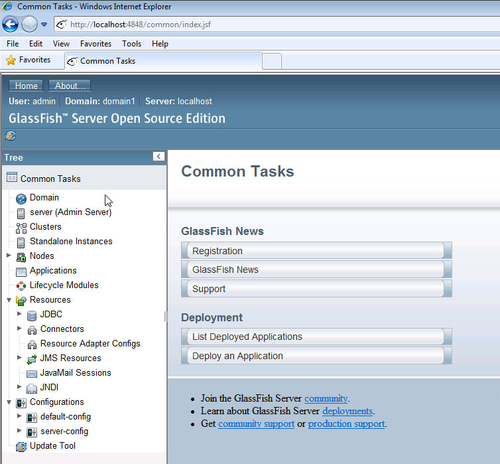
The GlassFish Server Administration server console may be accessed with the URL http://localhost:4848/common/index.jsf:
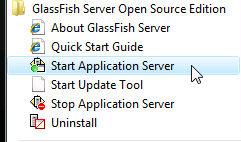
The application server may also be started/stopped from the Windows | Start program menu: