
In certain instances, we will require additional forms for the same entity. One obvious example is when we need to implement role-based forms. In such instances, a specific role could have access to only a subset of fields, while a different role could have access to other fields. We could have an overlap of fields available to all roles too.
Open the previously created solution, and navigate to the Countries entity we created. In the view of All Forms, by default, we only have the two forms, one for the normal use and one for mobile.
Adding a new form can be achieved as follows:
From the All Forms view, select New | Main Form, or simply click on New.

On this new form, we can remove the Country Code and Display Sequence fields, by selecting each field and clicking on Remove on the ribbon.

Click on the Form Properties button on the ribbon, and on the Display tab (second from the left) to define a new name for our form.

Once the fields are removed and the form renamed, we can save and publish the new form.

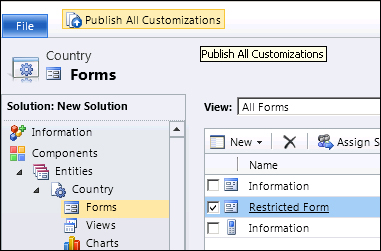
With the form published, we can verify the listing of All Forms to make sure the form is saved.
To verify how this form is presented to users, we can navigate to Country created in the system, and select from the available forms.

Now, both forms are available to be selected for users that have permissions to view both. We will be covering role-based forms later in a different recipe.
Removing a form is also a relatively simple process.