
Solid layers are basic colored layers. These can be used to give your video a solid color in the background. We can also use solid layers to create more complex masks. Let's spend more time with basic solid layers. Solid layers are simple color layers that can be edited with masking tools. You will learn how to create solids, edit them, and mask them:
Create a new comp.
Make the composition dimensions 1,920 x 1,080.
Name this comp
solids test.Move this composition into the main
compfolder.Create a basic solid layer, Layer | New | Solid, or you can hit the shortcut Ctrl + Y or command + Y on macOS.
Click on the color box and change the color to yellow:
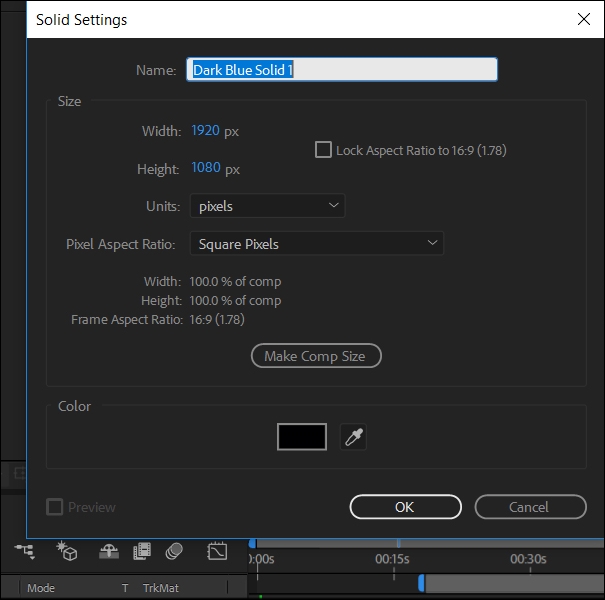
Solid settings
Good job! You have created your first solid layer. Notice that when you create a solid layer, After Effects creates a folder named solids in your project window. Whenever you create a new solid, it will automatically go into that folder. Right now, you have only one layer in your comp. It gets complicated when there are many layers in your composition. Let's create more layers to get used to working with more than one layer:
Create another solid, or use a shortcut Ctrl + Y or command+ Y for macOS.
Make this solid orange.
Move this new orange layer to the lower-right corner.
Create another solid, or use the shortcut Ctrl + Y or command + Y for macOS.
Make this solid blue. Move this layer to the upper-left corner.
Remember that the stacking order is really important in After Effects. You will see what is on top first, followed by what is on the bottom, which is on the background. This composition is created with layers stacked on top of one another. You can see what's underneath that layer. You can see there are other things in the background. There is a solid underneath that layer. At this point, you should see all your different-colored layers: some in front of the others, and some at the back. This is a good visual representation of the stacking order. Look in the timeline; you can see how the stacking order correlates to what you see in your composition:
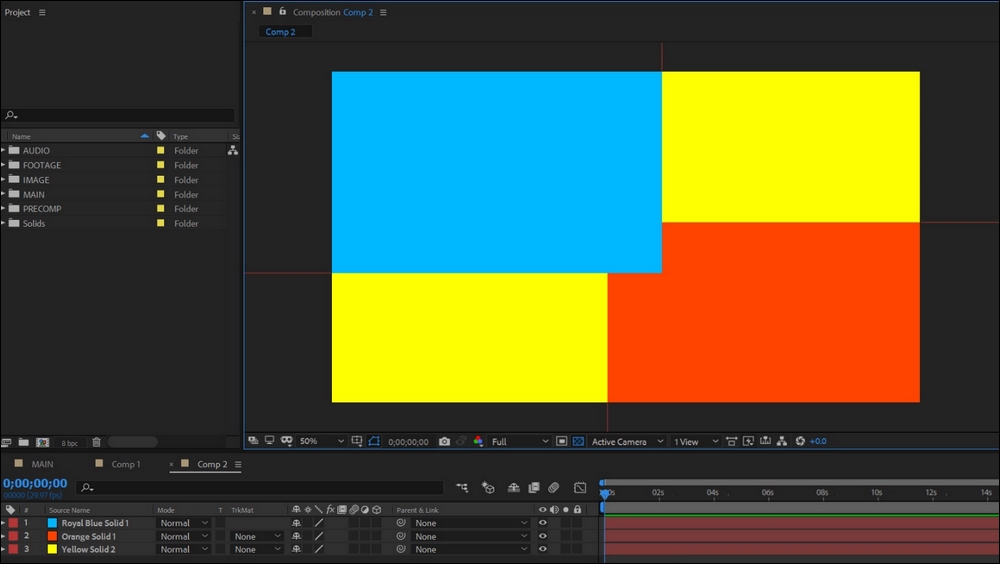
Stacking order
Let's look at the transparency parameters for our solid layers. You can access this by pressing the letter T. Scrub this parameter to reduce the opacity, and then lower the opacity. Notice you can still see the other layers through it:
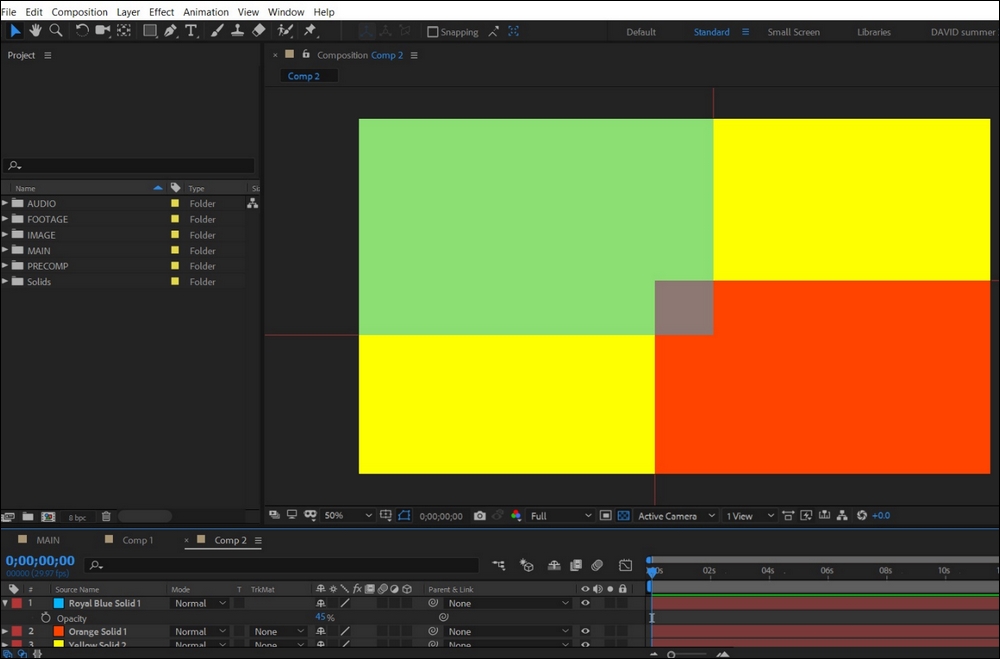
Transparancy
Now that you have learned how to change your layer opacity, let's learn how to duplicate layers.
In After Effects, duplicating your layers will create an exact copy of your layers and any key frames and effects you have on them. To duplicate your layer, perform the following steps:
First, select the layer, duplicating your latest layer
Press Ctrl + D, or command + D for macOS
To change the setting for your solid layer, press Shift + Ctrl + Y or Shift + command + Y for macOS
Note
Your shortcut may be different if you have macOS. Refer to tab at the right of the After Effects panels, | Help | Keyboard Shortcuts...:
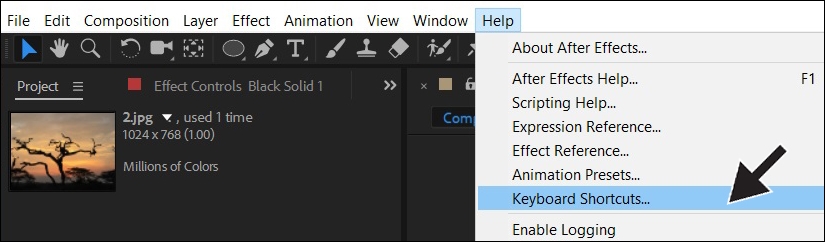
Keyboard shortcuts
If you find anything you're doing a lot, find the shortcut for it. Learning these shortcuts will greatly speed up your workflow in After Effects.
When you get more advanced with After Effects, you will have many layers in your timeline. One way to identify a layer is to turn off all the other layers. Another reason to temporarily turn off a layer is to see how your composition looks without that layer. These eyeball icons are for turning off your layers:

Eyeball icon
Remember when the eyeball is visible, it means that the layer is visible. When it's not visible, the layer will not be seen in the composition.
Soloing your layer can be a life-saver. This will help you temporarily show one single layer or many single layers at a time. What makes this switch so important is that it's easy to turn on and off without changing any of your original layers. It's also easy to tell which layers you have soloed, making it easy to turn off the solo switch when you need to. To activate the solo switch, simply turn on the solo button. If you solo something, you will see the grid behind it, and this grid means that it is a transparent background. Turn off the solo switch to return the layer to its original condition. This becomes really helpful when you have a lot of layers and you want to locate and identify and work with just one layer; you can solo it:
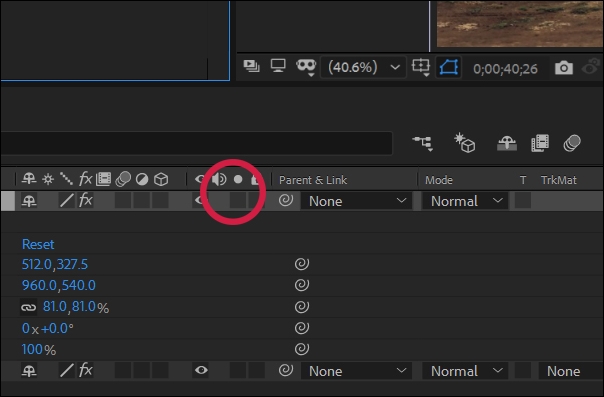
Solo layer
Understanding how to solo your layers will help you quickly turn on and off hundreds of layers with no fear of ruining anything. Try practicing with the solo button on a layer.
Tagging your layers can be especially helpful for identifying and organizing your layers in the timeline. You can change these tags to be any color you want. When you need to quickly edit something, sometimes you can select it, but sometimes it can be really hard to find it. Identifying layers is an important part of After Effects. When you have a very complicated project, it's very important to be able to identify your layers. This is when naming and tagging your layers correctly becomes very important. Organization is very important:
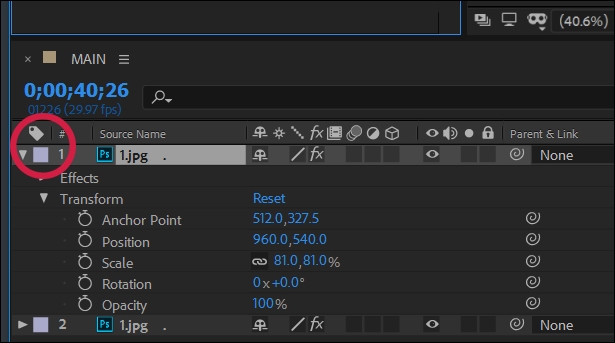
Tags
In After Effects, your composition window is like a stage. You can see images outside the frame or stage. You can also drag things into or out of the main stage area. This is helpful when you want to start your animation off-screen and end up on-screen.
Your layers have transform properties, which are the heart and soul of animation. Anything that has a stopwatch next to it can be animated. All these parameters can be overwhelming at first glance. Let's go over each property shortcut to familiarize yourself with them all. Twirl word transform down to see all the properties:
Anchor Point: The shortcut is Y
Position: The shortcut is P
Scale: The shortcut is S
Rotation: The shortcut is R
Opacity: The shortcut is T
Reveal all key frames: The shortcut is U
Pressing any of these keyboard shortcuts while your layer is selected will bring up that parameter:
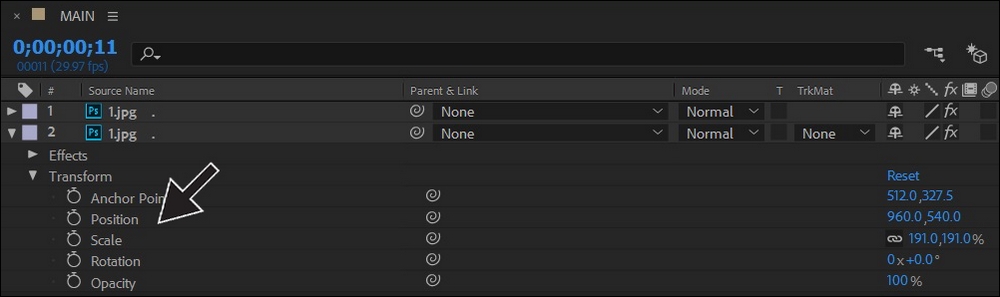
Transform properties
All these transform properties can be animated across time. All such properties appear with the icon of a stopwatch, which indicates the feature of animating them in the timeline.
After Effects comes with different guides you can use to create more precise alignments of your objects. If you look at the top-right of your tool panel, you can enable Snapping:

Snapping
This will make your objects snap to your guides. In the Guides section, you will find a variety of guides and grids to go beyond the guesswork of lining up your object in After Effects. The guide Title/Action Safe is used for video monitors. These guides can be accessed at the bottom of the composition window by clicking the grid icon:
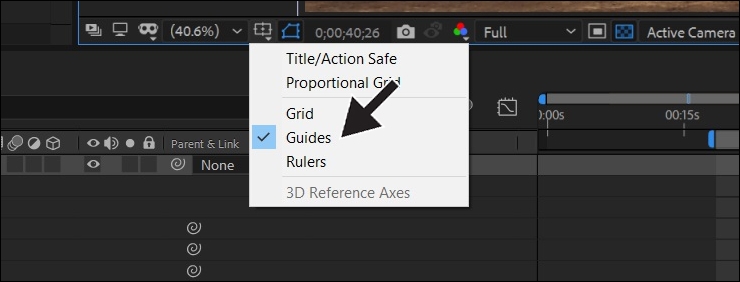
Guides
If you choose the Rulers option, you have access to guides that you can drag across your composition and align objects to the guides:

Custom guides
Guides can be a great help to layout your composition and arrange text precisely.