
Creating an account
Now you will learn how to create an account in Notion. This is so that you can access the application to keep your information and data private while also storing the information linked to the account you create:
- When you first go looking for Notion, you can find it by searching in your browser (such as Google, Bing, or Yahoo). In the results section, you should see the Notion website, which is titled Notion – The all-in-one workspace for your notes, tasks, wikis.
- When you click through to the main page, you will be able to view their website. However, if you have made an account previously, it will take you into the workspace you are currently logged into; in this case, you can move on to the next section of this chapter.
- At the top of the main page, there is a section for you to add your email address and sign up, as shown in Figure 1.1. The email address that you enter in that box is the email address you will use for your account. This email will receive all the emails and notifications that the Notion app sends out:
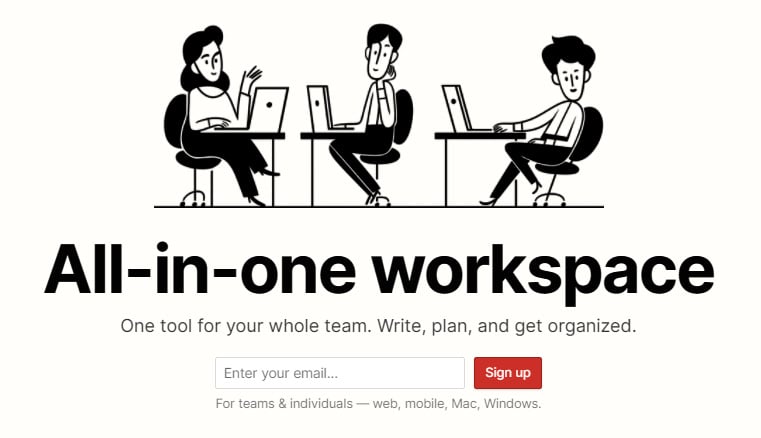
Figure 1.1 – The Notion website – enter your email account to sign up
Alternatively, you can navigate to the upper-right corner of the main page and click on Log in, if you have an account, or Sign up to create a new account. Going through this option will take you to a different page where you can use your Google or Apple sign-in details to create a new account. This will use the email address from that account as your Notion account email.
- Once you have entered an email address for the Notion account, a confirmation code will be sent to that email address. The main page you are on will change and ask for a confirmation code. Go to your email inbox to find the Notion sign-up code. If the email is not in your inbox, you might need to check your spam folder due to your email settings.
- Once you have found the sign-up email, there will be two options to choose from:
- A link that will take you to a Notion page
- A code that you need to put into the main page you just left, asking for the confirmation code
- Having entered the code or gone through the magic link in the email, you will be taken to a Privacy & Data collection page. This page shares how Notion uses cookies to securely identify your account along with how Intercom, Amplitude, Segment, Snowflake, Crashlytics, and Loggly are used to collect analytics for improving the product and troubleshooting customer issues.
- You can withdraw your consent to analytics at any time by emailing [email protected], which is linked on the page. Additionally, they mention the product updates and marketing emails that will be sent out with an unsubscribe link, if you don't want to receive them, along with their terms of service and privacy policy information.
- When you are happy to proceed, you will be taken to a profile page. This will give you the option to add a name, image, and password to your profile. Notion asks for a password that is longer than 15 letters or longer than 10 characters with letters and numbers.
There is no need to add a profile picture at this point, as the account can be created with just a username and password. Once you have entered a username and password, click to continue. You will be given two options:
- A team options
- An individual option
- If you select the team option, it will ask you for a workspace name, company size, and your starting team. You can add a logo, but it is not mandatory. As you continue through this process, it will ask you to invite your teammates into the workspace. You can invite them via their email address, and if they do not already have a Notion account, they will go through the account creation process. Again, this is not mandatory at this point, and you can move forward without inviting anyone into the space.
- When you pick a team plan, you will be put on the trial package, so you will be limited in terms of some of the features that you have access to. To check which features are limited, navigate to your workspace settings and look at the plan section. This will be covered, in more detail in Chapter 3, Template Import Options, Account Settings, and Workspace Settings.
- If you select the individual option, you will be directed to your Notion workspace. At this point, if you decide that you want to test out the team plan as a trial, you can; however, again, you would need to go through the workspace settings.
- When you enter the Notion workspace, you will go through an onboarding process that shows you some templates that you can choose to import into your workspace.
Templates will be covered in more detail in Chapter 3, Template Import Options, Account Settings, and Workspace Settings, but you will also be given a Getting Started page in your private section. The Getting Started page goes over some of the basics that will be fully covered throughout this book.