


In this section, we will learn the most important steps needed to properly work with the VirtualBox. Note that most of the settings discussed here can be directly translated from VirtualBox to any other desktop virtualization software such as KVM, VMware, Workstation, or Parallels Desktop.
Let's follow these steps to export the VM image:
- Navigate your cursor to the top-left corner of the Oracle VM VirtualBox Manager screen. Here, click on the File menu and in the drop-down menu select Export Appliance....
- In the same drop-down menu, you'll find another menu item called Import Appliance..., which allows you to import an image file once it has been created.
- Now, click on Export Appliance... to start the process.
- In the Export Virtual Appliance screen, select the VM you want to create an image of and then click on Next.
- Now, on the Storage settings screen leave the default settings as it is and then click on Next again.
- Again, on the Appliance settings screen, we don't want to change anything, so click on the Export button to start the process. This will take some time, so you will need to be patient.
- After the export process has been completed, let's examine what the resulting file will look like.
- Go to the location where VirtualBox has exported your file (usually, you'll find it in the Documents folder) and then right-click and select the Properties... option to view the file's properties:
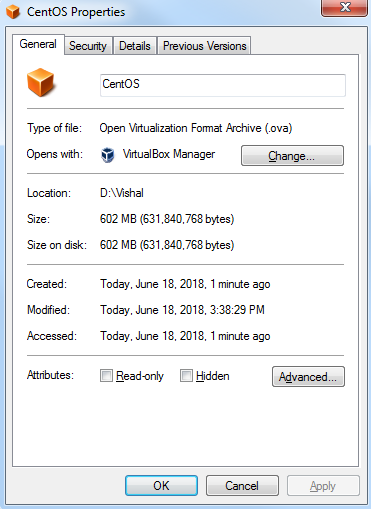
As you can see, the exported VM size is over 600 MB in size, which is pretty awesome. This image file could now be copied to a backup location or transferred to another machine or data center for running it. The next thing we should do before working with our VM is also make a snapshot from the current state right after installation, so we can revert to the status quo whenever we need to.
Follow these steps to create a snapshot of the VM:
- Select the appropriate VM and then click on the Snapshots option for your marked VM. Give it a suitable name and an optional description.
- The next thing we want to do here is create some exact copies of our VM so that we have multiple CentOS 7 servers. To do this, right-click on the VM and select the Clone... option. Give it a suitable name and mark the option named Reinitialize the MAC address of all network cards, so it will be seen as a unique machine in our network.
- On the Clone type windows, select Full clone and click on Next to continue. Now, click on the Clone button while leaving the default option selected.
- Repeat the previous steps to create another fully cloned VM.
Now, let's demonstrate the power of working with snapshots. A snapshot should always be taken before doing something risky. For example, start one of our CentOS 7 VMs and log in to the system. Now, let's imagine we want to work on the /boot directory, where the Linux kernels reside. This is a critical directory, so it's a good idea to create a snapshot of the current VM state before proceeding:
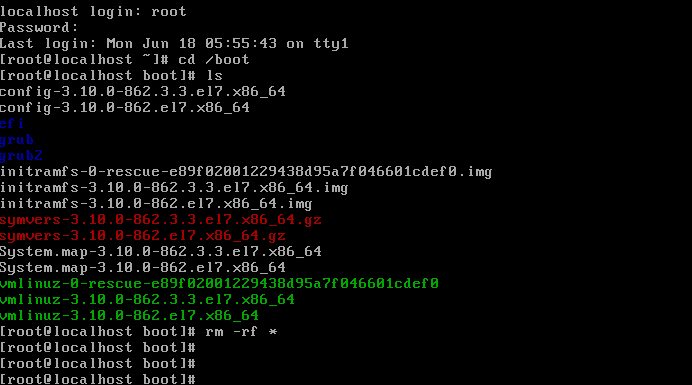
In the previous screenshot, you can see that I've made a severe mistake. I completely deleted the whole kernel directory, so the directory is now empty. What will happen if I restart the system now? Let's see:

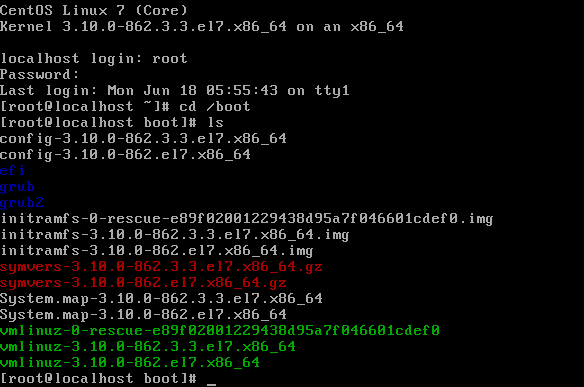
As you can see in the previous screenshot, I cannot boot without any kernel and the system is now completely unresponsive, and this gets really hard to fix. What is the best solution for this problem? Reverting to the state of your last snapshot.
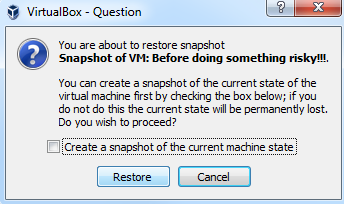
Perform the following steps to revert the VM state to the previous snapshot:
- First shut down your VM. Now, select the snapshot of your choice and then click on the Restore button. This will ask you if you want to create a snapshot of the current state. If we don't want to do this, then we click on the Restore button, as shown in the following screenshot:
- Now, you can start the VM. As you can see from the following screenshot, we are just about to execute the delete command:
- If we start the machine again, all the problems are gone and we are back where we were before deleting the kernel files. It is recommended to use the snapshot feature often since it can save your precious time.
- Finally, we can easily adjust our VM's hardware parameters if we need to, as shown in the following screenshot:
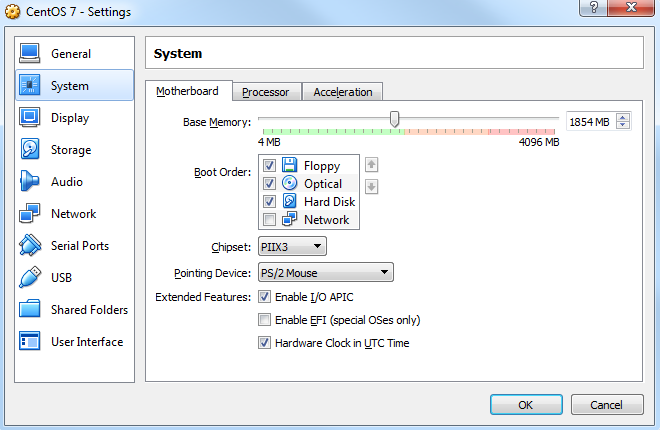
You can only do this on a part of the machine. Select your VM of choice and click on Settings and then on System, where you can adjust your memory. Also, you can adjust your virtual process here. Click on Display to change the Video Memory settings. Under Storage, you can attach virtual hard disks or create new ones. Under Network, you can create new network adapters for your VM and choose between different network modes. Under USB, select USB 2.0 (EHCI) Controller so that we can connect a physical USB device to our VM properly if we want to.


