

Running images in QEMU
We can use hardware emulation to speed up the development process, as it enables a test run without involving any actual hardware. Fortunately, most projects have only a tiny portion that is hardware-dependent.
QEMU is a free, open source software package that performs hardware virtualization. QEMU-based machines allow testing and development without real hardware. ARMv5, ARMv7, ARMv8, MIPS, MIPS64, PowerPC, PowerPC 64, RISC-V 32, RISC-V 64, x86, and x86-64 emulations are currently supported. We will go into more detail about QEMU usage in sw, Speeding Up Product Development through Emulation – QEMU.
OpenEmbedded Core provides the runqemu script tool, which is a wrapper to make use of QEMU easier. The way to run the script tool is as follows:
$ runqemu <machine> <zimage> <filesystem>
Here, <machine> is the machine/architecture to be used as qemux86-64, or any other supported machine. Also, <zimage> is the path to a kernel (for example, bzImage-qemux86-64.bin). Finally, <filesystem> is the path to an ext4 image (for example, filesystem-qemux86-64.ext4) or an NFS directory. All parameters in the preceding call to runqemu <zimage> and <filesystem> are optional. Just running runqemu is sufficient to launch the image in the shell where the build environment is set, as it will automatically pick up the default settings from building the environment.
So, for example, if we run runqemu qemux86-64 core-image-full-cmdline, we can see something similar to that shown in the following screenshot:
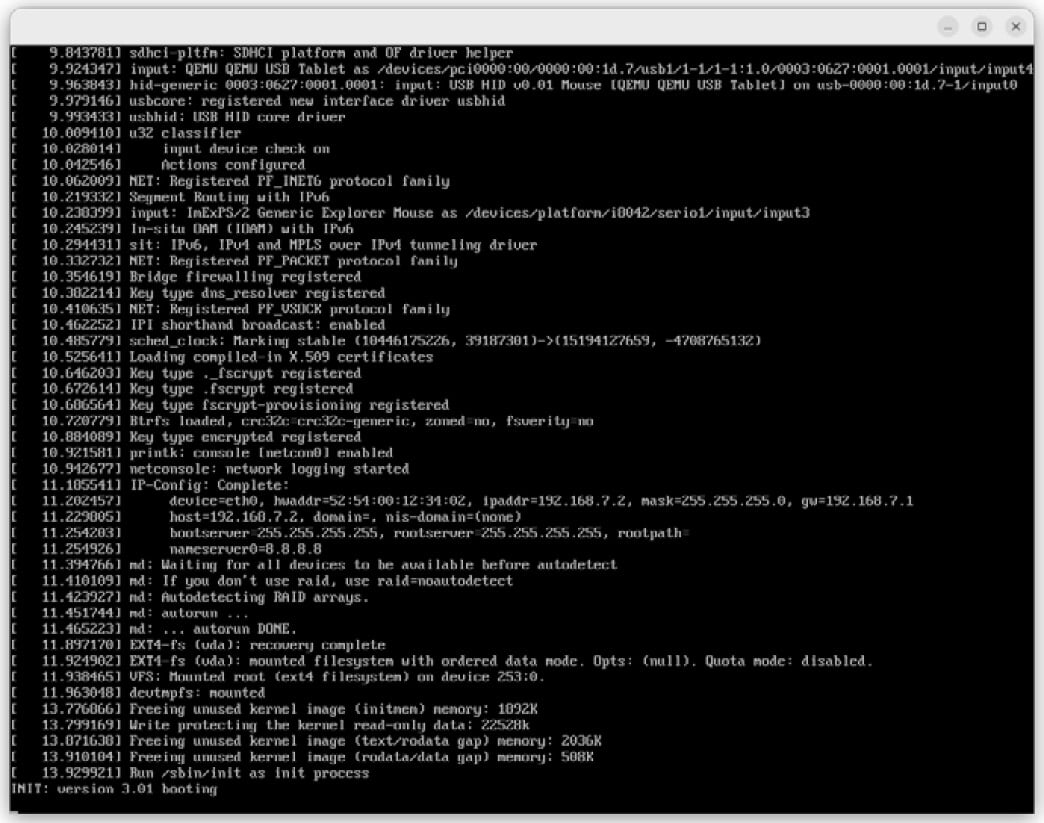
Figure 2.5 – The QEMU screen during the Linux kernel boot
After finishing booting Linux, you will see a login prompt, as shown in Figure 2.6:
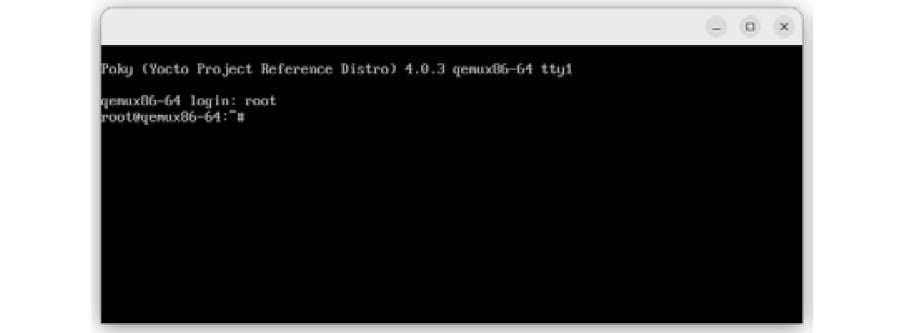
Figure 2.6 – The QEMU screen during user login
We can log in to the root account using an empty password. The system behaves as a regular machine, even when executed inside the QEMU. The process to deploy an image in real hardware varies, depending on the type of storage used, the bootloader, and so on. However, the process of generating the image is the same. We explore how to build and run an image in real hardware in Chapter 15, Booting Our Custom Embedded Linux.