Book Image

Healthcare Analytics Made Simple

By : Vikas (Vik) Kumar, Shameer Khader
Book Image

Healthcare Analytics Made Simple

By: Vikas (Vik) Kumar, Shameer Khader

Overview of this book

In recent years, machine learning technologies and analytics have been widely utilized across the healthcare sector. Healthcare Analytics Made Simple bridges the gap between practising doctors and data scientists. It equips the data scientists’ work with healthcare data and allows them to gain better insight from this data in order to improve healthcare outcomes. This book is a complete overview of machine learning for healthcare analytics, briefly describing the current healthcare landscape, machine learning algorithms, and Python and SQL programming languages. The step-by-step instructions teach you how to obtain real healthcare data and perform descriptive, predictive, and prescriptive analytics using popular Python packages such as pandas and scikit-learn. The latest research results in disease detection and healthcare image analysis are reviewed. By the end of this book, you will understand how to use Python for healthcare data analysis, how to import, collect, clean, and refine data from electronic health record (EHR) surveys, and how to make predictive models with this data through real-world algorithms and code examples.
Table of Contents (11 chapters)

Exploring the software

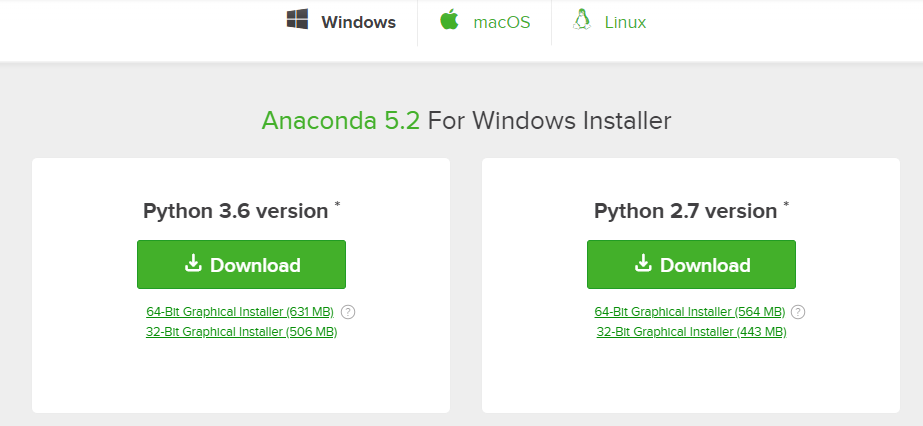
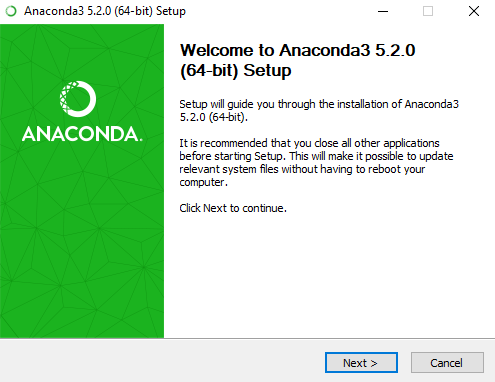
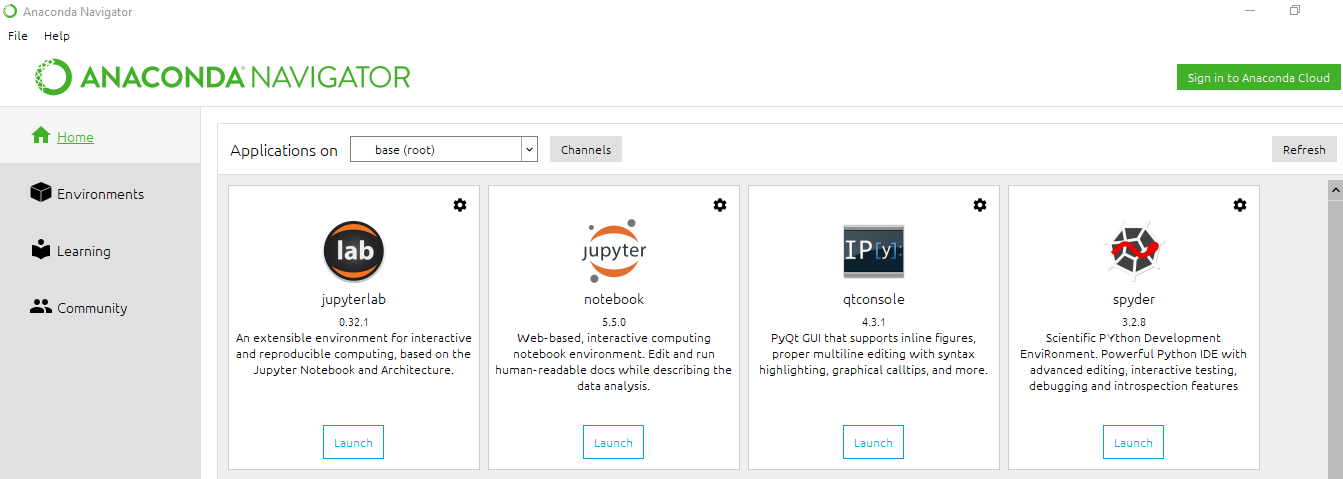
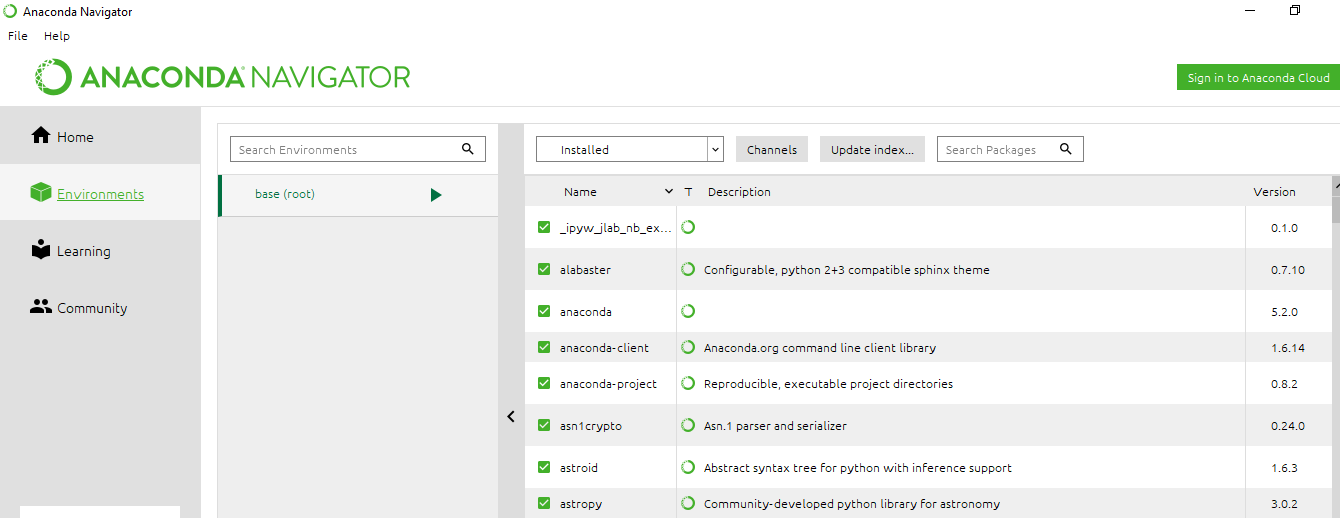
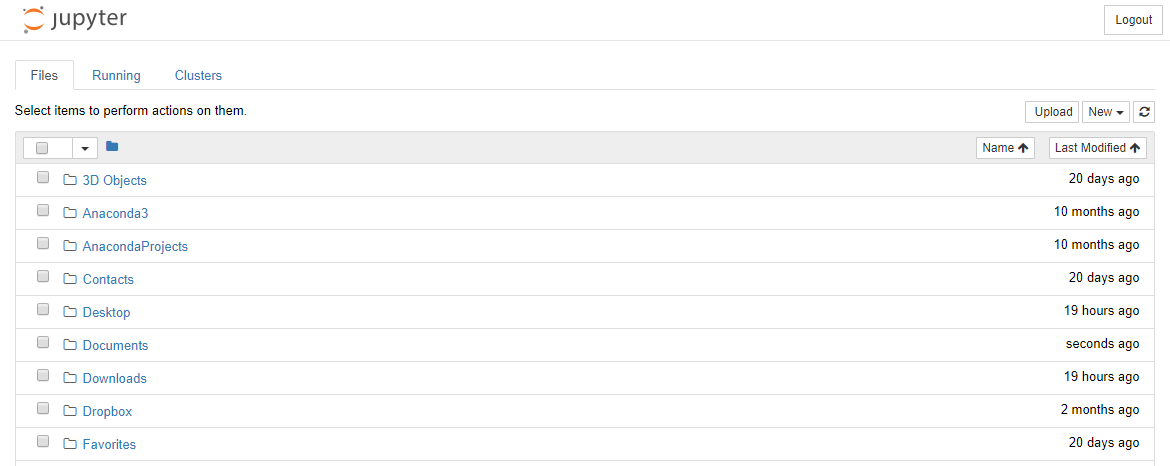
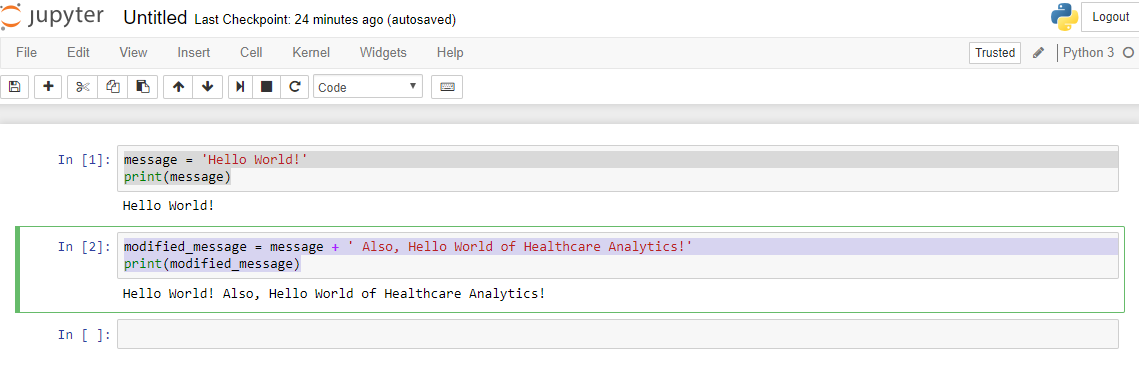
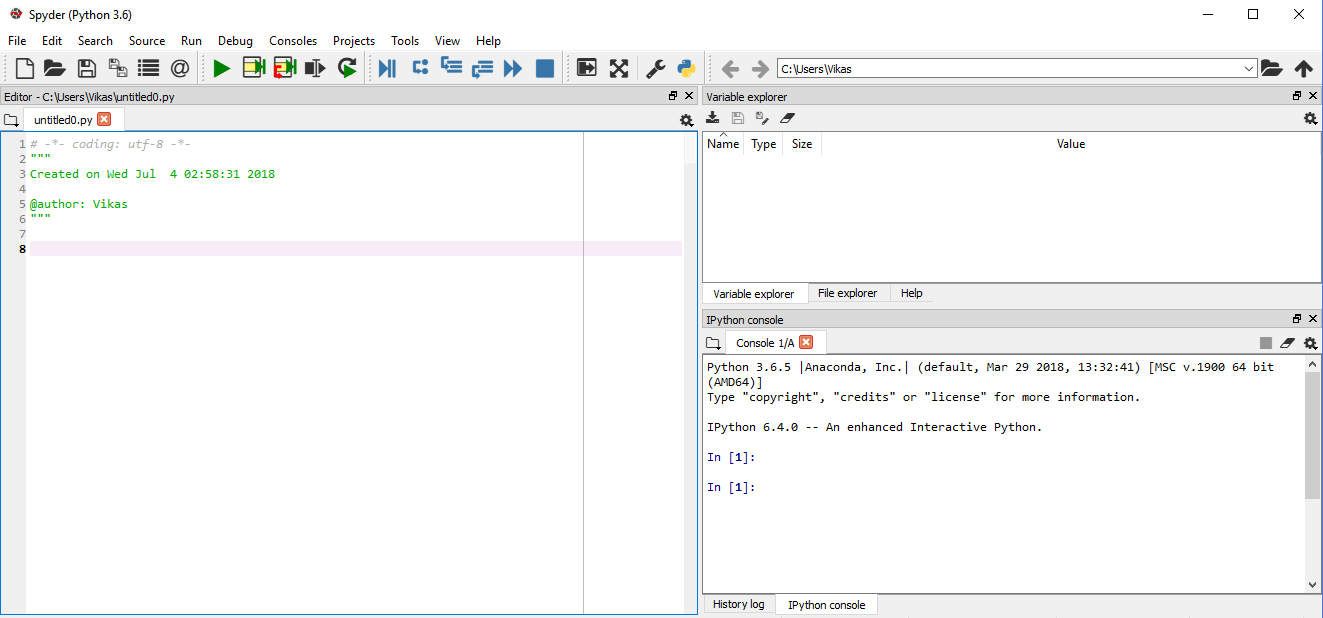
In this section, we'll download, install, and explore Anaconda and SQLite, the distributions that we will use in this book for Python and SQL, respectively.

Anaconda

The examples in this book require the use of the Python programming language. There are many distributions of Python available. Anaconda is a free, open source Python distribution designed specifically for machine learning. It includes Python and over 1,000 data science Python libraries (for example, NumPy, scikit-learn, pandas) that can be used on top of the base Python language. It also includes Jupyter notebook, an interactive Python console that we will use extensively in this book. Additional tools that come with Anaconda include the Spyder IDE (short for interactive development environment) and RStudio.

Anaconda can be downloaded from https://www.continuum.io/downloads.

To download the Anaconda distribution of Python, complete the following steps:

  1. Navigate to the preceding website.
  2. Choose the appropriate Python download depending on your operating system and desired Python version. For this book, we used Anaconda 5.2.0 (the 64-bit installation for Windows, which includes Python 3.6):
  1. Click Download. Your browser will begin to download the file. Once it is finished, click on the file in your web browser or in your OS file manager.

  1. A window will appear (shown in the following screenshot). Click on the Next> button:

  1. Continue to follow the prompts, which include accepting the license agreement, choosing the users for the installation, selecting the file destination, and choosing various options.
  2. Anaconda will begin to install. Due to the number of packages included in the installation, this may take a while.
  3. After the installation is complete, close the Anaconda window.

Anaconda navigator

Now that you have installed Anaconda, you can access its features by searching for Anaconda Navigator in the Windows toolbar, or by looking for Anaconda Navigator in the Applications folder of your Mac. Once you click on the icon, after a short pause, you will see a screen similar to the following:

You are currently at the Home tab, which lists the different applications included in Anaconda. You can access Jupyter notebook from this screen, as well as the Spyder IDE.

To see which software libraries are installed, click on the Environments tab on the left. You can use this tab to download and upgrade specific libraries as desired, as shown in the following screenshot:

Jupyter notebook

Now, let's explore Jupyter notebook, the Python programming tool we will use for most of this book. Go back to the Home tab and click the Launch button inside Jupyter icon. A new tab should open in your default browser that looks similar to the following screenshot:

This is the Files tab of the Jupyter application, where you can navigate your computer's directories to launch a new Jupyter notebook, open an existing one, or manage your directories.

Let's create a new Jupyter notebook. Locate the New drop-down menu on the upper right of the console and click it. In the drop-down menu, click Python 3. Another tab will open what looks like the following screenshot:

The box labeled with In is called a cell. The cell is the functional unit of Python programming inside of Jupyter. You enter your code in a cell and then click run to execute it. After you see the result, you can create a new cell and continue with your workflow, building on the previous results if you so choose.

Let's try an example. Click in the cell body, and type the following lines:

message = 'Hello World!'
print(message)

Then, find the Play button on the top toolbar and click it. You should see the Hello World! message immediately following the cell. You will also see a new cell below the text. This is the way Jupyter works.

Now, in the new cell, enter the following:

modified_message = message + ' Also, Hello World of Healthcare Analytics!'
print(modified_message)

Again, click the Play button. You should see the modified message under the second cell and the appearance of a third cell. Notice that the second cell is aware of what the message variable contains, even though it was assigned in the first cell. Jupyter remembers every command entered into the console for each session. To clear the memory, you must shut down and restart the kernel:

Now, let's end the current session. Go back to the Home tab in your browser. Click on the Running tab in the upper left. Under the Notebooks menu, you should see that Untitled.ipynb is running. Click the Shutdown button to the right and the notebook will disappear.

That's enough Jupyter for now. You will get more closely acquainted with it in the coming chapters.

Spyder IDE

The Spyder IDE offers a complete environment for Python development, including a text editor, variable explorer, IPython console, and optionally, a command prompt, as seen in the following screenshot:

On the left half of the screen is the Editor window. This is where you will write your Python code. Once we are finished with the scripts, we will run them using the green Play button in the upper toolbar.

The right half of the screen is divided horizontally into two parts. The top-right window, in its most useful form, functions as a Variable explorer (as shown). This window lists the name, type, size, and value of every variable that is currently in your Python environment (for example, in memory). By clicking on the tabs at the bottom of the window, you can also change the window to a File explorer or explore Python's helper documentation.

The bottom-right window is the console. It features a Python command prompt. This is useful for running single Python commands; it can also be used to run Python scripts and for other functions. The third option for this window is a history log of previously entered commands.

We will not use Spyder extensively in this book; however, it is good to know how it works in case you would like to use it for later projects.

SQLite

Healthcare data is commonly stored in databases. To manipulate and extract the desired data from these databases, you should know SQL. SQL is a language that has many variations depending on the engine you use. We will be using SQLite, a free, public-domain SQL database engine.

To download SQLite, do the following:

  1. Navigate to the SQLite homepage (www.sqlite.org). Then, click on the Downloads tab at the top.
  2. Download the appropriate precompiled binary file for your operating system. You want the bundle file, not the DLL file (the file named with the following format: sqlite-tools-{Your OS}-x86-{Version Number}.zip).
  3. Using a shell or command prompt, navigate to the directory containing the sqlite3.exe program.
  4. At the prompt, type sqlite3 test.db and press Enter.

You are now in the SQLite program. Later, we will use SQLite commands to create, save, and manipulate mock patient data. SQLite commands start with a period followed by a lowercase word and then the command arguments.

To exit SQLite, type .exit and press Enter.

Command-line tools

All operating systems, whether Windows, MacOS, or Linux, come with a command-line tool for entering commands. On Mac or Linux, the shell program takes bash commands. On Windows, there are DOS commands that are different than bash. For this book, we used a Windows PC and the DOS command prompt. Where necessary, we have included the commands we used in the text along with the corresponding bash command.

Installing a text editor

Some of the data files used in this book are quite large and may not open using the standard text editor that comes with your computer. We recommend using a downloadable source code editor instead. Popular choices include Sublime (for Windows and Mac) or Notepad++ (for Windows). We used Notepad++ for this book.