


-
Book Overview & Buying
-
Table Of Contents

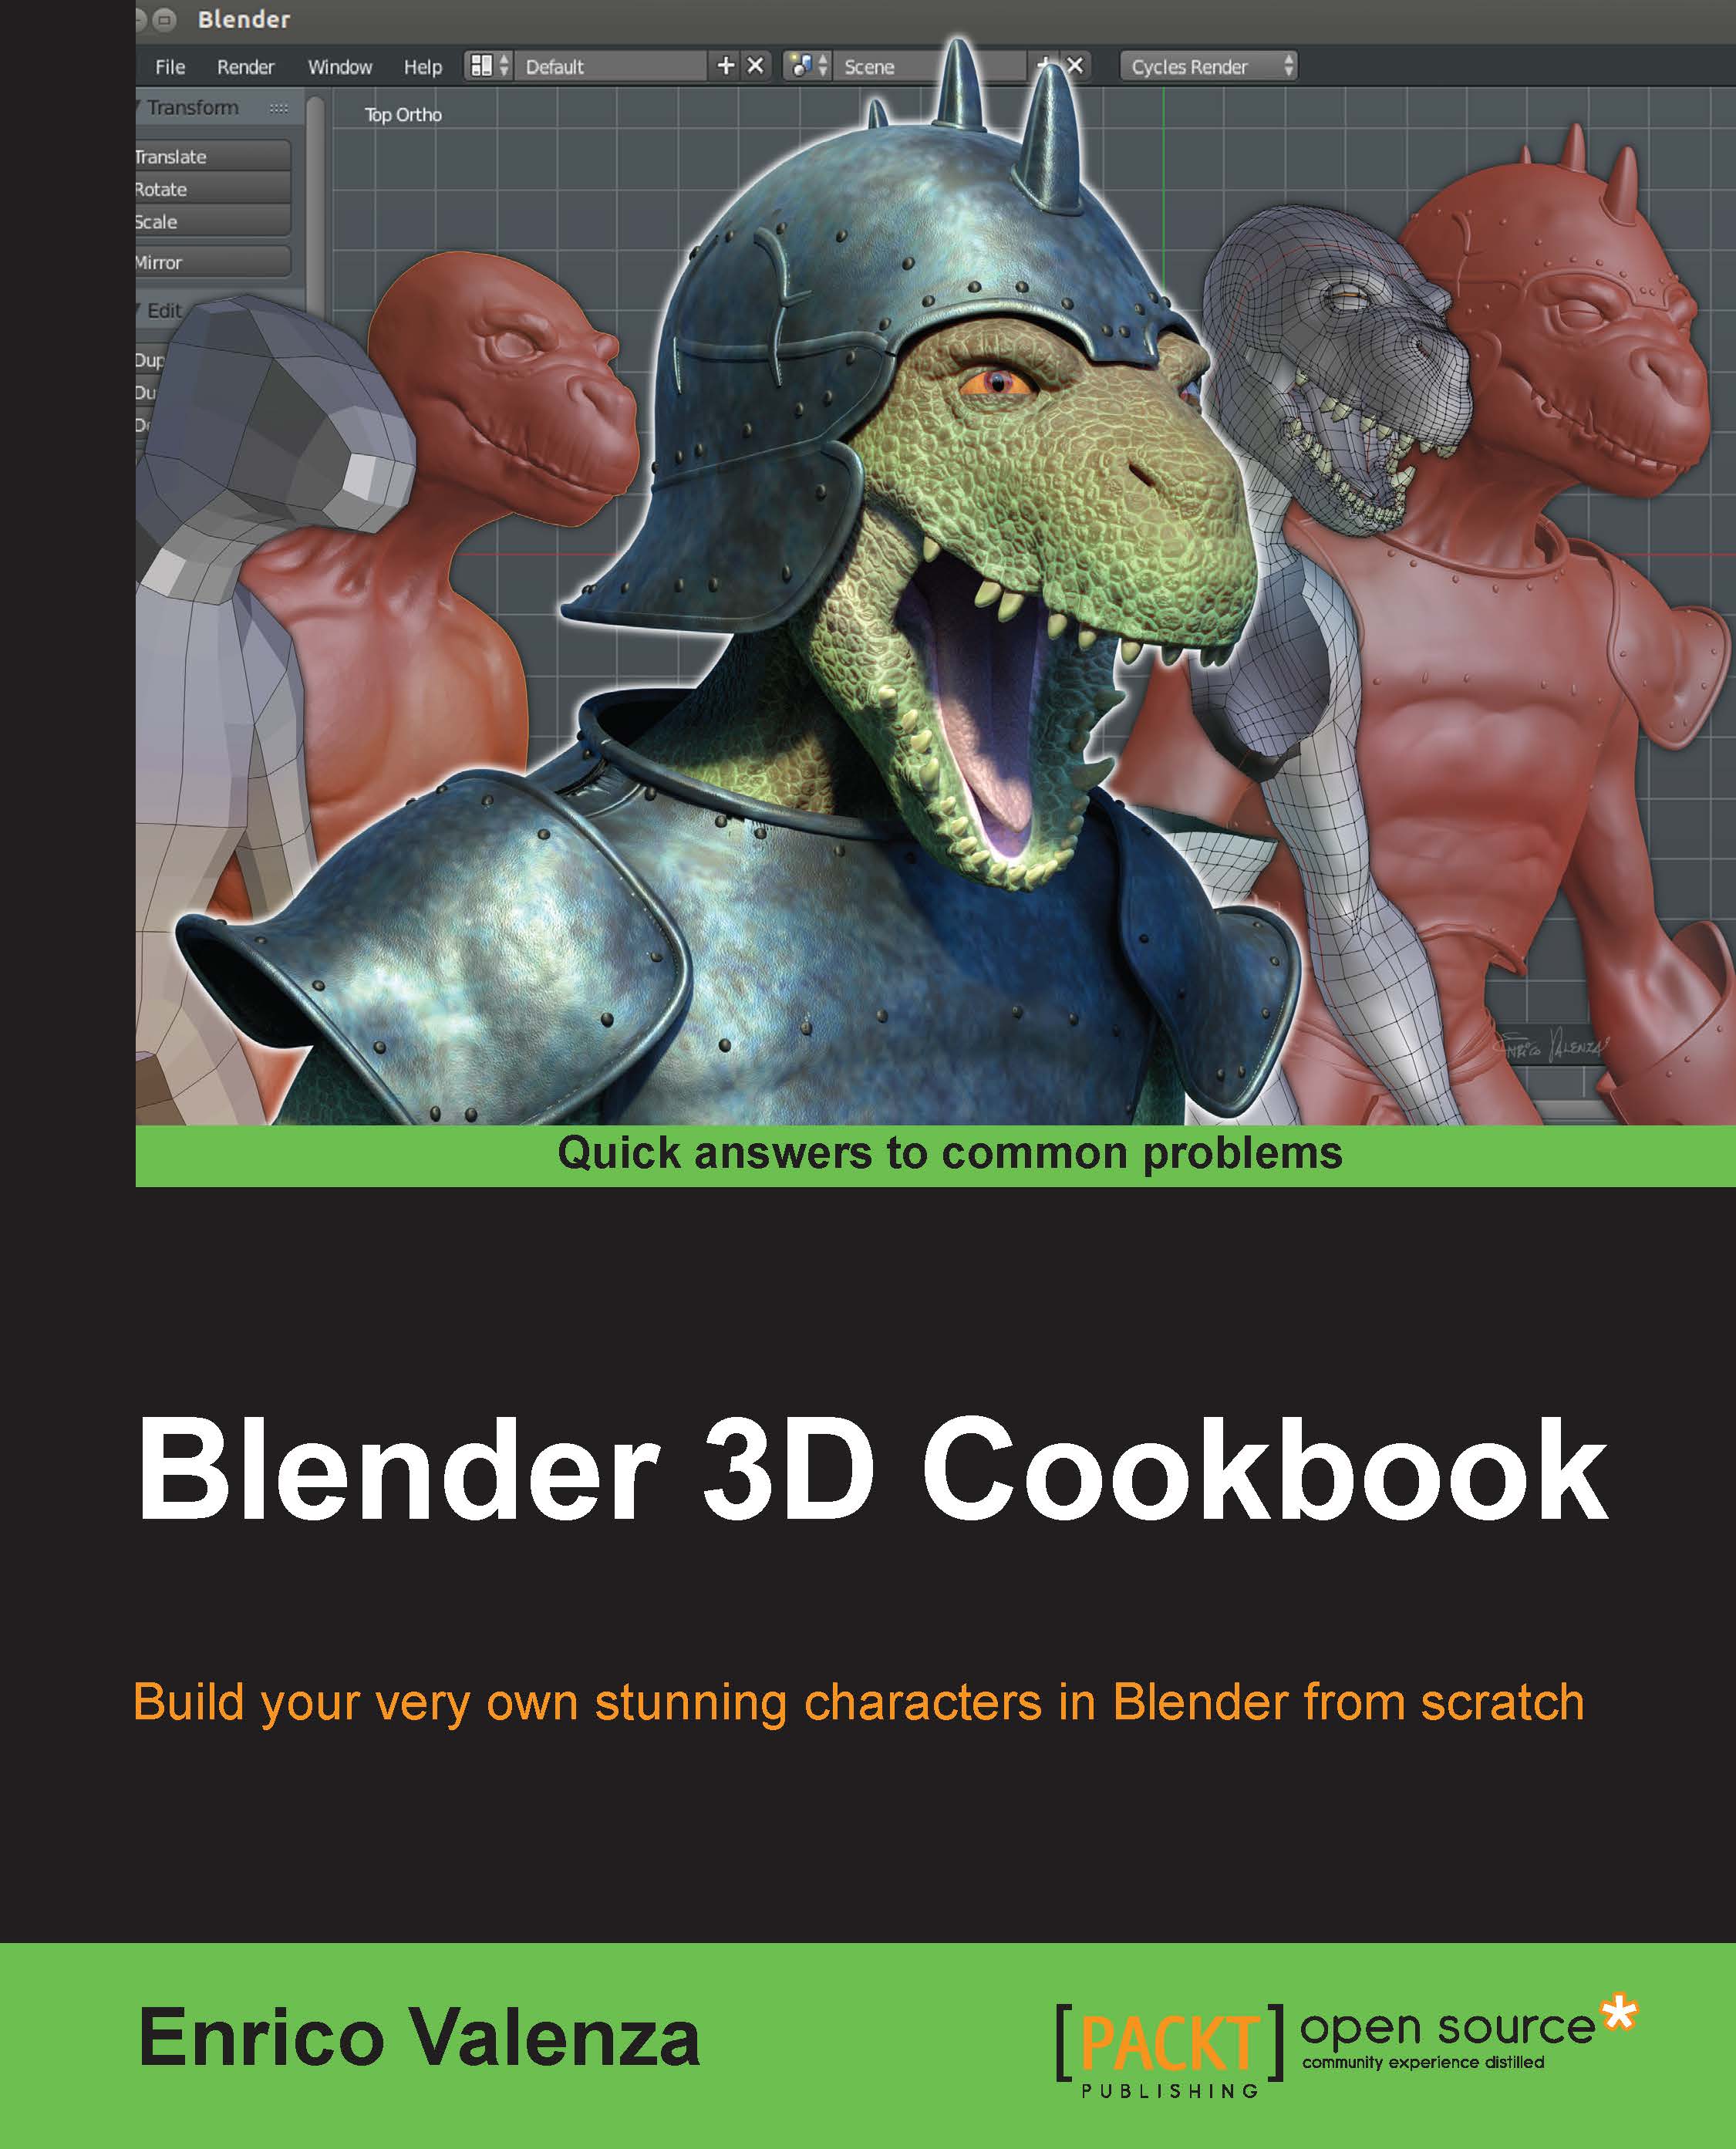
Blender 3D Cookbook
By :
Blender 3D Cookbook
By:
Overview of this book
This book is aimed at the professionals that already have good 3D CGI experience with commercial packages and have now decided to try the open source Blender and want to experiment with something more complex than the average tutorials on the web.
However, it's also aimed at the intermediate Blender users who simply want to go some steps further.
It's taken for granted that you already know how to move inside the Blender interface, that you already have 3D modeling knowledge, and also that of basic 3D modeling and rendering concepts, for example, edge-loops, n-gons, or samples.
In any case, it's also possible for a keen beginner to follow this book, by combining it with the manual on the BlenderWiki or preceding it with a basic Blender UI tutorial on the web.
The keyboard/mouse shortcuts for the operations in the recipes are, at least in all the more relevant cases, indicated in brackets.
Table of Contents (16 chapters)
Preface

 Free Chapter
1. Modeling the Character's Base Mesh
2. Sculpting the Character's Base Mesh
3. Polygonal Modeling of the Character's Accessories
4. Re-topology of the High Resolution Sculpted Character's Mesh
5. Unwrapping the Low Resolution Mesh
6. Rigging the Low Resolution Mesh
7. Skinning the Low Resolution Mesh
8. Finalizing the Model
9. Animating the Character
10. Creating the Textures
11. Refining the Textures
12. Creating the Materials in Cycles
13. Creating the Materials in Blender Internal
14. Lighting, Rendering, and a Little Bit of Compositing
Index


