

The development environment is the set of tools that you use to edit, compile, and run your program. There are many development tools out there; some tools are glorified text editors, while others are entire suites of tools that are integrated into a single application. These more advanced suites are known as Integrated Development Environments (IDEs).
Microsoft's Visual Studio is by far the most widely used IDE, and the good news is that you can obtain and use it for free. Go to https://www.visualstudio.com/en-us/products/visual-studio-express-vs.aspx and follow the links to download the latest version of Visual Studio Community, previously known as Visual Studio Express. Visual Studio Community is not a trial version and will not expire. You will probably see trial versions of Visual Studio being offered, so make sure you download the free version of Visual Studio Community.
Visual Studio offers several languages to program in. We will be using C++ throughout this book. When you first use Visual Studio, you may be asked which language you want to set up the development environment for. I recommend that you choose the C++ settings. However, you will still be able to use Visual Studio for C++ even if you choose a different default programming language.
Visual Studio Community 2013 was the current version at the time this book was written. All of the screenshots you see in the book are from that version. It is quite likely that a later version of Visual Studio will have come out by the time you get your hands on this book. The general functionality stays the same from one version to another, so this should not be a problem. If you are using a different version of Visual Studio, then the exact location of some commands may not be the same as in the screenshots in this book.
Tip
Microsoft differentiates between programs written for Windows Desktop and those written for Windows Universal. Ensure that you download Visual Studio Community Express for Desktop.
When you first start Visual Studio, you will be asked for a few options, so I thought I'd cover them here:
If you are asked which programming language you would like to set up as your default development environment, it really doesn't matter which language you choose. If you think you will be using C++ a lot, then pick C++. If you pick another language as your default you will still be able to code in C++.
You will be asked to sign into your Microsoft account. If you have ever used MSN, Hotmail, or Windows Messenger, then you already have a Microsoft account. At any rate, if you don't have a Microsoft account you can use your own e-mail address to create one, and it doesn't cost anything.
You may be asked to set up a developer license for Windows. Just click I Agree and it will be done. Again, no charge!
As Visual Studio can do so many things, it may be a bit intimidating the first time you use it. I have been using Visual Studio for over 20 years and there are still parts of it that I have never needed! Let's take a look at the key components, in the following screenshot, that you will use every day:
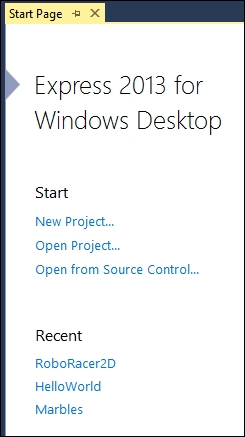
The start screen, as shown in the preceding screenshot, allows you to quickly start a new project or open an existing project. The most recent projects that you have worked with can be quickly accessed from the list of recent projects.
The Solution Explorer panel allows you to navigate and work with all of the code and other resources in your project. If you do not see the Solution Explorer window on your screen, click View | Solution Explorer.
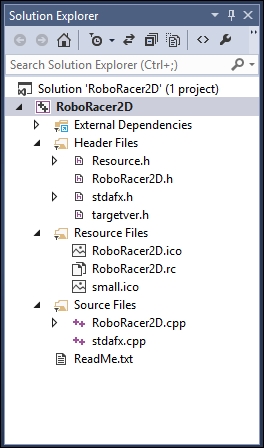
From this window you can:
Double-click on any item to open it
Right-click to add existing items to the project
Right-click to add new items to the project
Create folders to organize your code
The Standard Toolbar panel contains buttons for the most common tasks:
Save the current file
Save all modified files
Undo and Redo
Run the program
Tip
There are basically two ways to run your program. You can run the program with or without debugging. Debugging mode allows you to set checkpoints that stop the program and let you view the state of variables, and perform other operations while the code is running. If you run the program without debugging, you will not be able to do these things.

The center of the IDE is dominated by the code window. This is where you type and edit your code. You can have several code windows open at once. Each code window will add a tab across the top, allowing you to switch from one piece of code to another with a single click:
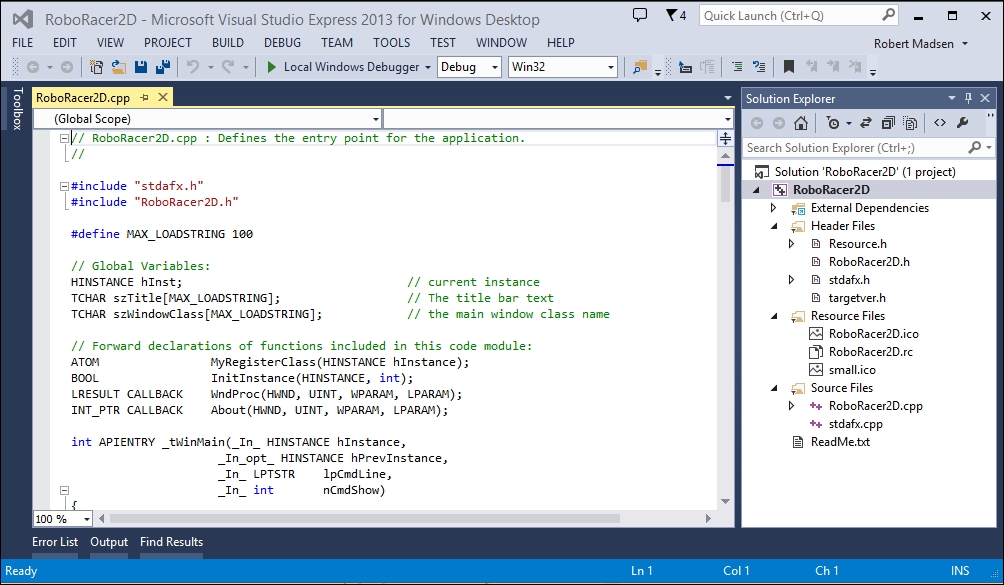
You will notice that the text is color-coded. This allows you to easily see different types of code. For example, the comments in the code in the preceding screenshot are in green, while the C++ objects are in blue. You can also zoom in and out of the code by holding down the Ctrl button and using the scroll wheel on the mouse.
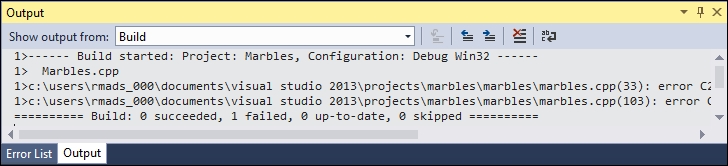
The output window is typically at the bottom of the IDE. This window is where you will look at to see the status of the current run, and where you will find errors when you try to compile run your program.
If you see an error in the output window, you can usually double-click on it, and Visual Studio will take you to the line in code that caused the error:
It's time to stop reading and start doing! We are going to use Visual Studio to start our game project.
Open Visual Studio and click the New Project link in the start window.
Navigate to the left-hand side panel and select Win32 under the Visual C++ branch of Templates.

Select Win32 Project in the center area.
Give the project a name. The first game we will be working on is a 2D robot racing game that we'll call
RoboRacer2D.Choose a folder location to store the project, or just leave the default location.
The solution name is almost always the same as the project name, so leave that as it is.
Leave Create directory for solution checked.
Click OK.
On the next screen click Finish.
We need to tell Visual Studio how to work with Unicode characters. Right-click on the project name in the Solution Explorer panel and choose Properties. Then select General. Change the Character Set property to Not Set.
Congratulations! You have now created your Windows application and set up your development environment. It's time to move on to creating the framework for your game.