

Sprite sheets
Creating a game where every sprite is its own individual file is certainly possible, but it would mean making the player wait for every file to load individually when the game started. One common way to organize sprites for a game is a sprite sheet, which is made up of two parts. The first is an image file with many sprites in it, like this one:
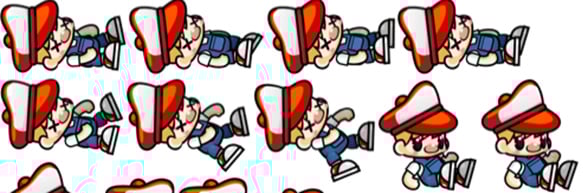
Figure 2.4 – The top of the sprite sheet
The second part is a map of coordinates and metadata that lets us "cut out" each image we need, like a cookie cutter. For instance, if we want to show the first sprite in the preceding figure (which happens to be named Dead (7).png), we'll need to know its location and dimensions:
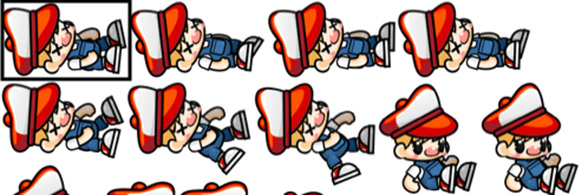
Figure 2.5 – One sprite in the sheet
I've drawn a box marking the frame you'd want to "cut out" of the image when you want to draw Dead (7).png. When you want to draw a different file, say Slide (1).png...