-
Book Overview & Buying
-
Table Of Contents

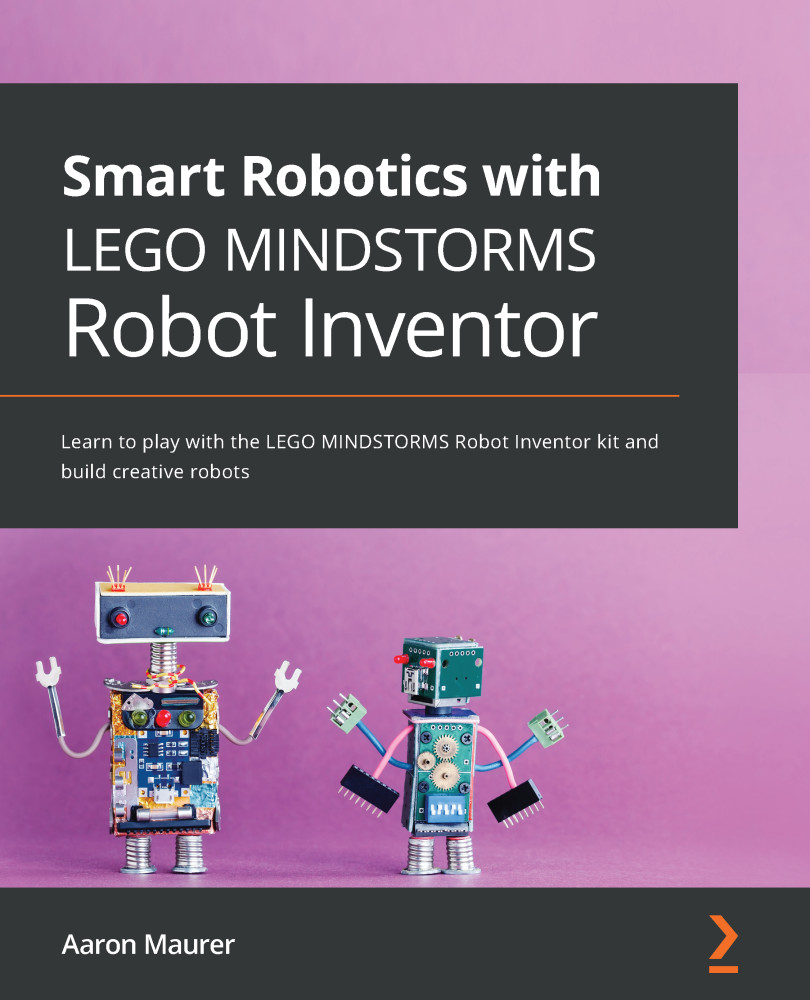
Smart Robotics with LEGO MINDSTORMS Robot Inventor
By :
Smart Robotics with LEGO MINDSTORMS Robot Inventor
By:
Overview of this book
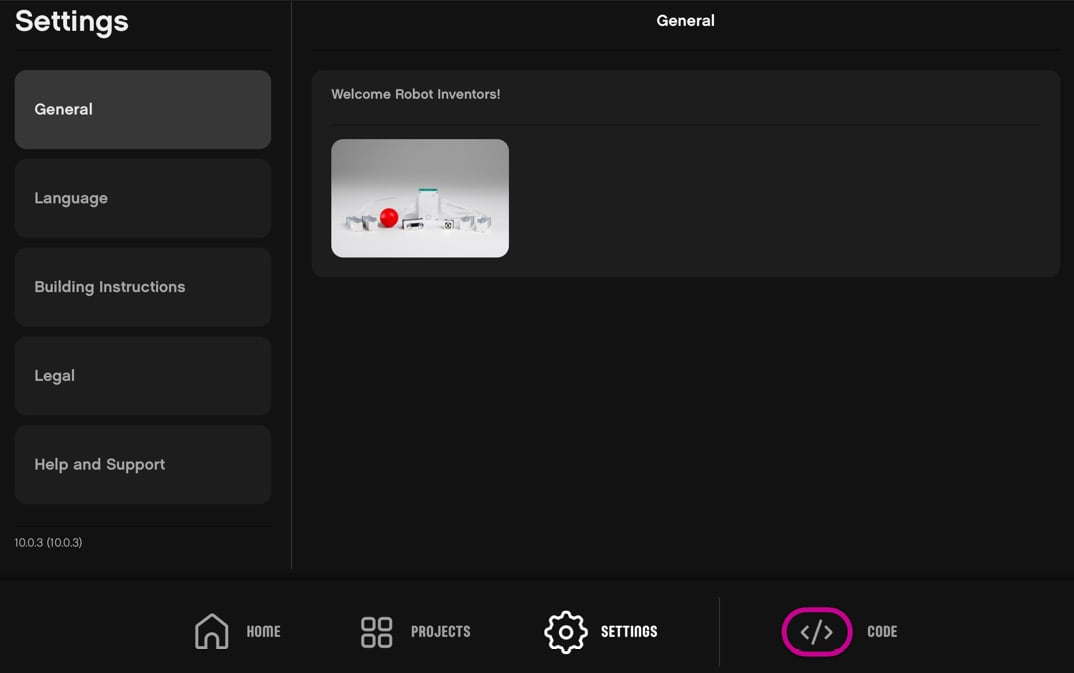
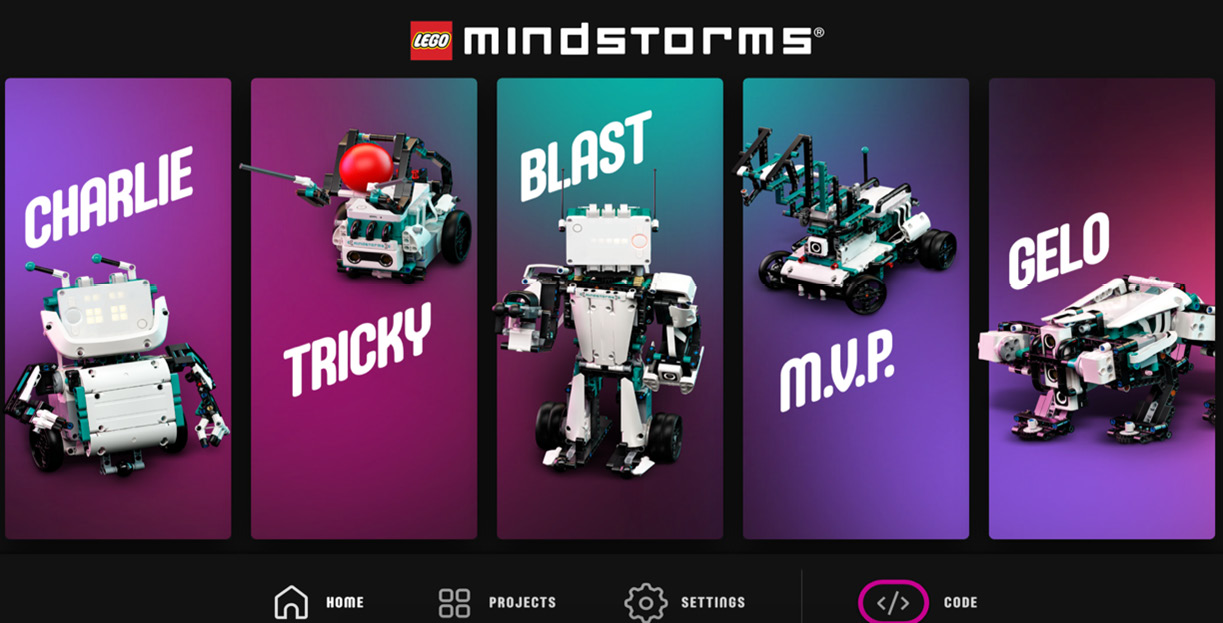
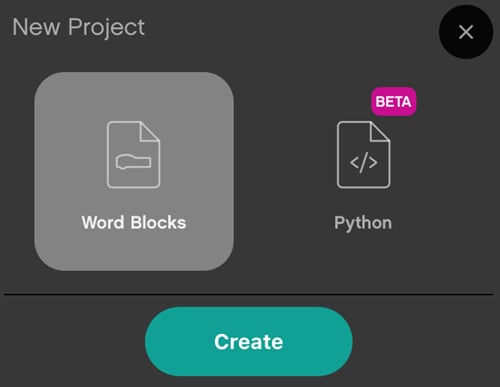
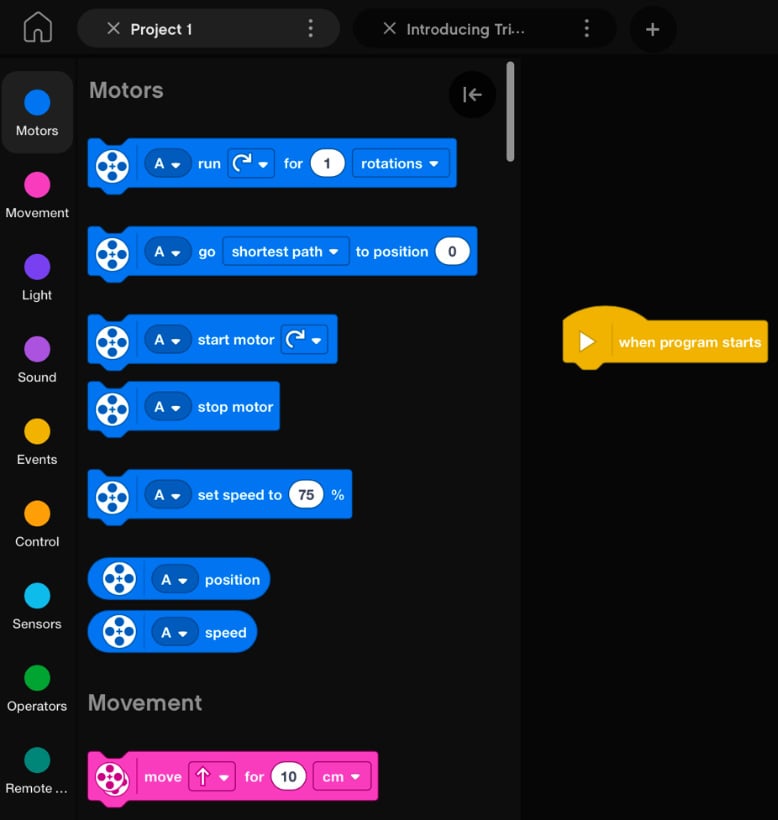
LEGO MINDSTORMS Robot Inventor is the latest addition to the LEGO MINDSTORMS theme. It features unique designs that you can use to build robots, and also enable you to perform activities using the robot inventor application.
You'll begin by exploring the history of LEGO MINDSTORMS, and then delve into various elements of the Inventor kit. Moving on, you'll start working on different projects which will prepare you to build a variety of smart robots. The first robotic project involves designing a claw to grab objects, and helps you to explore how a smart robot is used in everyday life and in industry. The second project revolves around building a working guitar that can be played and modified to meet the needs of the user. As you advance, you'll explore the concept of biomimicry as you discover how to build a scorpion robot. In addition to this, you'll also work on a classic robotic challenge by building a sumobot. Throughout the book, you'll come across a variety of projects that will provide you with hands-on experience in building creative robots, such as building a Dragster, Egg Decorator, and Plankton from Spongebob Squarepants.
By the end of this LEGO book, you'll have got to grips with the concepts behind building a robot, and also found creative ways to integrate them using the application based on your creative insights and ideas.
Table of Contents (12 chapters)
Preface

Chapter 1: History of Mindstorms
 Free Chapter
Chapter 2: Getting Started with the Robot Inventor Kit
Chapter 3: Building an Industrial Robot Claw
Chapter 4: Building a LEGO Guitar
Chapter 5: Building a Scorpion
Chapter 6: Building a Solid Sumobot
Chapter 7: Building a Dragster
Chapter 8: Building an Egg and Ornament Decorator
Chapter 9: Creating Plankton from SpongeBob SquarePants – Part 1
Chapter 10: Creating Plankton from SpongeBob SquarePants – Part 2