

There are multiple ways to develop and run Selenium WebDriver tests. Depending on the programming language you choose to use, different tools and Integrated Development Environments (IDE) will be available to you. In this book, we are using the Ruby programming language with the selenium-webdriver gem. However, this book was not intended to show how to write the most efficient Ruby programs, instead it is meant to show the best approaches to solve a given problem in general; it just happens that the examples that appear in this book are written in Ruby.
Note
As most proficient Ruby developers will notice, the syntax used in this book is technically correct but does not follow the standard Ruby paradigms. The Ruby code examples are deliberately overly verbose to help Ruby developers feel more at home.
All of the code and examples used for this book were chosen so that they would be as inexpensive (or free) for the reader as possible and anyone can follow the whole text with their favorite text editor of choice. This, however, means that we have to do a little work before we get started to be ready to write tests. The only prerequisites to get started are as follows:
The Command Line Interface terminal
The Internet connection
The Ruby runtime environment
The Firefox web browser
The text editor of choice
Let's get started by adding these prerequisites to your computer.
The Command Line Interface (CLI) is one of the most powerful ways to interface with any OS. No matter what OS you have installed on your computer, you already have a powerful CLI toolset preinstalled. Let's take a look at different kinds of CLI terminals, based on the host OS.
Microsoft Windows rarely requires the use of the terminal for day-to-day operations. Unlike Linux, most administrative tasks are completed in the Graphical User Interface (GUI), that is, it requires the user to click on things with the mouse. MS-DOS CLI is available on all versions of Windows. Recently, Microsoft has made a lot of improvements to the CLI; the improved tool is called PowerShell. Finally, if you are a fan of Linux-style CLI, you can install a Linux Terminal Emulator. Either option is completely valid for the purposes of this book, so you are free to choose the option that suits you best. Let's take a closer look at each option.
Using MS-DOS is as simple as opening the terminal and starting to interact with it. Perform the following steps:
To open MS-DOS, click on the Start button in Windows, as shown here:
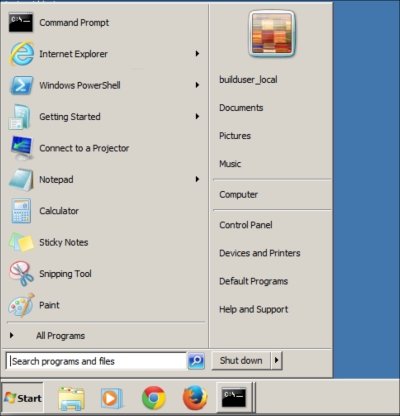
Locate the Run option application as shown here:
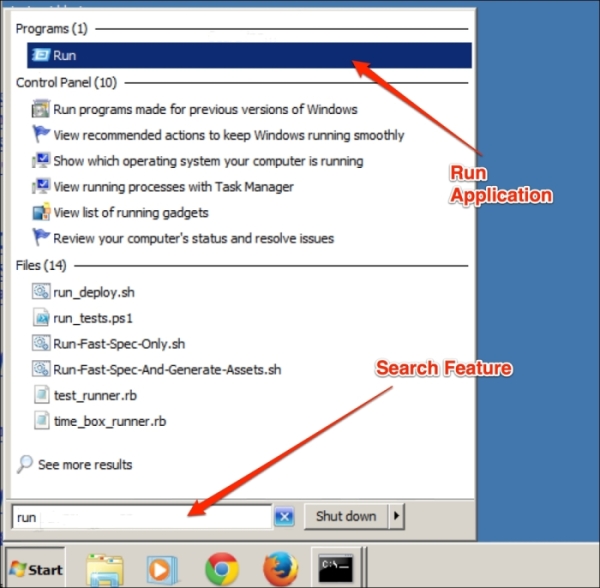
The preceding screenshot shows the Windows 7 interface, where the Run application is found with the search feature.
Next, type in
cmdin the Run application and hit Enter: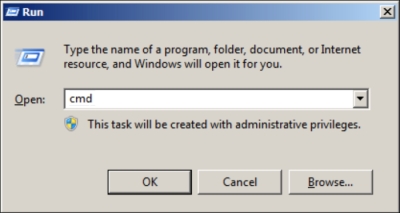
An MS-DOS window similar to the following one should open up:

Starting with Windows Vista, PowerShell is automatically included in the OS.
Note
If you are using an older version of Windows, you can download the PowerShell installer from http://technet.microsoft.com/en-us/library/hh847837.aspx.
PowerShell improves on a lot of problems that MS-DOS had, and now follows Linux's Bash style paradigm.
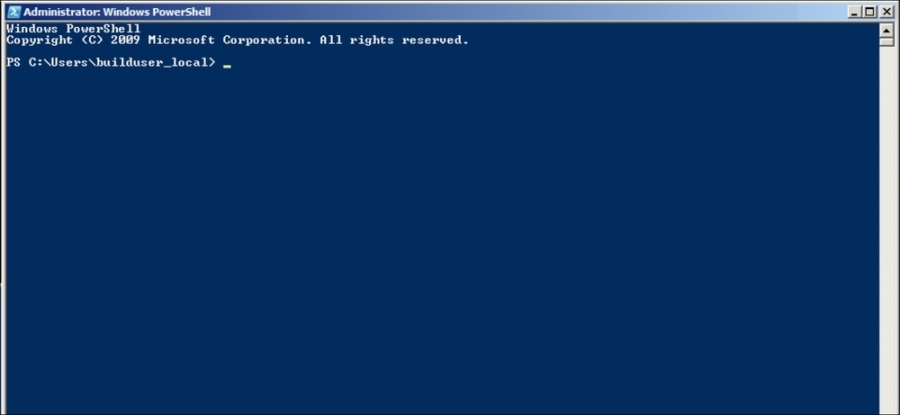
To open the PowerShell terminal, we will follow the same steps as shown in MS-DOS, but instead of typing in cmd, we will type in powershell. The PowerShell terminal, shown in the following screenshot, is very similar to the MS-DOS terminal:
CygWin is an opensource project to bring a Linux style CLI terminal to Windows. It is a good alternative to MS-DOS. You can download the CygWin installer from the project's website at https://www.cygwin.com/.
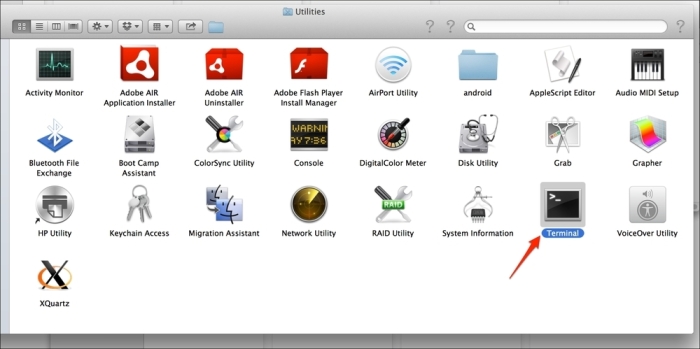
Mac OS X comes with a great CLI terminal application. It runs Bash shell by default, and anyone who is comfortable with Linux shell will find himself or herself comfortably at home with Terminal.app. To start using Terminal.app, navigate to the Applications directory and open the Utilities folder.
Tip
Command + Shift + U is the shortcut that will take you to the Utilities folder if you execute it within the finder.
Locate the Terminal.app and open it.
Once you have found the CLI Terminal in our application, you can continue with the Ruby runtime environment installation and configuration.
Some OSes come with Ruby preinstalled, such as Mac OSX and certain distributions of Linux. We can install or upgrade our version of Ruby by finding the appropriate installer on the Ruby project's website at https://ruby-lang.org/en/installation.
The Ruby runtime environment uses Ruby gems (gems) as a package manager for all third-party libraries. This package manager is really easy to use and contains many great features. After the Ruby runtime is installed, all we have to do to install any gem is to run the following command in the terminal:
gem install selenium-webdriver
The preceding example will install all of the dependencies that Selenium WebDriver has along with the WebDriver gem. A helpful website that can provide a lot of information for any gem is located at http://rubygems.org. There we can find information about the gem, such as the names of the contributors, the project's main website, all of the released versions of the gem, and any dependencies that the gem has.
We will be using the Firefox browser for all of the examples in this book. All of the examples described here will work with any other browser that WebDriver supports. However, Firefox was chosen because it needs the least amount of out of the box setup. If you do not yet have Firefox installed on your computer, download it from http://mozilla.org.