-
Book Overview & Buying
-
Table Of Contents

ArcGIS Blueprints
By :
ArcGIS Blueprints
By:
Overview of this book
This book is an immersive guide to take your ArcGIS Desktop application development skills to the next level
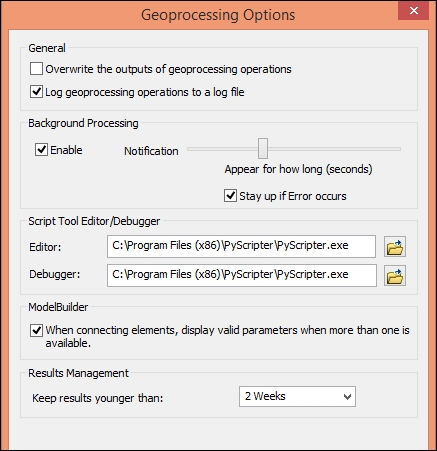
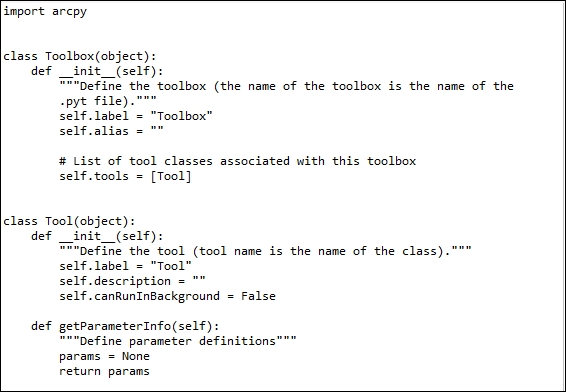
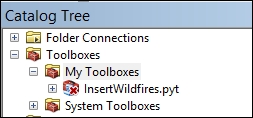
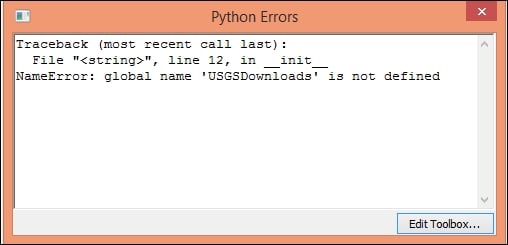
It starts off by providing detailed description and examples of how to create ArcGIS Desktop Python toolboxes that will serve as containers for many of the applications that you will build. We provide several practical projects that involve building a local area/community map and extracting wildfire data. You will then learn how to build tools that can access data from ArcGIS Server using the ArcGIS REST API. Furthermore, we deal with the integration of additional open source Python libraries into your applications, which will help you chart and graph advanced GUI development; read and write JSON, CSV, and XML format data sources; write outputs to Google Earth Pro, and more. Along the way, you will be introduced to advanced ArcPy Mapping and ArcPy Data Access module techniques and use data-driven Pages to automate the creation of map books.
Finally, you will learn advanced techniques to work with video and social media feeds. By the end of the book, you will have your own desktop application without having spent too much time learning sophisticated theory.
Table of Contents (13 chapters)
Preface

 Free Chapter
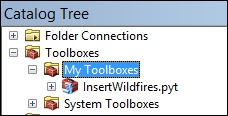
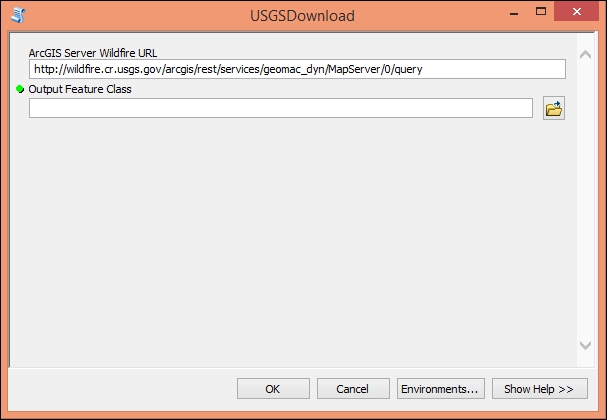
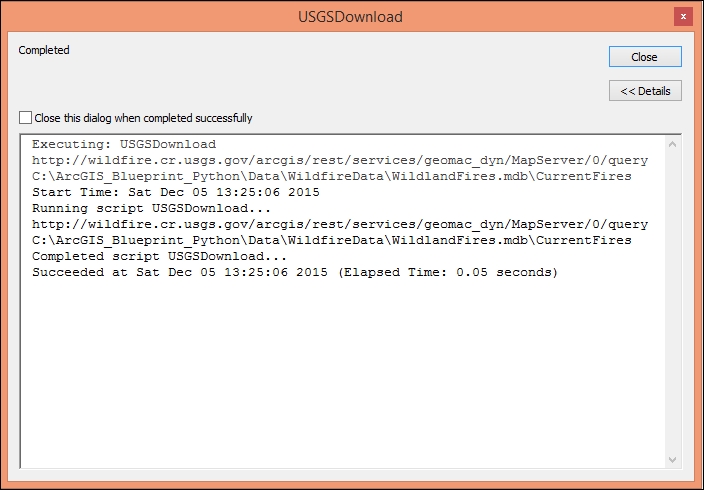
1. Extracting Real-Time Wildfire Data from ArcGIS Server with the ArcGIS REST API
2. Tracking Elk Migration Patterns with GPS and ArcPy
3. Automating the Production of Map Books with Data Driven Pages and ArcPy
4. Analyzing Crime Patterns with ArcGIS Desktop, ArcPy, and Plotly(Part 1)
5. Analyzing Crime Patterns with ArcGIS Desktop, ArcPy, and Plotly(Part 2)
6. Viewing and Querying Parcel Data
7. Using Python with the ArcGIS REST API and the GeoEnrichment Service for Retail Site Selection
8. Supporting Search and Rescue Operations with ArcPy, Python Add-Ins, and simplekml
9. Real-Time Twitter Mapping with Tweepy, ArcPy, and the Twitter API
10. Integrating Smartphone Photos with ArcGIS Desktop and ArcGIS Online
A. Overview of Python Libraries for ArcGIS
Index