

Crank up a project. First, let's put a couple of boxes in the <html> page. For this, enter the following under the line that begins with <form id= ....:
Enter Name:<asp:TextBoxID="TextBox1" runat="server"></asp:TextBox><br />
Enter Date:<asp:TextBoxID="TextBox2" runat="server"></asp:TextBox><br />
For the Name field, it is just a text box. So, for text, in other words, we'll use a string. Go to Toolbox, grab a TextBox control, and drag it in there. For the date, we will try to parse to a date time from the box.
Your Default.aspx screen should now look like the one shown in Figure 18.3.1:
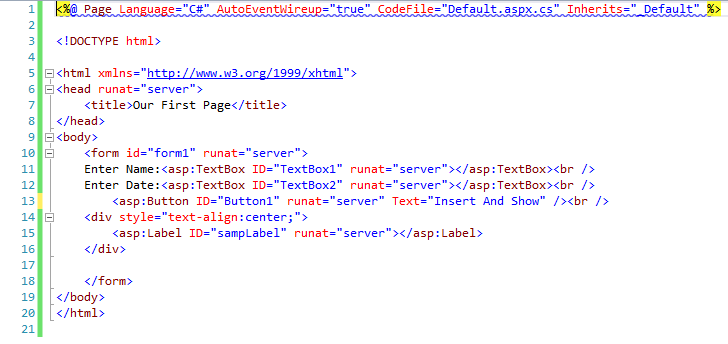
Figure 18.3.1: The Default.aspx screen for this chapter
Remember, we have two boxes, we input values, and save them into the table. That's the objective here.
Next, let's also put a button in there. So again, go to Toolbox, grab a button, and drag and drop it just below these lines. Change the text on the button so that it...