-
Book Overview & Buying
-
Table Of Contents

Angular for Enterprise-Ready Web Applications - Second Edition
By :
Angular for Enterprise-Ready Web Applications
By:
Overview of this book
This second edition of Angular for Enterprise-Ready Web Applications is updated with in-depth coverage of the evergreen Angular platform.
You’ll start by mastering Angular programming fundamentals. Using the Kanban method and GitHub tools, you’ll build great-looking apps with Angular Material and also leverage reactive programming patterns with RxJS, discover the flux pattern with NgRx, become familiar with automated testing, utilize continuous integration using CircleCI, and deploy your app to the cloud using Vercel Now and GCloud.
You will then learn how to design and develop line-of-business apps using router-first architecture with observable data anchors, demonstrated through oft-used recipes like master/detail views, and data tables with pagination and forms. Next, you’ll discover robust authentication and authorization design demonstrated via integration with Firebase, API documentation using Swagger, and API implementation using the MEAN stack.
Finally, you will learn about DevOps using Docker, build a highly available cloud infrastructure on AWS, capture user behavior with Google Analytics, and perform load testing. By the end of the book, you’ll be familiar with the entire gamut of modern web development and full-stack architecture, learning patterns and practices to be successful as an individual developer on the web or as a team in the enterprise.
Table of Contents (19 chapters)
Preface

Introduction to Angular and Its Concepts
 Free Chapter
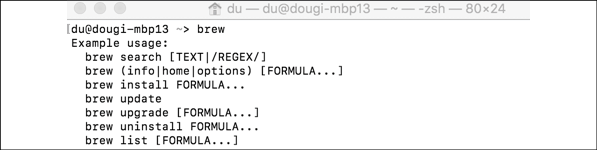
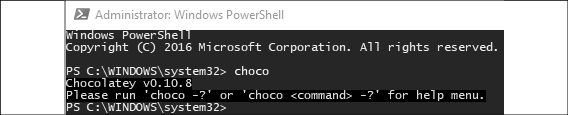
Setting Up Your Development Environment
Creating a Basic Angular App
Automated Testing, CI, and Release to Production
Delivering High-Quality UX with Material
Forms, Observables, and Subjects
Creating a Router-First Line-of-Business App
Designing Authentication and Authorization
DevOps Using Docker
RESTful APIs and Full-Stack Implementation
Recipes – Reusability, Routing, and Caching
Recipes – Master/Detail, Data Tables, and NgRx
Highly Available Cloud Infrastructure on AWS
Google Analytics and Advanced Cloud Ops
Another Book You May Enjoy
Index
Appendix A: Debugging Angular
 + Space