


-
Book Overview & Buying
-
Table Of Contents

Learning ArcGIS Pro
By :
Learning ArcGIS Pro
By:
Overview of this book
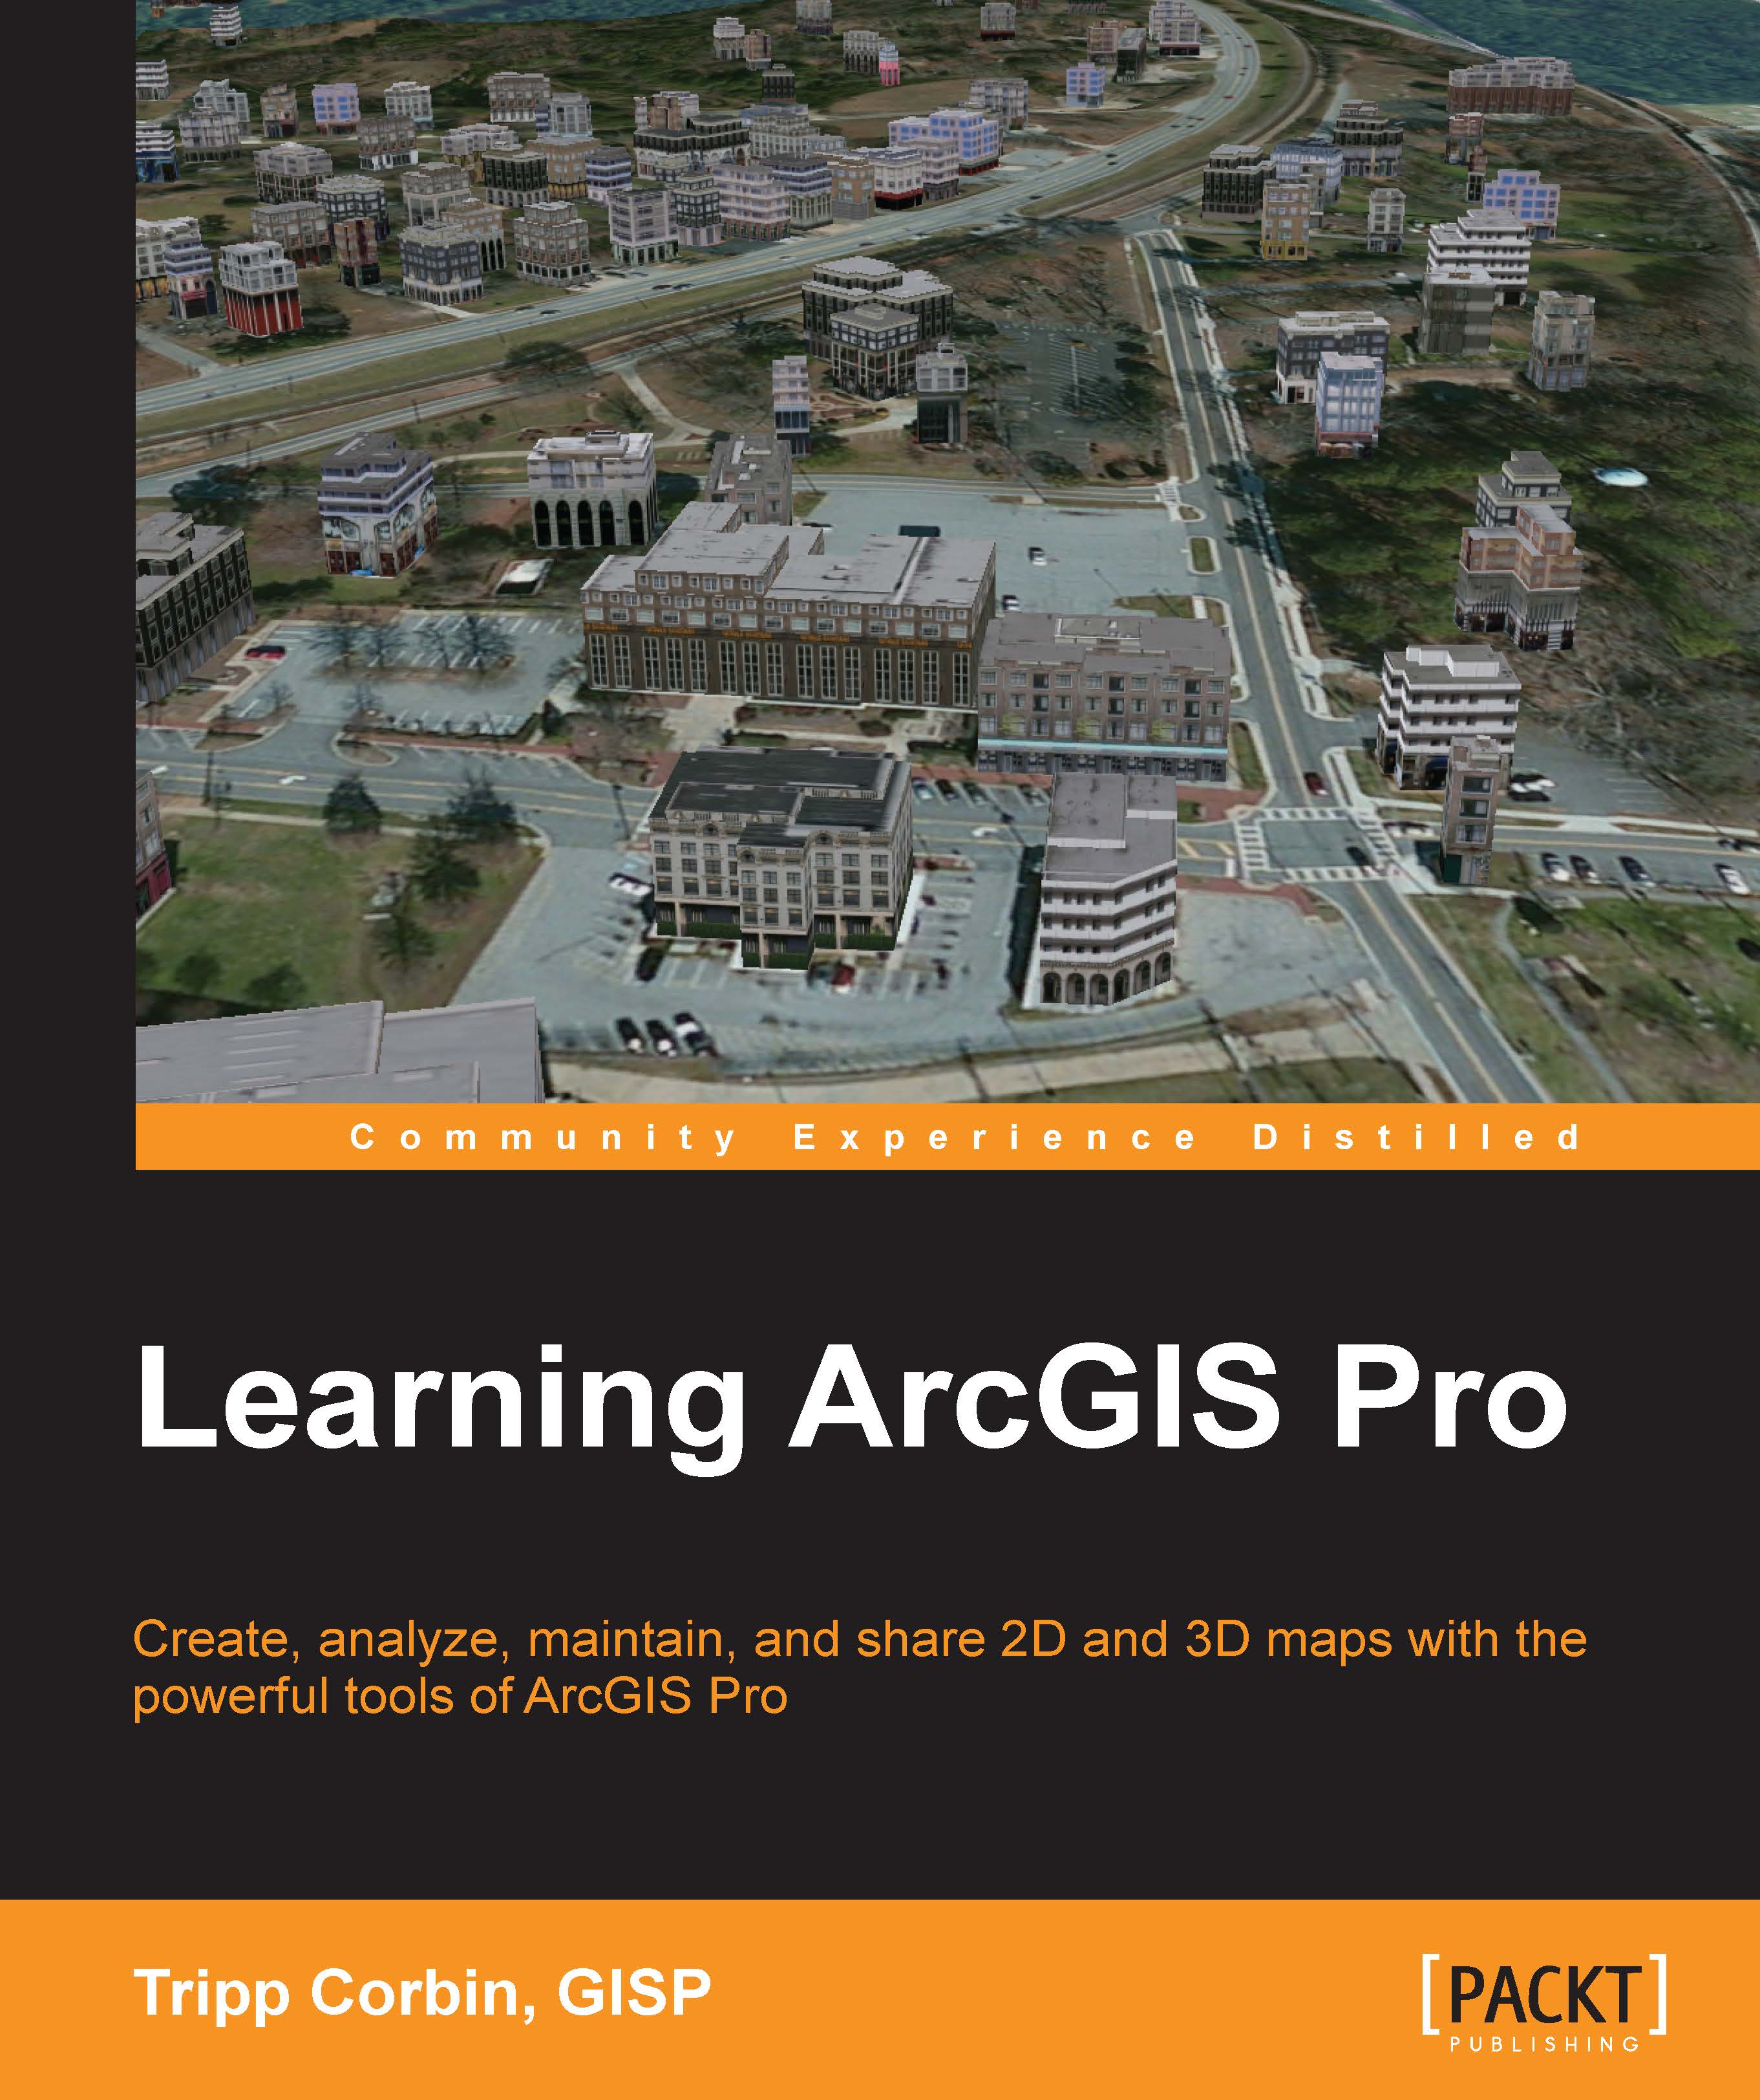
ArcGIS Pro is Esri’s newest desktop GIS application with powerful tools for visualizing, maintaining, and analyzing data. ArcGIS Pro makes use of the modern ribbon interface and 64-bit processing to increase the speed and efficiency of using GIS. It allows users to create amazing maps in both 2D and 3D quickly and easily.
This book will take you from software installation to performing geospatial analysis. It is packed with how-to’s for a host of commonly-performed tasks. You will start by learning how to download and install the software including hardware limitations and recommendations. Then you are exposed to the new Ribbon interface and how its smart design can make finding tools easier.
After you are exposed to the new interface, you are walked through the steps to create a new GIS Project to provide quick access to project resources. With a project created, you will learn how to construct 2D and 3D maps including how to add layers, adjust symbology, and control labeling. Next you will learn how to access and use analysis tools to help you answer real-world questions.
Lastly, you will learn how processes can be automated and standardized in ArcGIS Pro using Tasks, Models, and Python Scripts.
This book will provide an invaluable resource for all those seeking to use ArcGIS Pro as their primary GIS application or for those looking to migrate from ArcMap and ArcCatalog.
Table of Contents (20 chapters)
Preface

 Free Chapter
Section 1: Introducing and Navigating ArcGIS Pro
Introducing ArcGIS Pro
Navigating the Ribbon Interface
Section 2: Visualizing, Maintaining, and Analyzing Data
Creating 2D Maps
Creating 3D Scenes
Creating and Working with Projects
Creating a Layout
Creating Map Books Using Map Series
Learning to Edit Spatial Data
Learning about Editing Tabular Data
Performing Analysis with Geoprocessing Tools
Section 3: Sharing Data and Automating processes
Creating and Using Tasks
Automating Processes with ModelBuilder and Python
Sharing Your Work with Others
Using Arcade Expressions for Labeling and Symbology
GIS glossary
Other Books You May Enjoy


