

As with the majority of web applications, there will always be a need to accept an HTTP form, be it a registration form or a login form. Play Framework provides helper classes to manage and process HTTP form submissions. In this recipe, we will go over the steps to create a simple form and map the web action assigned to handle this form submission. We will also utilize the flash scope, which allows us to use the flash object to send messages from the controller to the view template on a per-request basis.
For Java, we need to take the following steps:
Run the
foo_javaapplication with Hot-Reloading enabled.Create the form view template file
app/views/product/form.scala.htmland add the following contents:@(productForm: Form[models.Product]) @import common._ @mainLayout(title = "New Product") { @if(flash.get("success") != null) { <p>@flash.get("success")</p> } @if(productForm.hasGlobalErrors) { <ul> @for(error <- productForm.globalErrors) { <li>@error.message</li> } </ul> } @helper.form(action = routes.Products.postForm()) { @helper.inputText(productForm("id")) @helper.inputText(productForm("name")) <input type="submit"> } }Create the products controller
foo_java/app/controllers/Products.javaand add the following import, action, and Play form blocks:package controllers; import play.*; import play.mvc.*; import play.data.*; import views.html.*; import models.*; public class Products extends Controller { public static Result create() { Form<Product> form = Form.form(Product.class); return ok(views.html.product.form.render(form)); } public static Result postForm() { Form<Product> productForm = Form.form(Product.class).bindFromRequest(); if (productForm.hasErrors()) { return badRequest(views.html.product.form.render(productForm)); } else { Product product = productForm.get(); product.save(); flash("success", "Product saved!"); return redirect(controllers.routes.Products.create()); } } }Edit
foo_java/conf/routesby adding the following line:GET /products/new controllers.Products.create() POST /products controllers.Products.postForm()View your new product form using a web browser:
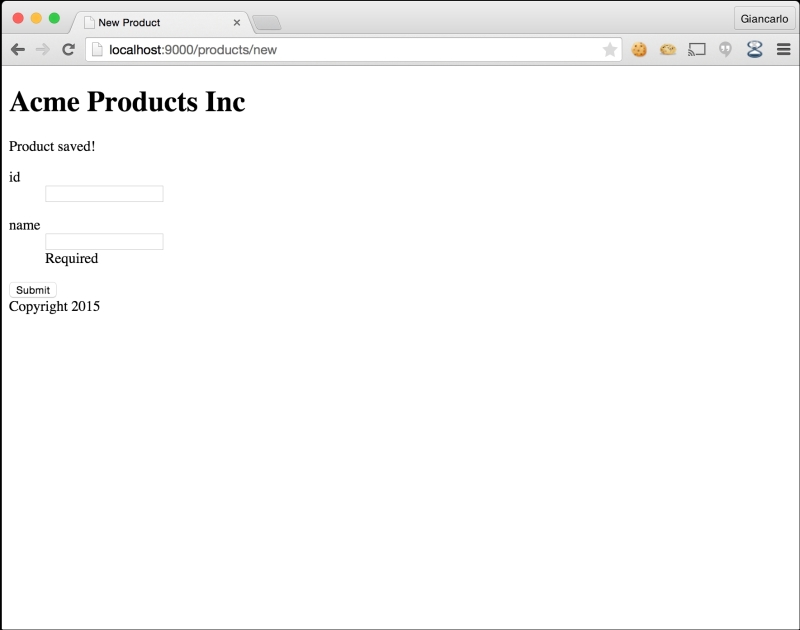
http://localhost:9000/product/newFill in a name for your new product and hit submit. You should now receive the success message:
For Scala, we need to take the following steps:
Create the form view template file
app/views/product/form.scala.htmland add the following contents:@(productForm: Form[models.Product])(implicit flash: Flash) @import common._ @mainLayout(title = "New Product") { @flash.get("success").map { message => <p>@message</p> } @if(productForm.hasGlobalErrors) { <ul> @for(error <- productForm.globalErrors) { <li>@error.message</li> } </ul> } @helper.form(action = routes.Products.postForm()) { @helper.inputText(productForm("id")) @helper.inputText(productForm("name")) <input type="submit"> } }Create the products controller
foo_scala/app/controllers/Products.scalaand add the following import, action, and Play form blocks:import play.api._ import play.api.mvc._ import models._ import play.api.data._ import play.api.data.Forms._ val form = Form( mapping( "id" -> longNumber, "name" -> text )(Product.apply)(Product.unapply) ) def create = Action { implicit request => Ok(views.html.product.form(form)) } def postForm = Action { implicit request => form.bindFromRequest.fold( formWithErrors => { BadRequest(views.html.product.form(formWithErrors)) }, product => {Product.save(product) Redirect(routes.Products.create).flashing("success" -> "Product saved!") } ) }Edit
foo_scala/conf/routesby adding the following lines:GET /products/new controllers.Products.create POST /products controllers.Products.postFormView your new Product form using a web browser:
http://localhost:9000/product/newFill in a name for your new product and click on submit. You should now receive the following success message:

In this recipe, we were able to create our first HTTP form using Play Framework. This recipe included steps in creating an HTML form view template and our Products controller. We declared two web actions and two URL routes and created the Play form object, which we used to bind request parameters to our model, Fruit. We were able to load the web form by accessing http://localhost:9000/Products/new on a web browser. After filling out our form details, we submitted the form itself and received a notification from the Products controller.