Sign In Start Free Trial
Account

Add to playlist

Create a Playlist

Modal Close icon
You need to login to use this feature.
  • Book Overview & Buying Mastering JavaScript Single Page Application Development
  • Table Of Contents Toc
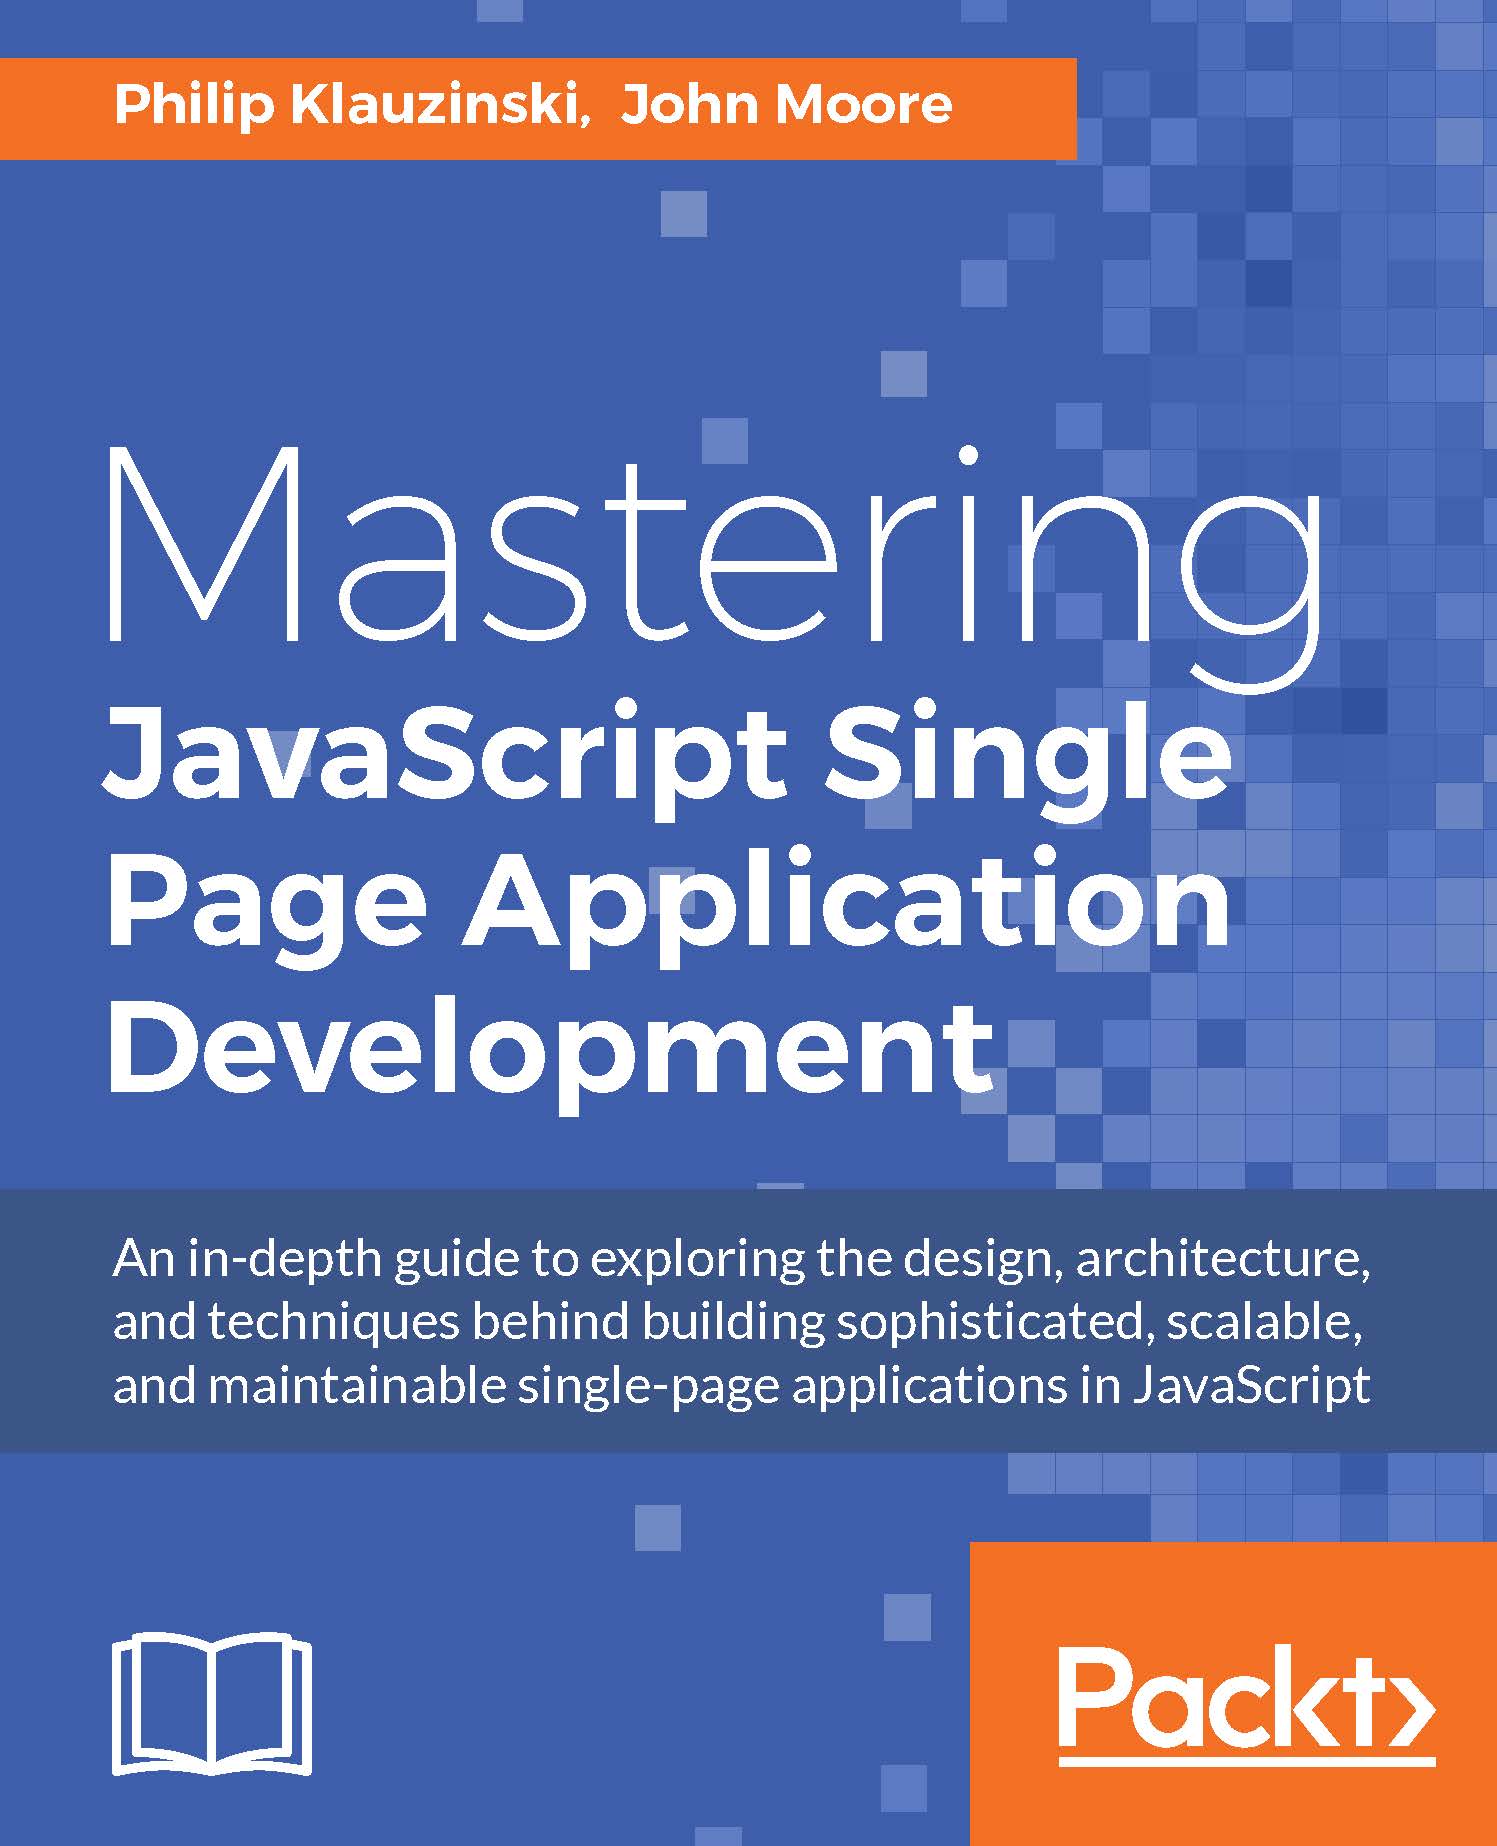
Mastering JavaScript Single Page Application Development

Mastering JavaScript Single Page Application Development

By : Philip Klauzinski, John Moore
4 (2)
close
close
Mastering JavaScript Single Page Application Development

Mastering JavaScript Single Page Application Development

4 (2)
By: Philip Klauzinski, John Moore

Overview of this book

Single-page web applications—or SPAs, as they are commonly referred to—are quickly becoming the de facto standard for web app development. The fact that a major part of the app runs inside a single web page makes it very interesting and appealing. Also, the accelerated growth of browser capabilities is pushing us closer to the day when all apps will run entirely in the browser. This book will take your JavaScript development skills to the next level by teaching you to create a single-page application within a full-stack JavaScript environment. Using only JavaScript, you can go from being a front-end developer to a full-stack application developer with relative ease. You will learn to cross the boundary from front-end development to server-side development through the use of JavaScript on both ends. Use your existing knowledge of JavaScript by learning to manage a JSON document data store with MongoDB, writing a JavaScript powered REST API with Node.js and Express, and designing a front-end powered by AngularJS. This book will teach you to leverage the MEAN stack to do everything from document database design, routing REST web API requests, data-binding within views, and adding authentication and security to building a full-fledged, complex, single-page web application. In addition to building a full-stack JavaScript app, you will learn to test it with JavaScript-powered testing tools such as Mocha, Karma, and Jasmine. Finally, you will learn about deployment and scaling so that you can launch your own apps into the real world.
Table of Contents (15 chapters)
close
close
Lock Free Chapter
1
1. Getting Organized with NPM, Bower, and Grunt
chevron up
13
13. Testing with Mocha, Karma, and More

What is Node Package Manager?

Within any full-stack JavaScript environment, Node Package Manager will be your go-to tool for setting up your development environment and for managing server-side libraries. NPM can be used within both global and isolated environment contexts. We will first explore the use of NPM globally.

Installing Node.js and NPM

NPM is a component of Node.js, so before you can use it you must first install Node.js. You can find installers for both Mac and Windows at nodejs.org. Once you have Node.js installed, using NPM is incredibly easy and is done from the Command Line Interface (CLI). Start by ensuring you have the latest version of NPM installed, as it is updated more often than Node.js itself:

$ npm install -g npm

When using NPM, the -g option will apply your changes to your global environment. In this case, you want your version of NPM to apply globally. As stated previously, NPM can be used to manage packages both globally and within isolated environments. In the following, we want essential development tools to be applied globally so that you can use them in multiple projects on the same system.

Tip

With Mac and some Unix-based systems, you may have to run the npm command as the superuser (prefix the command with sudo) in order to install packages globally, depending on how NPM was installed. If you run into this issue and wish to remove the need to prefix npm with sudo, see docs.npmjs.com/getting-started/fixing-npm-permissions.

Configuring your package.json file

For any project you develop, you will keep a local package.json file to manage your Node.js dependencies. This file should be stored at the root of your project directory and it will only pertain to that isolated environment. This allows you to have multiple Node.js projects with different dependency chains on the same system.

When beginning a new project, you can automate the creation of the package.json file from the command line:

$ npm init

Running npm init will take you through a series of JSON property names to define through command line prompts, including your app's name, version number, description, and more. The name and version properties are required, and your Node.js package will not install without them defined. Several of the properties will have a default value given within parentheses in the prompt so that you may simply hit Enter to continue. Other properties will simply allow you to hit Enter with a blank entry and will not be saved to the package.json file, or will be saved with a blank value:

name: (my-app)
version: (1.0.0)
description:
entry point: (index.js)

The entry point prompt will be defined as the main property in package.json and is not necessary unless you are developing a Node.js application. In our case, we can forgo this field. The npm init command may in fact force you to save the main property, so you will have to edit package.json afterward to remove it; however, that field will have no effect on your web app.

You may also choose to create the package.json file manually using a text editor, if you know the appropriate structure to employ. Whichever method you choose, your initial version of the package.json file should look similar to the following example:

{ 
  "name": "my-app", 
  "version": "1.0.0", 
  "author": "Philip Klauzinski", 
  "license": "MIT", 
  "description": "My JavaScript single page application." 
} 

If you want your project to be private and want to ensure that it does not accidently get published to the NPM registry, you may want to add the private property to your package.json file, and set it to true. Additionally, you may remove some properties that only apply to a registered package:

{ 
  "name": "my-app", 
  "author": "Philip Klauzinski", 
  "description": "My JavaScript single page application.", 
  "private": true 
} 

Once you have your package.json file set up the way you like it, you can begin installing Node.js packages locally for your app. This is where the importance of dependencies begins to surface.

NPM dependencies

There are three types of dependencies that can be defined for any Node.js project in your package.json file: dependencies, devDependencies, and peerDependencies. For the purpose of building a web-based SPA, you will only need to use the devDependencies declaration.

devDependencies are those which are required for developing your application, but not required for its production environment or for simply running it. If other developers want to contribute to your Node.js application, they will need to run npm install from the command line to set up the proper development environment. For information on the other types of dependencies, see docs.npmjs.com.

When adding devDependencies to your package.json file, the command line again comes to the rescue. Let's use the installation of Browserify as an example:

$ npm install browserify --save-dev

This will install Browserify locally and save it along with its version range to the devDependencies object in your package.json file. Once installed, your package.json file should look similar to the following example:

{ 
  "name": "my-app", 
  "version": "1.0.0", 
  "author": "Philip Klauzinski", 
  "license": "MIT", 
  "devDependencies": { 
    "browserify": "^12.0.1" 
  } 
} 
 

The devDependencies object will store each package as a key-value pair in which the key is the package name and the value is the version number or version range. Node.js uses semantic versioning, where the three digits of the version number represent MAJOR.MINOR.PATCH. For more information on semantic version formatting, see semver.org.

Updating your development dependencies

You will notice that the version number of the installed package is preceded by a caret (^) symbol by default. This means that package updates will only allow patch and minor updates for versions above 1.0.0. This is meant to prevent major version changes from breaking your dependency chain when updating your packages to the latest versions.

To update your devDependencies and save the new version numbers, you can enter the following from the command line:

$ npm update --save-dev

Alternatively, you can use the -D option as a shortcut for --save-dev:

$ npm update -D

To update all globally installed NPM packages to their latest versions, run npm update with the -g option:

$ npm update -g

For more information on semantic versioning within NPM, see docs.npmjs.com/misc/semver.

Now that you have NPM set up and you know how to install your development dependencies, you can move on to installing Bower.

CONTINUE READING
83
Tech Concepts
36
Programming languages
73
Tech Tools
Icon Unlimited access to the largest independent learning library in tech of over 8,000 expert-authored tech books and videos.
Icon Innovative learning tools, including AI book assistants, code context explainers, and text-to-speech.
Icon 50+ new titles added per month and exclusive early access to books as they are being written.
Mastering JavaScript Single Page Application Development
notes
bookmark Notes and Bookmarks search Search in title playlist Add to playlist download Download options font-size Font size

Change the font size

margin-width Margin width

Change margin width

day-mode Day/Sepia/Night Modes

Change background colour

Close icon Search
Country selected

Close icon Your notes and bookmarks

Confirmation

Modal Close icon
claim successful

Buy this book with your credits?

Modal Close icon
Are you sure you want to buy this book with one of your credits?
Close
YES, BUY

Submit Your Feedback

Modal Close icon
Modal Close icon
Modal Close icon