

Now I'll show you how to create a widget location in the theme. We'll have one widget location, and that'll be in the sidebar. Let's get started!
Widget locations and comments
Working with widgets
- Let's take a look at index.php, where we have this <div> tag with the class of main. What we want to do is go right between main and the ending </div> tag. We'll create a <div> tag with the class of sidebar, as shown in the following code:
      <div class="sidebar">
      TEST
      </div>
We have also added TEST in the next line, which shows up as follows:
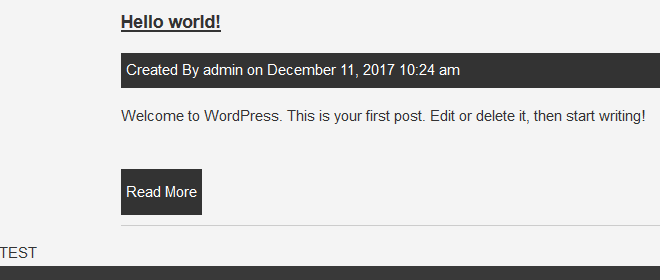
Now we want to float the main <div> and set a width, and then have the sidebar float to the right.
- Let's go to the style sheet, where we have main with margin:15px, both at the top and bottom. Let's go ahead and float this to the left, and let's set a width of 68%, as shown in the following code block:
      .main{
          margin:15px 0;
          float:left;
          width:68%;
      }

      footer{
          background:#393939;
          color:#fff;
          padding:10px 10px;
          text-align:center;
      }
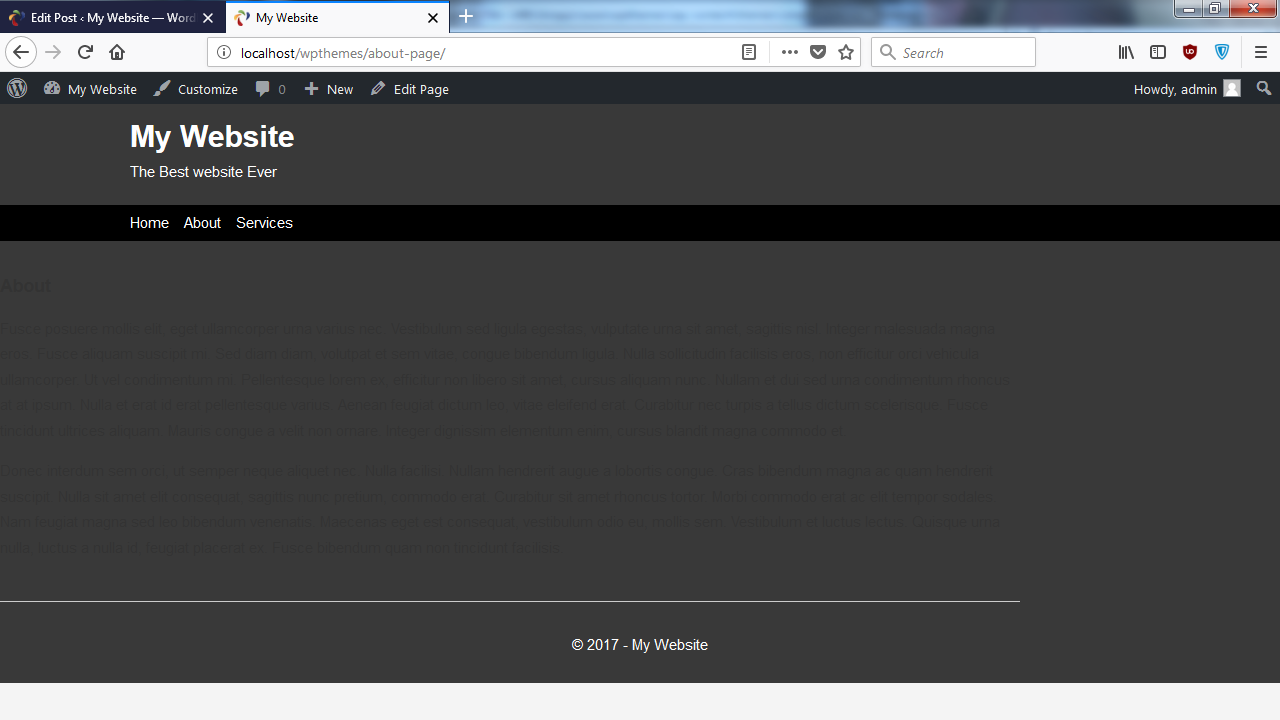
Let's see what that gives us:

The reason that this looks really weird is because we didn't clear the float.
- So what we'll do is go under the sidebar div and enter <div class="clr">:
      <div class="sidebar">
      TEST
      </div>

      <div class="clr"></div>
- Now, we'll go to our CSS, add a class called clr, and we'll just say clear:both;:
      .clr{
          clear:both;
      }
- Then let's add the sidebar class; that's going to float to the right, and we'll set a width of 28%, as shown in the following code:
      .sidebar{
          float:right;
          width:28%;
      }
- Now, we'll want to put a container around both of the files—index.php and style.css, because right now, main has a container inside of it, but what we want is to remove that and put it above main, as shown in the following code:
      <?php get_header(); ?>

      <div class="container">
         <div class="main">
We will end it here:
         <div class="sidebar">
         TEST
         </div>

         <div class="clr"></div>
      </div>
      <?php get_footer(); ?>
Now, let's run this:

- So now we have the main area and a sidebar.
- Next, we will see how to add widgets, and to do that, we'll go to functions.php. Here, we can actually use widgets and define what location we want the widgets to be allowed in. We'll go down to the very bottom of the file and create a function, as shown in the following code block. We'll call it init_widgets, and that'll take in id, and we'll call it register_sidebar. Now we will create a sidebar widget, but just know that no matter where you put it, register_sidebar is the function that we'll use, even if it's not a sidebar—if it's down below, or in the header, or wherever it may be, this is what's used to actually register widget locations. Now, that's going to take in an array, and it's going to take a name; let's set that to Sidebar, and then the ID, which is usually the same, just lowercase and no spaces. You can use hyphens if there's more than one word. Then, we can also use before_widget. We can also use <div class="side-widget">, and then we can add after_widget; that's going to be the ending </div> tag. Then, we can also add before_title and after_title for the widget, as shown in the following code block. We want an <h3> tag before the title. Now, this code isn't going to run yet. We need to perform add_action, and the hook we want is called widgets_init; we want to put in our function name, which is init_widgets:
      //Excerpt Length
      function set_excerpt_length(){
          return 60;
      }

      add_filter('excerpt_length', 'set_excerpt_length');

      //Widget Locations
      function init_widgets($id){
          register_sidebar(array(
              'name' => 'Sidebar',
              'id' => 'sidebar',
              'before_widget' => '<div class="side-widget">',
              'after_widget' => '</div>',
              'before_title' => '<h3>',
              'after_title' => '</h3>'
          ));
      }

      add_action('widgets_init', 'init_widgets');
- Now we'll save the code. If we go back and reload, we get this:
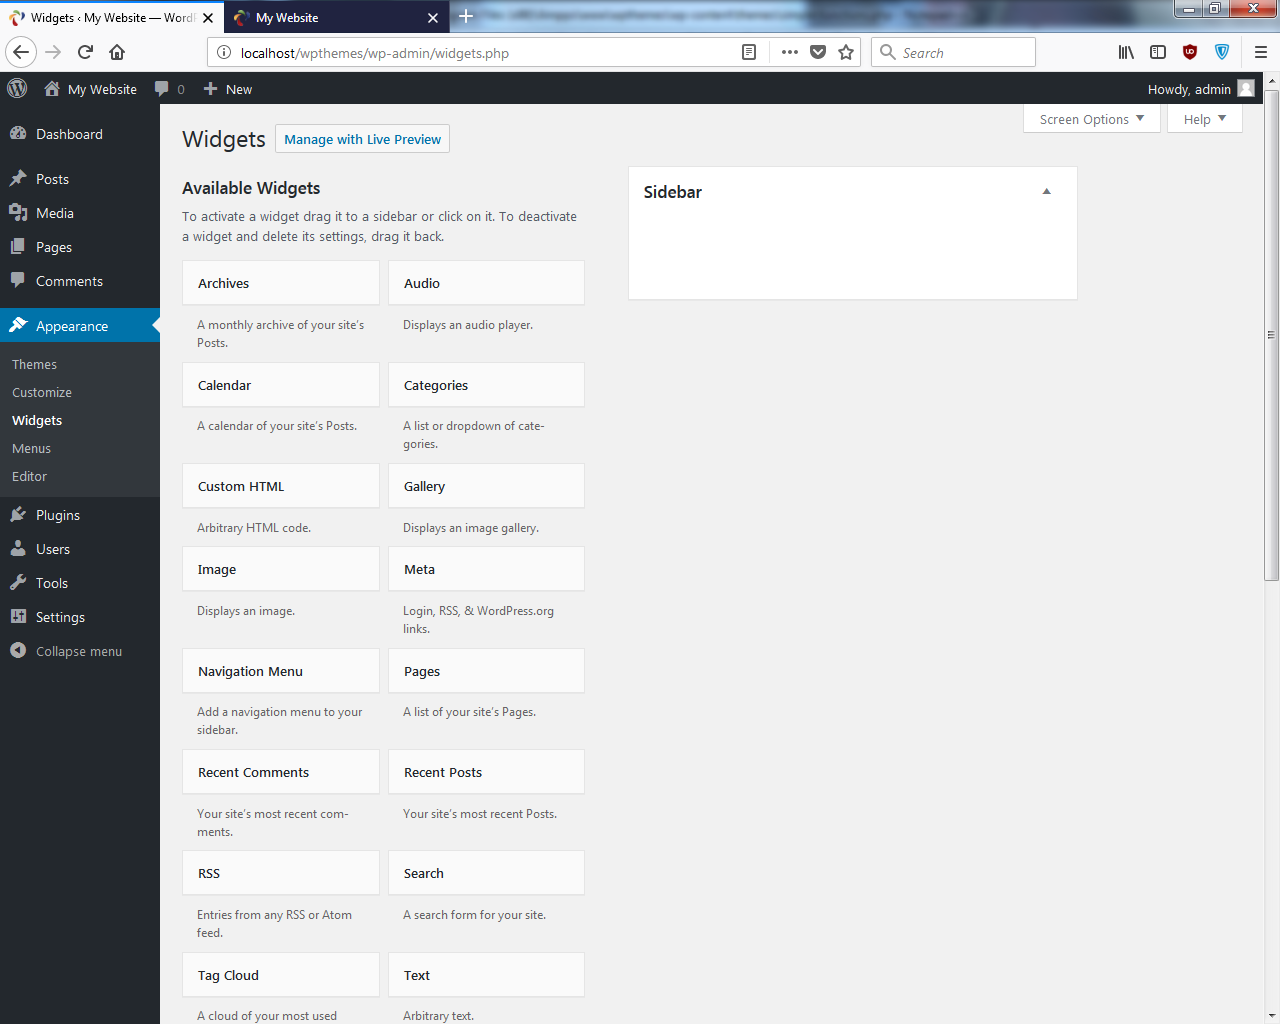
We have a Widgets item at the side and a Sidebar location.
- Let's drag the Categories widget and bring that over to the Sidebar. We will also bring Recent Posts:
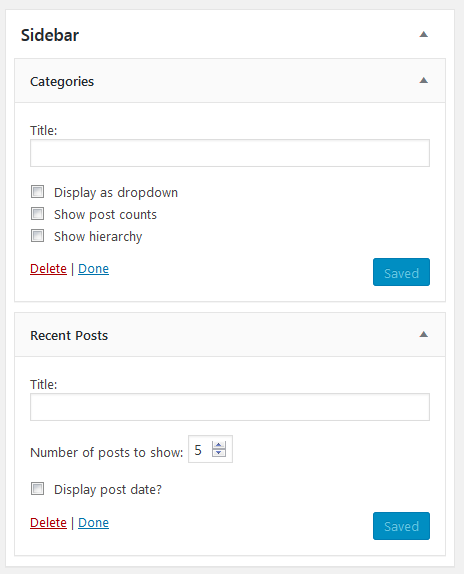
Save and go to the frontend; if we reload now, we'll not see anything because we need to add it to our template.
- Let's go down to where we have the sidebar in the index.php file, and we'll first check for the widget using the following code:
      <div class="sidebar">
         <?php if(is_active_sidebar('sidebar')) : ?>
            <?php dynamic_sidebar('sidebar'); ?>
         <?php endif; ?>
      </div>
We'll check whether it'll be a function called is_active_sidebar(), and like I said before, even if it's not a sidebar, this is still going to work. We will also add our location, which happens to be sidebar. We will also add a dynamic_sidebar() function, and then the ID of the widget again is sidebar.
- Save it, reload, and take a look at it:
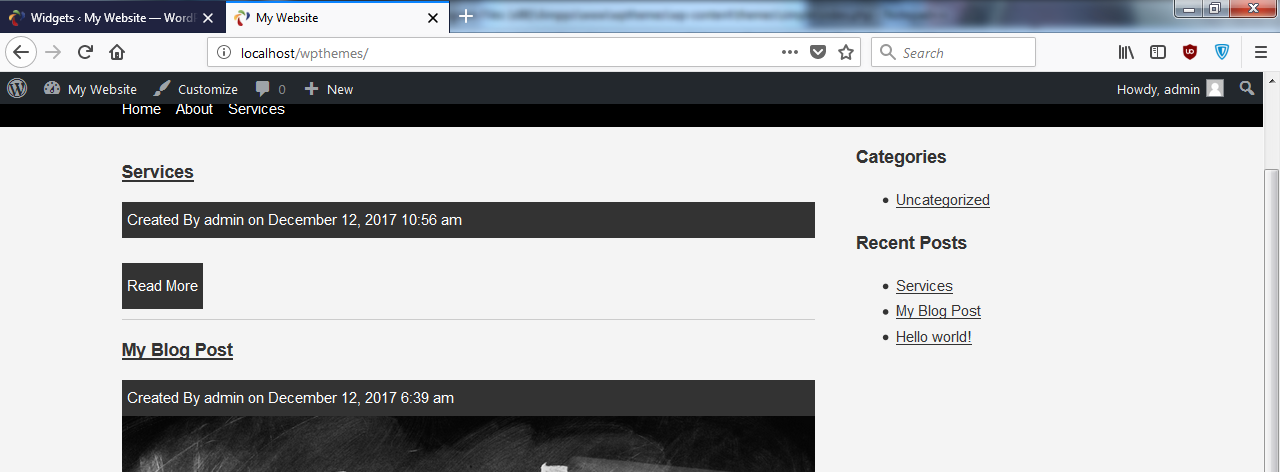
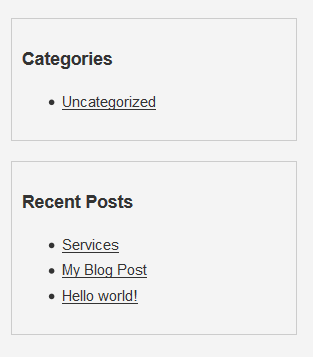
We get our two widgets: Categories and Recent Posts.
- Now, remember that we put the side-widget class in the function.php file so that we can style widgets using the style.css file, as shown in the following code block:
      .side-widget{
          border:1px #ccc solid;
          padding:10px 10px;
          margin-bottom:20px;
          margin-top:20px;
      }
We have added side-widget with a border and padding of 10px 10px. We have added margin-bottom. Now if we reload, you can see that they have a border. Therefore, we will add margin-top too. We'll say margin-top:20px.
- To make this look a little better, we will use the following code:
      .Side-widget li{
          list-style: none;
          line-height:2.2em;
          border-bottom:dotted 1px #ccc;
      }

      .Side-widget a{
          text-decoration: none;
      }
Here, we have taken away text-decoration.
- When you save and reload, you get this:
So this looks good.
- We can see that the pages will be messed up now:
This is because in page.php, we still have the container class inside of main.
- What we want to do is just copy what we did in index.php:
         <div class="sidebar">
            <?php if(is_active_sidebar('sidebar')) : ?>
               <?php dynamic_sidebar('sidebar'); ?>
            <?php endif; ?>
         </div>

         <div class="clr"></div>
         </div>
      <?php get_footer(); ?>
We need to add the sidebar after main ends, and then we actually want to take the container out and put that above main. We'll need to make sure to take the ending </div> tag and put that on the outside down.
- Let's go ahead and check that out:
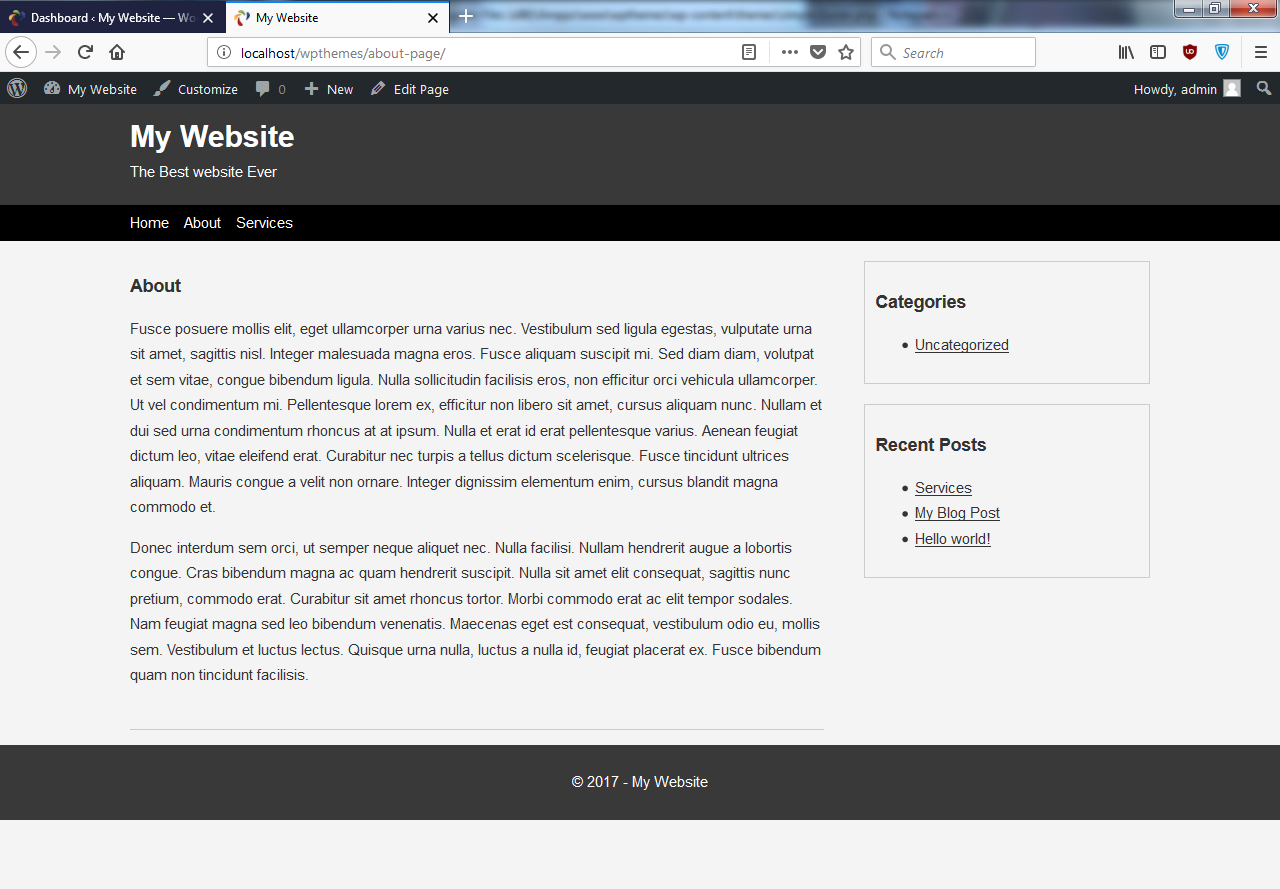
So this looks good.
- We will repeat the same thing with Single.php, and we will get the following result:

So all the different formats and all the different pages are all set; they have the sidebar implemented. And, of course, if you didn't want the sidebar on one of those, you don't have to have it. If we want to kind of minimize the code a little bit, we can put the following code inside the footer.php:
      <div class="sidebar">
      <?php if(is_active_sidebar('sidebar')) : ?>
         <?php dynamic_sidebar('sidebar'); ?>
      <?php endif; ?>
      </div>

      <div class="clr"></div>
      </div>
- We can cut and save, and then add that code in footer.php at the top, as shown here:
      <div class="sidebar">
      <?php if(is_active_sidebar('sidebar')) : ?>
         <?php dynamic_sidebar('sidebar'); ?>
      <?php endif; ?>
      </div>

      <div class="clr"></div>
      </div>
<footer>
<div class="container">
<p>© <?php the_date('Y'); ?> - <?php bloginfo('name'); ?>
</p>
</div>
</footer>
<?php wp_footer(); ?>
</body>
</html>
- Save, and then get rid of the following code from page.php and index.php, because it's now in footer.php:
<div class="sidebar">
<?php if(is_active_sidebar('sidebar')) : ?>
<?php dynamic_sidebar('sidebar'); ?>
<?php endif; ?>
</div>
<div class="clr"></div>
</div>
Our frontend should look the exact same way. So that's good, that's widgets.
Adding the comment functionality
- Now, the one thing that is left is comments—we want the comment functionality. This is actually really easy; all we have to do is go to our single.php file and see where we want the comment, which is right under the end </div> tag, as shown in the following code block:
         <?php endif; ?>

         <?php comments_template(); ?>
      </div>
- We can save the code and reload. Here is the output:
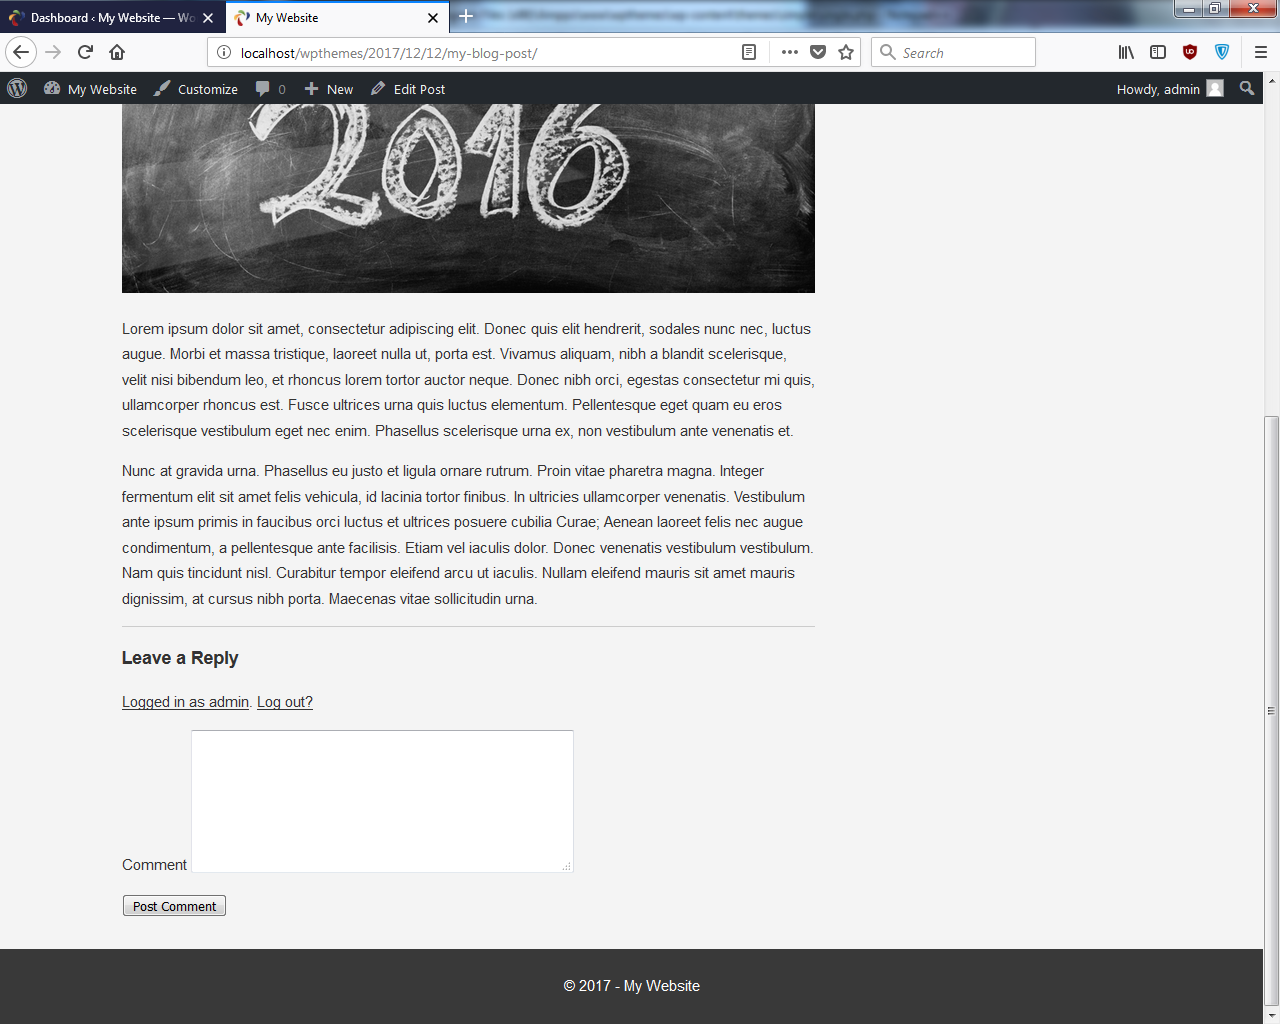
- We can now see the comment functionality. Let's add Great Post! and then click on Post Comment.
Here is what we get:
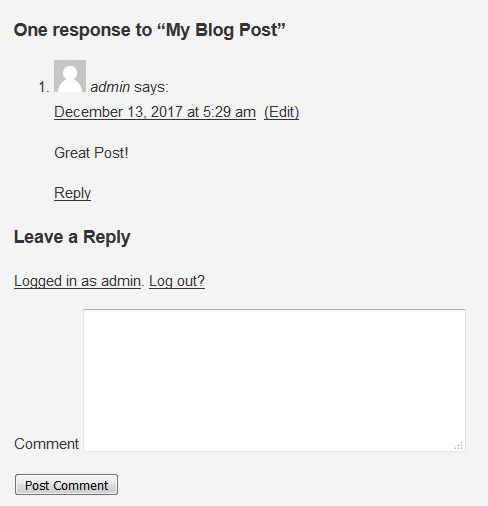
- We can see that it has an avatar, the username, date, and also a reply link. Now you'll realize that this doesn't look like the best comments section you've ever seen, but that's just because it's the default design.
- If we take a look at the markup, we can see that they separate everything so you can style:
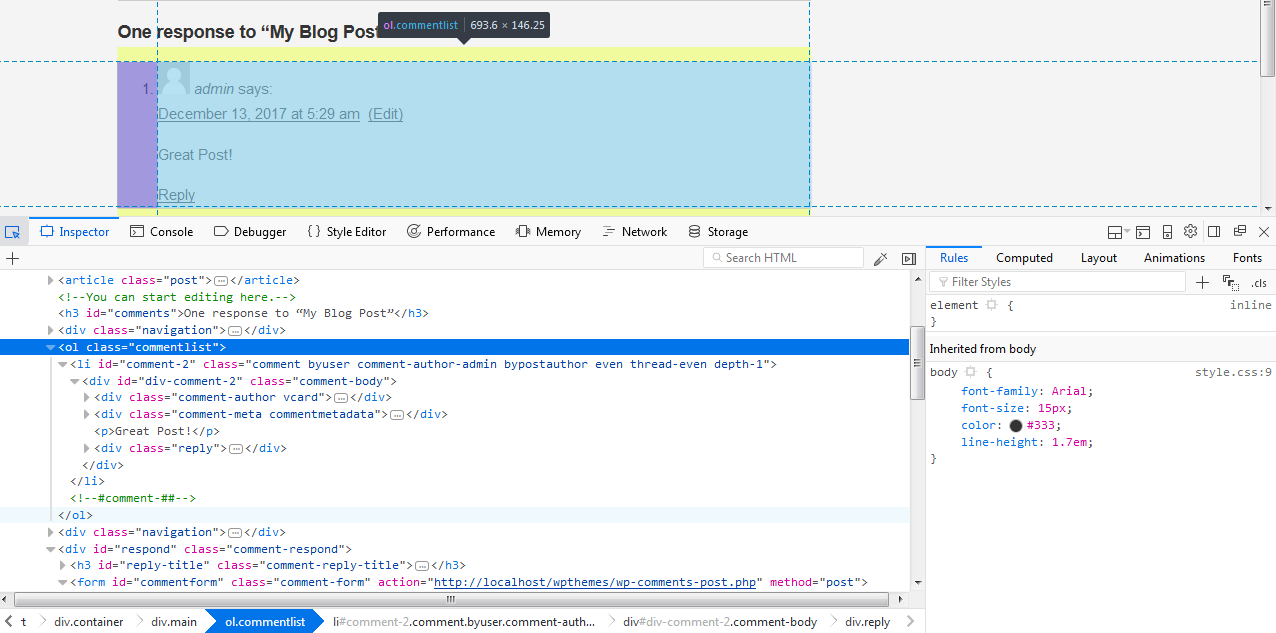
Here, we have ol commentlist; each <li> has a class of comments, and we have classes around the author, around vcard, and around the reply. You can style this however you like.
Now you can actually replace this whole template by creating a comments.php file; we'll get into that later on. I don't want to do it in this chapter because this is just a very basic introductory theme.
Since the comments are working, we'll not go ahead and create a custom comment template or anything like that. I think that's pretty much it. Like I said, there's more we could do; we could create a separate template for archived posts.
Actually, what I want to do real quick is to make the author's name a link, so that you can click on it and see all of the author's posts.
- Let's go to index.php and go to where we have the author, and enter following highlighted code:
      Created By
      <a href="<?php get_author_posts_url(
          get_the_author_meta('ID')); ?>">
         <?php the_author(); ?>
      </a>
      on <?php the_time('F j, Y g:i a'); ?>
      </div>
      <?php if(has_post_thumbnail()) : ?>
As shown here, we'll just add a link around that.
- Let's reload, and now admin is a link; I need to change its style because we can't see it. Open style.css. Go to meta and add the following code:
      .meta{
          background:#333;
          color:#fff;
          padding:5px;
      }

      .meta a{
          color:#fff;
      }
- We can see the author in white now:
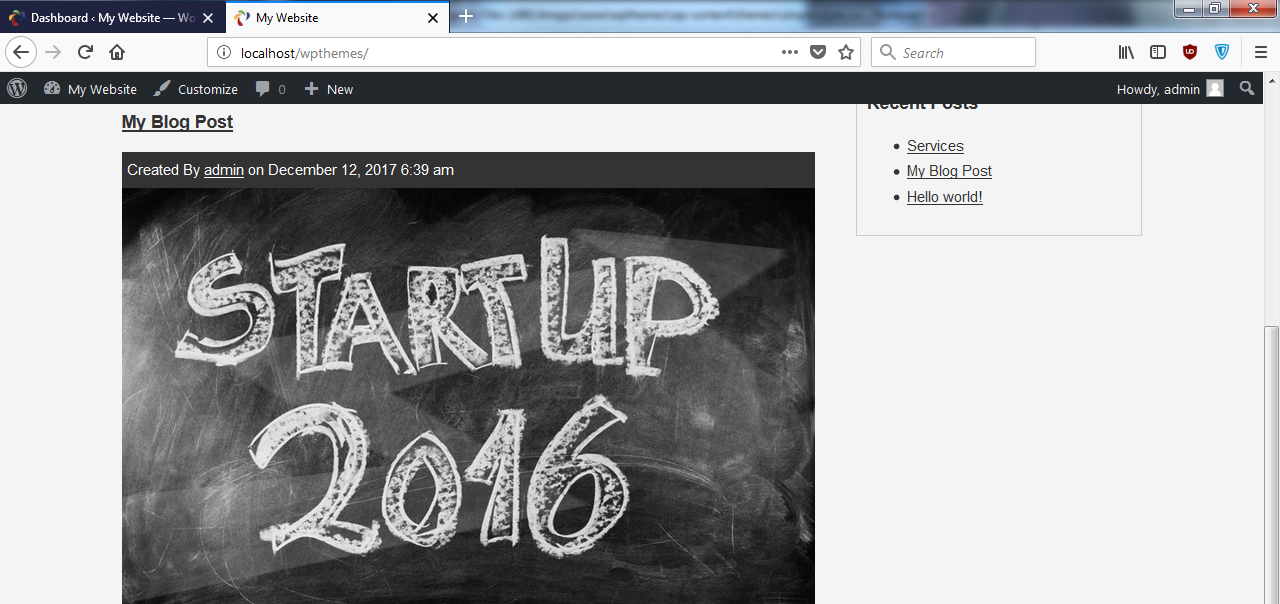
- If I click on admin now, it shows us all the posts by admin, but if there were multiple users—multiple authors—this would allow us to see all the posts from that particular author.
- We'll wrap this up here. You may realize that this isn't the greatest design you've ever seen, but the point of this project was to get you familiar with not just the code but also the structure of the theme and what files are included. As we saw, there are certain names that we need for the files such as page and single.php.