

When building mobile apps, we need to make sure we reduce the interface complexity to the minimum, as it's often punishing to present the user intrusive manuals or tooltips once the app is open. It is a good practice to make our app self-explanatory, so the user can understand the usage just by going through the app screens. That's why using standard components such as drawer menus or standard lists is always a good idea, but is not always possible (as it happens in our current app) due to the kind of data we want to present to the user.
In our case, we put all the functionality in the main screen plus in a modal box. Let's take a look at what the app will look like on iOS devices:
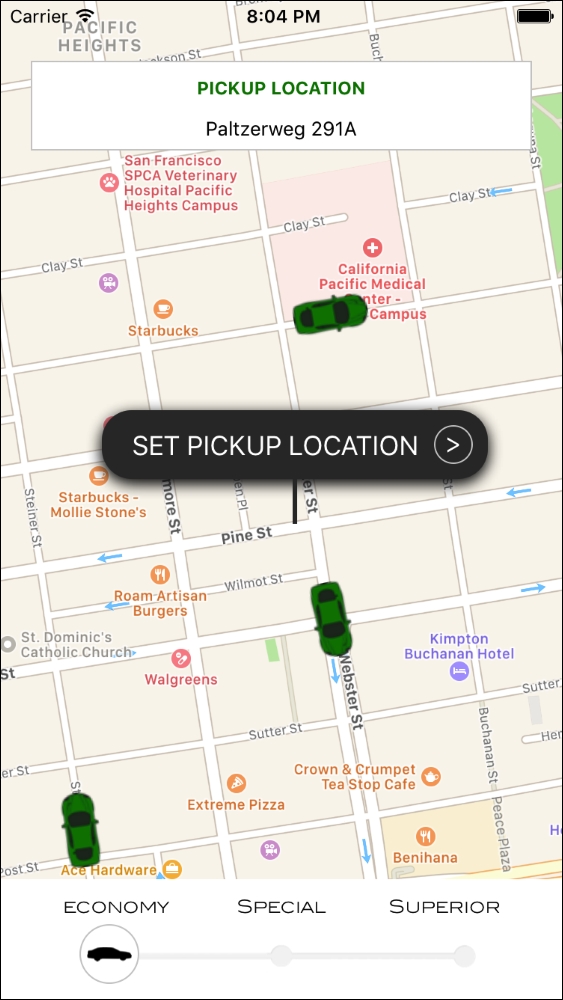
The background on our main screen is the maps component itself where we will show all the available cars as markers in the map. On the maps, we will display three components:
The pickup location box displaying the selected pickup location
The location pin, which can be dragged around the maps to select a new location
The selector for the kind of car the user wants to book. We will display three options:
ECONOMY,SPECIAL, andSUPERIOR
Since most of the components are custom built, this screen will look very similar in any Android device:
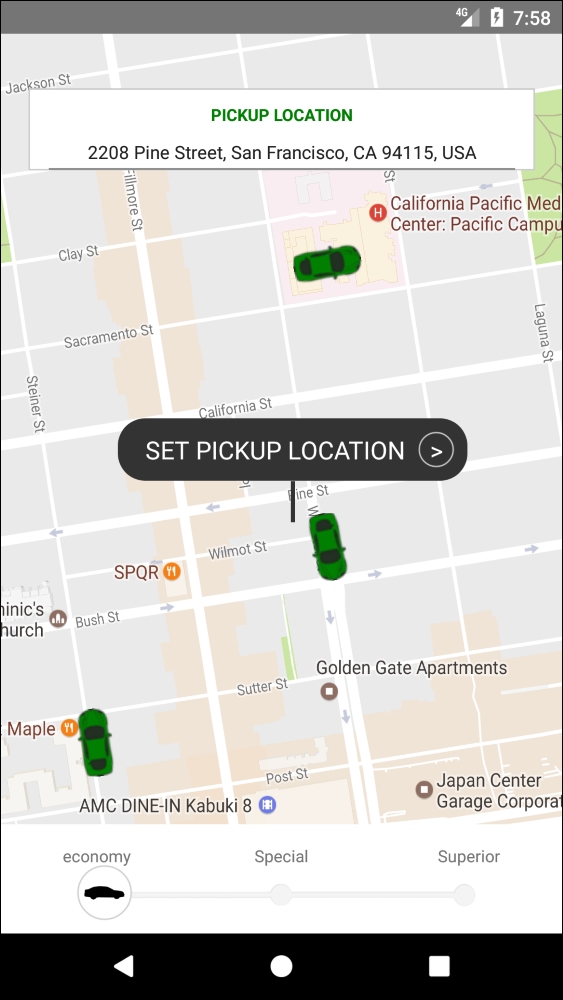
The main difference between the iOS and the Android version will be the map component. While iOS will use Apple maps by default, Android uses Google Maps. We will leave this setup as each platform has its own map component optimized, but it's good to know that we can switch the iOS version to use Google Maps just by configuring our component.
Once the user has selected a pickup location, we will display a modal box to confirm the booking and contact the nearest driver for pickup:
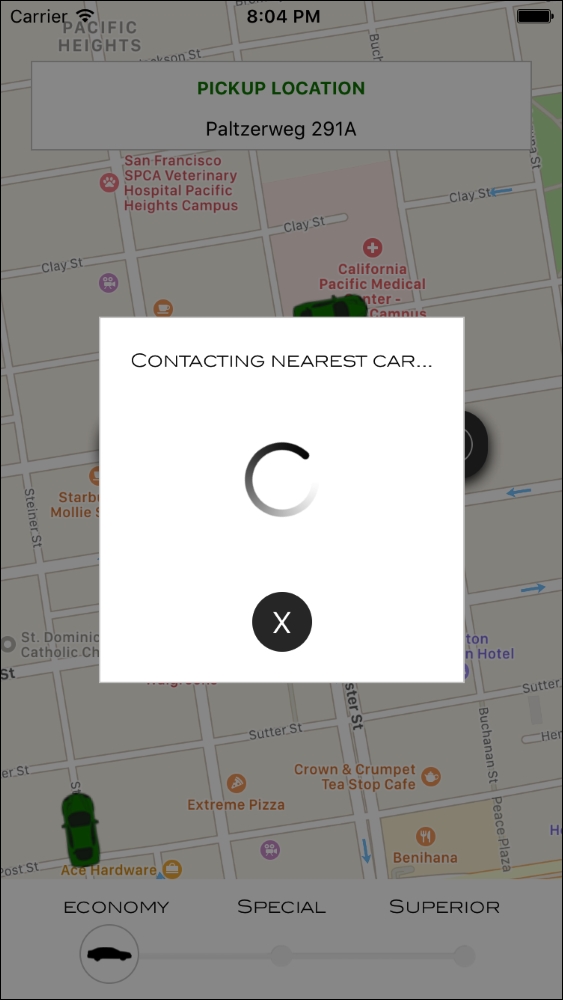
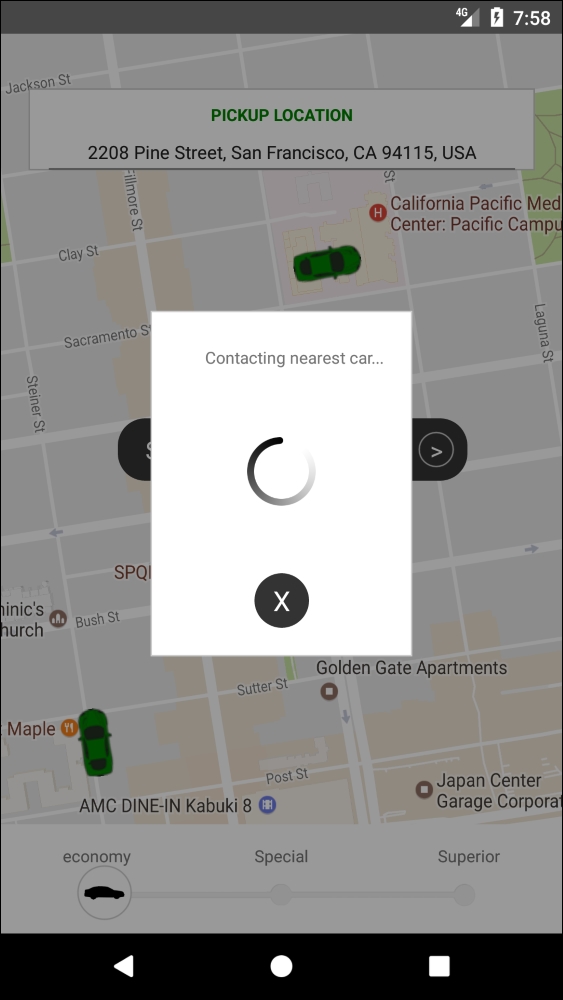
As it happened with the main screen, this screen uses custom components: we even decided to create our own animated activity indicator. Because of this, the Android version will look very similar:
Since our app won't be connected to any external API, it should be seen as a mere display of the visual capabilities of React Native, although it could be easily extended by adding a state management library and a matching API.
Let's take a look at the topics of this lesson:
Using maps in our app
Style sheets in React Native
Flexbox in React Native
Using external images in a React Native app
Adding custom fonts
Animations in React Native
Using modals
Working with shadows and opacity