-
Book Overview & Buying
-
Table Of Contents

UI Testing with Puppeteer
By :
UI Testing with Puppeteer
By:
Overview of this book
Puppeteer is an open source web automation library created by Google to perform tasks such as end-to-end testing, performance monitoring, and task automation with ease. Using real-world use cases, this book will take you on a pragmatic journey, helping you to learn Puppeteer and implement best practices to take your automation code to the next level!
Starting with an introduction to headless browsers, this book will take you through the foundations of browser automation, showing you how far you can get using Puppeteer to automate Google Chrome and Mozilla Firefox. You’ll then learn the basics of end-to-end testing and understand how to create reliable tests. You’ll also get to grips with finding elements using CSS selectors and XPath expressions. As you progress through the chapters, the focus shifts to more advanced browser automation topics such as executing JavaScript code inside the browser. You’ll learn various use cases of Puppeteer, such as mobile devices or network speed testing, gauging your site’s performance, and using Puppeteer as a web scraping tool.
By the end of this UI testing book, you’ll have learned how to make the most of Puppeteer’s API and be able to apply it in your real-world projects.
Table of Contents (12 chapters)
Preface

Chapter 1: Getting started with Puppeteer
 Free Chapter
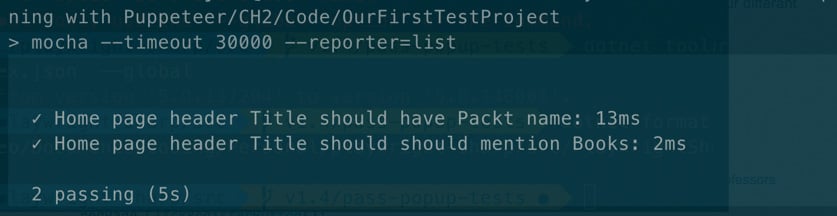
Chapter 2: Automated Testing and Test runners
Chapter 3: Navigating through a website
Chapter 4: Interacting with a page
Chapter 5: Waiting for elements and network calls
Chapter 6: Executing and Injecting JavaScript
Chapter 7: Generating Content with Puppeteer
Chapter 8: Environments emulation
Chapter 9: Scraping tools
Chapter 10: Evaluating and Improving the Performance of a Website