-
Book Overview & Buying

-
Table Of Contents

Building SPAs with Django and HTML Over the Wire
By :
Building SPAs with Django and HTML Over the Wire
By:
Overview of this book
The HTML over WebSockets approach simplifies single-page application (SPA) development and lets you bypass learning a JavaScript rendering framework such as React, Vue, or Angular, moving the logic to Python. This web application development book provides you with all the Django tools you need to simplify your developments with real-time results.
You’ll learn state-of-the-art WebSocket techniques to realize real-time applications with minimal reliance on JavaScript. This book will also show you how to create a project with Docker from the ground up, test it, and deploy it on a server. You’ll learn how to create a project, add Docker, and discover development libraries, Django channels, and bidirectional communication, and from then, on you’ll create real projects of all kinds using HTML over WebSockets as a chat app or a blog with real-time comments. In addition, you’ll modernize your development techniques by moving from using an SSR model to creating web pages using WebSockets over HTML. With Django, you’ll be able to create SPAs with professional real-time projects where the logic is in Python.
By the end of this Django book, you’ll be able to build real-time applications, as well as gaining a solid understanding of WebSockets with Django.
Table of Contents (14 chapters)
Preface

Part 1: Getting Started with Python
 Free Chapter
Chapter 1: Setting up the Virtual Environment
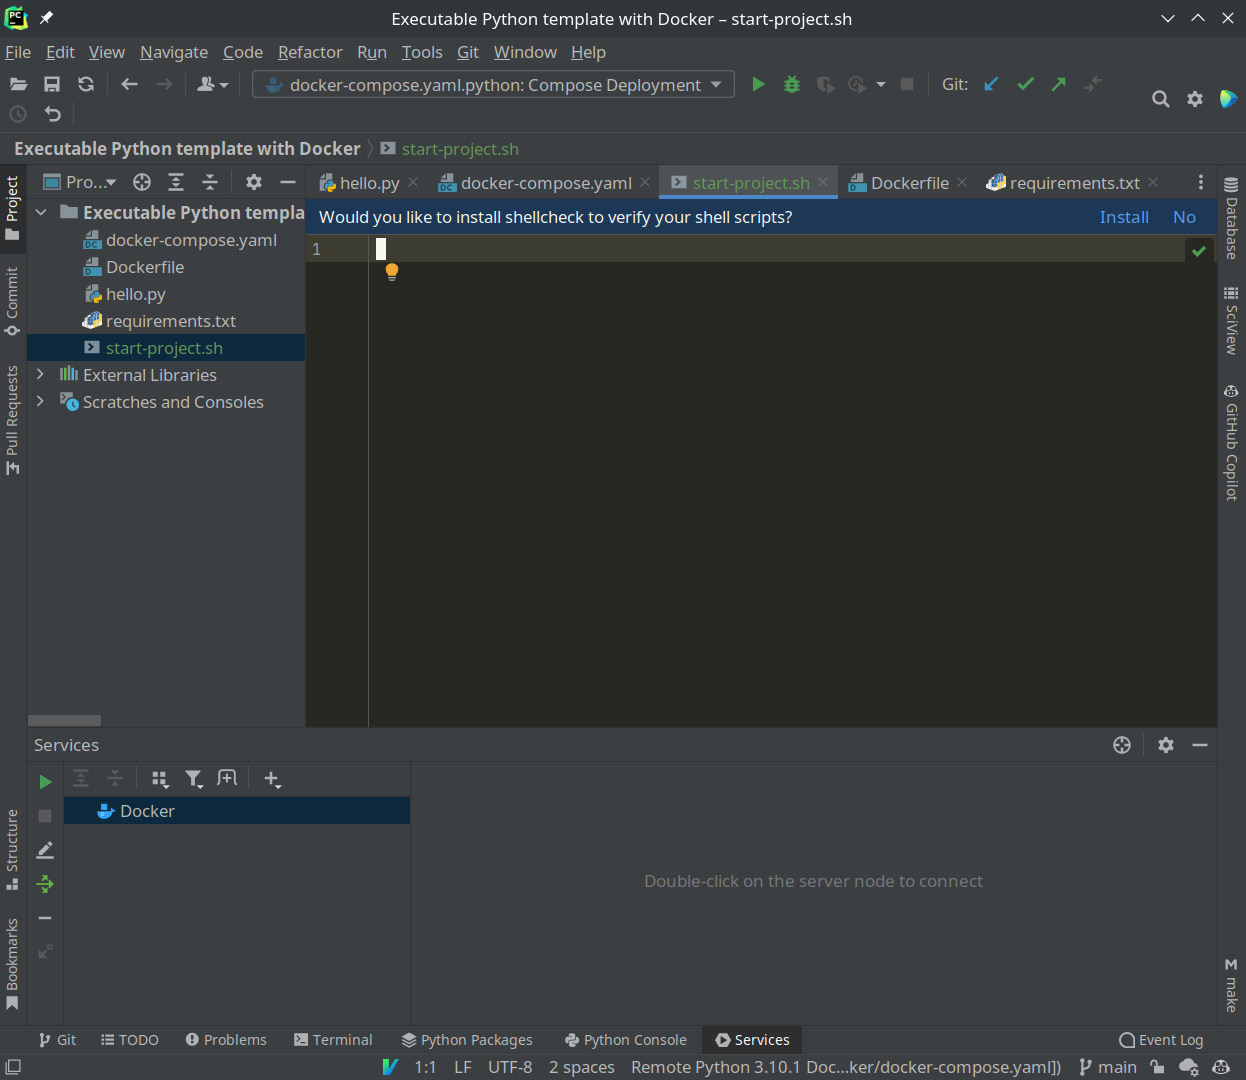
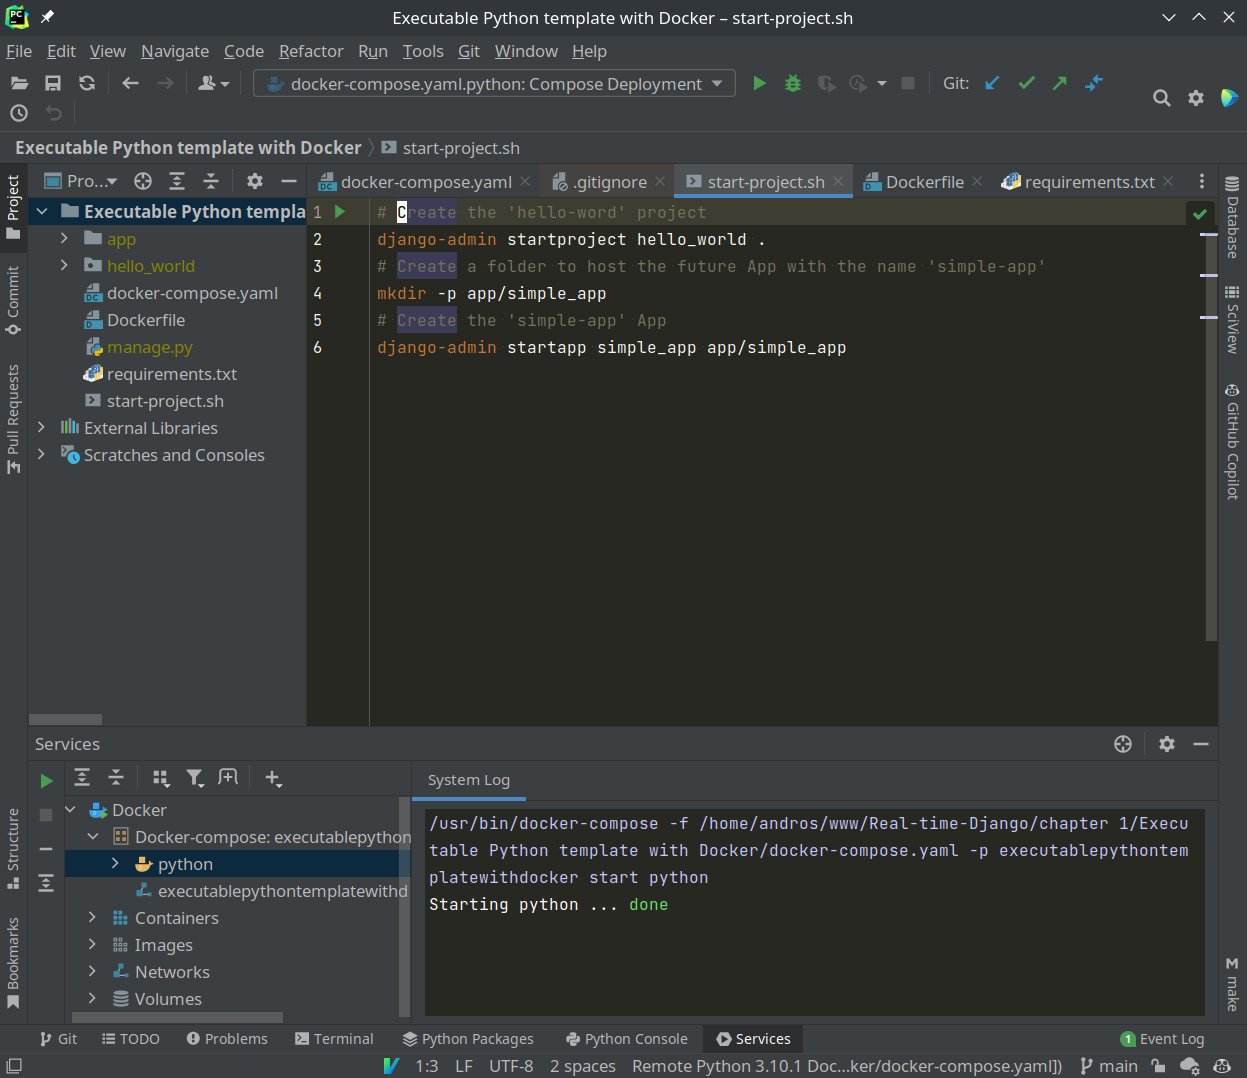
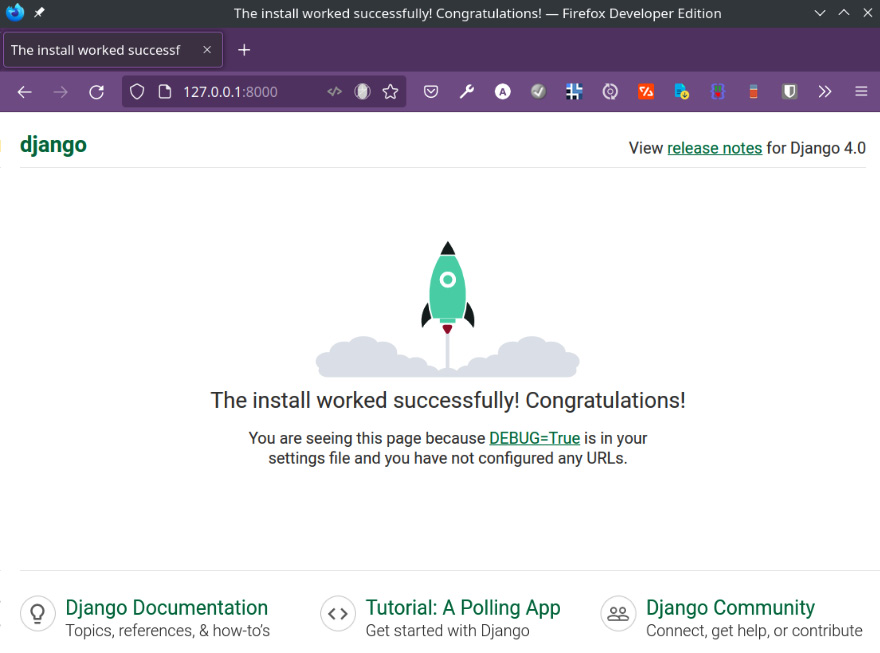
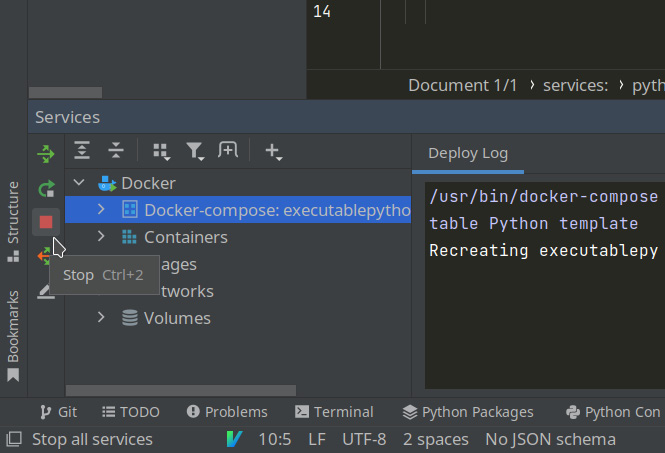
Chapter 2: Creating a Django Project around Docker
Part 2: WebSockets in Django
Chapter 3: Adding WebSockets to Django
Chapter 4: Working with the Database
Chapter 5: Separating Communication in Rooms
Part 3: HTML over WebSockets
Chapter 6: Creating SPAs on the Backends
Chapter 7: Creating a Real-Time Blog Using Only Django
Part 4: Simplifying the frontend with Stimulus
Chapter 8: Simplifying the Frontend
Other Books You May Enjoy